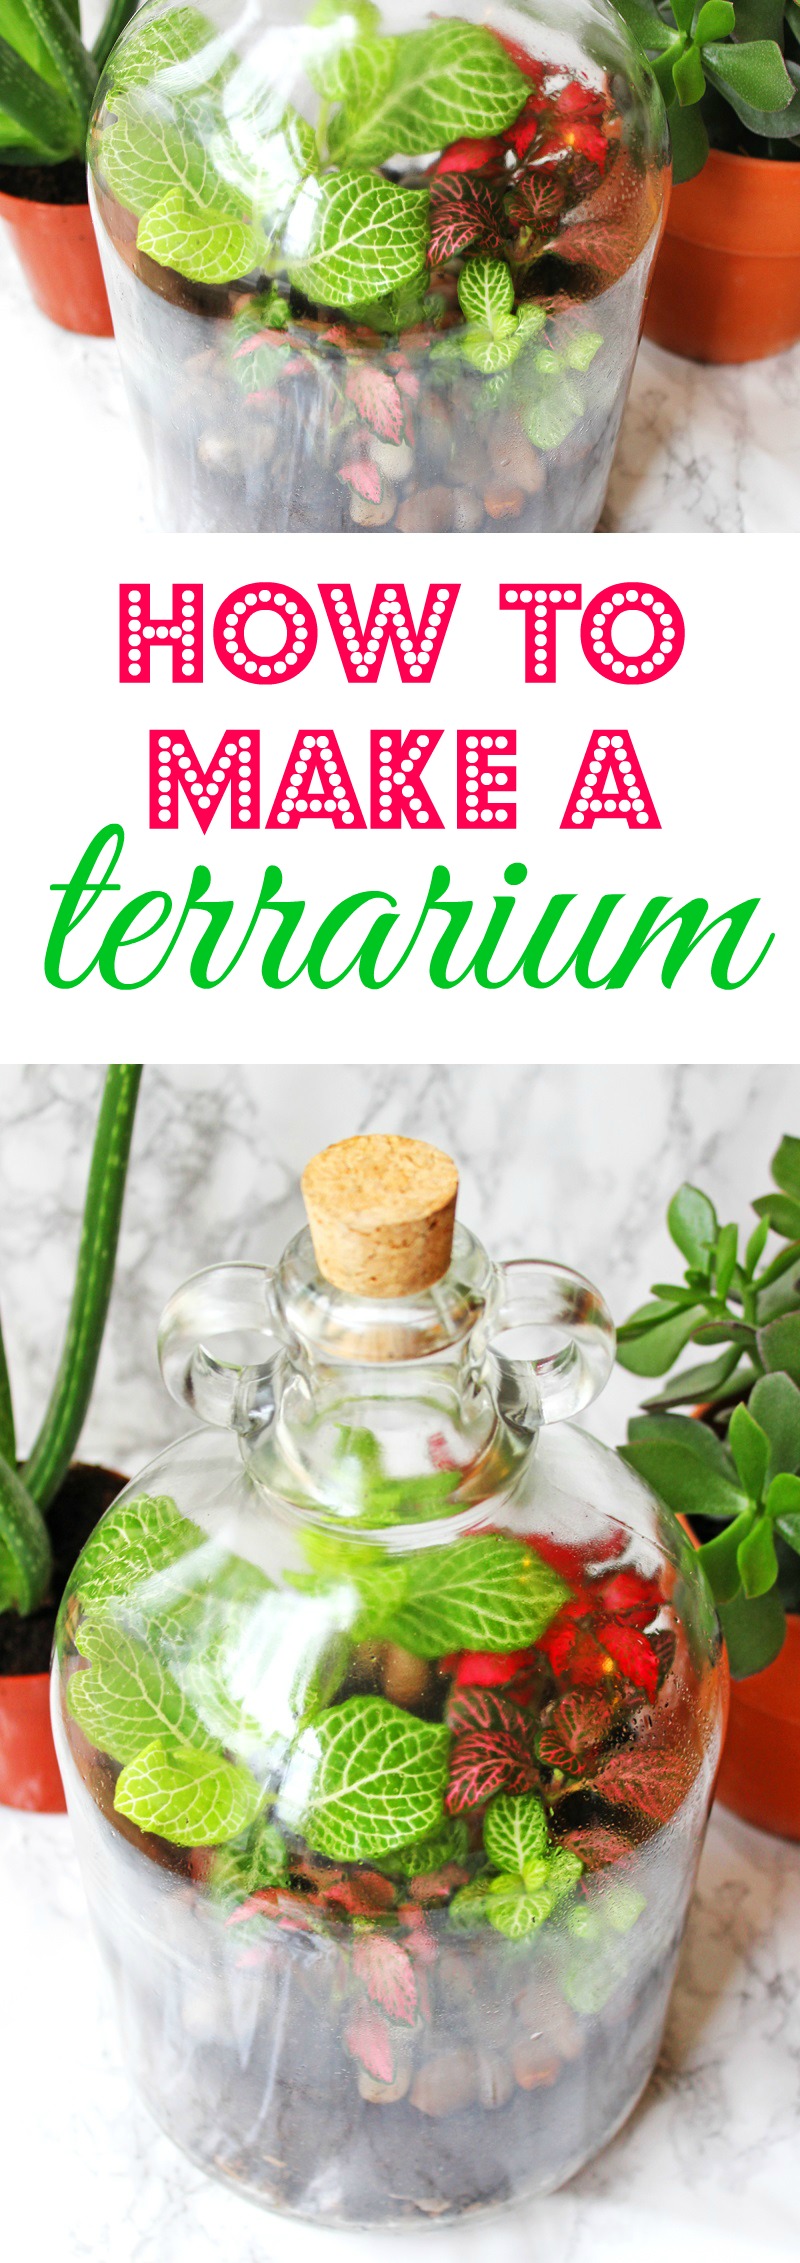
Terrariums are hot right now. find out just how easy it is to make one at home!
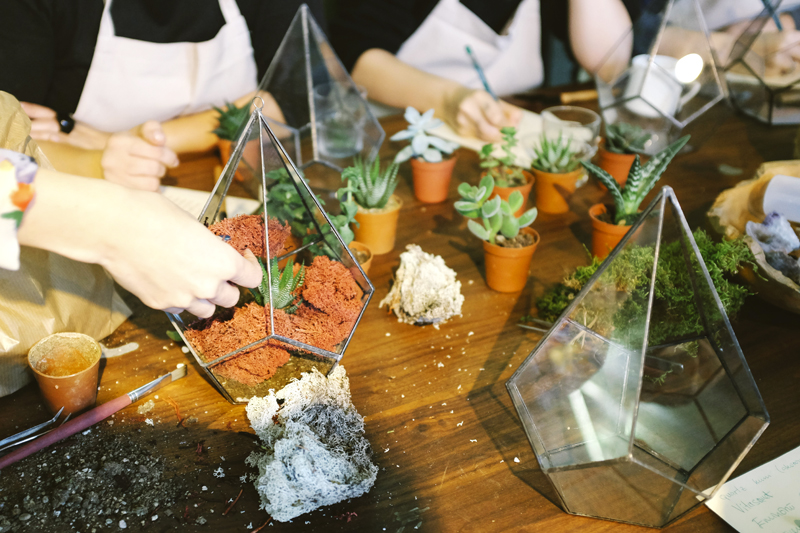
At the weekend I attended a workshop at Smug in Islington. The workshop was being given by Emma from London Terrariums. Over the course of 2 hours, 6 of us were given a brief introduction to terrariums, how they work, how to make them and how to look after them as they continue to grow. I had such a fantastic time that I wanted to share with you what I learnt, just scroll down to find out more! At the end of the post you'll also find out how to book yourself on to one of Emma's workshops!
What is a terrarium?
Terrariums have their origins back in Victorian times. They were an accidental discovery by a botanist called Nathaniel Bagshaw Ward in 1842 who discovered fern spores successfully growing in a jar. The Victorians, fans of everything exotic and strange, loved the idea of being able to grow tropical plants inside glass containers and they soon became the must have home accessory.
As with all trends we seem to have come full circle and terrariums have been popping up in magazines everywhere. You can't move on Instagram without seeing terrariums filled with ferns and succulents. Even Urban Outfitters sells them now! But buying one isn't half as fun as making your own and it's easier than you think!
But before we dive into the "how-to" it's important to understand how they work. Essentially, terrariums are miniature gardens made inside a glass vessel and there are two main types: open or closed.
Closed terrariums
Closed terrariums are the ones I find most magical. They are a self-contained eco-system in which tropical plants thrive. After just an initial water, the plants are able to thrive for years if kept in the right conditions. Keeping the terrarium sealed allows for the circulation of water as the plants photosynthesise, create gas which then settles as condensation on the glass, drips down to the soil and the process starts again. But, sealed terrariums need to be opened occasionally to remove excess moisture and might need a little helping hand with a spritz of water if condensation stops forming on the glass.
Open terrariums
The open terrariums which as so popular on instagram are much better suited to succulents and cacti which prefer a dry, arid environment.
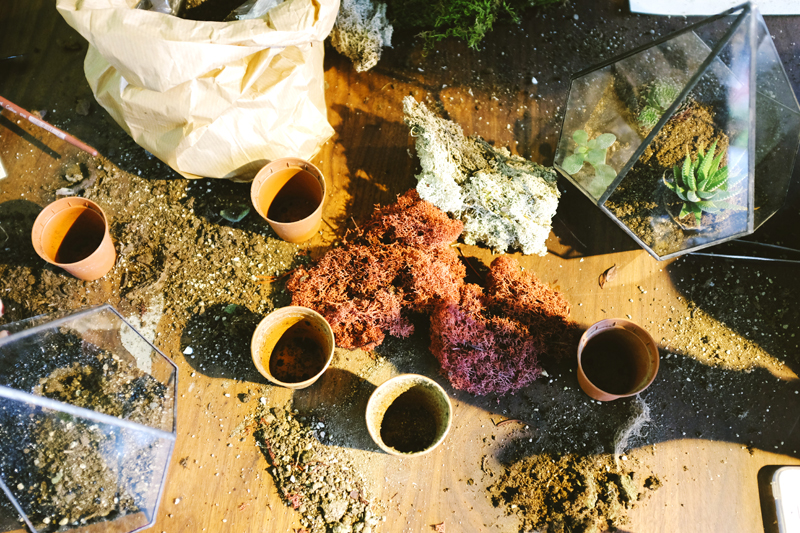
What you'll need
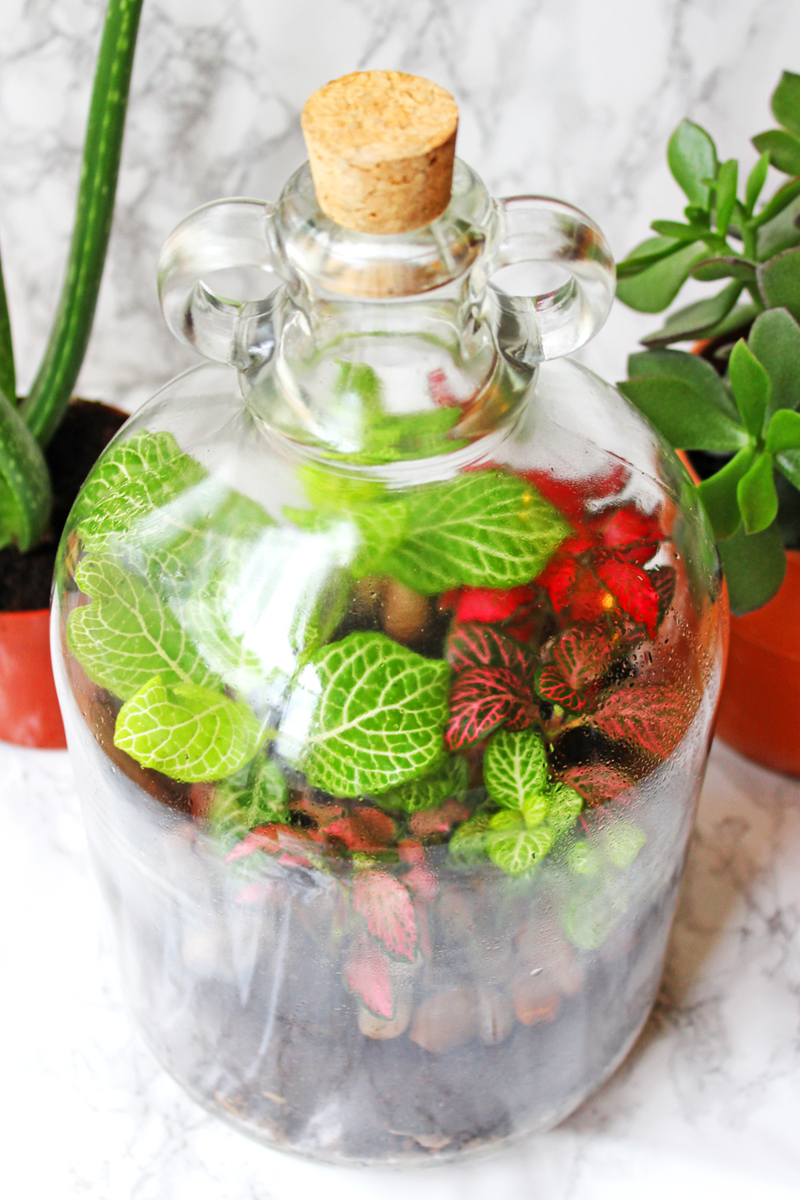
- A "vessel" - such as a kilner jar, carboy, demijohn or boiling flask. If you're using succulents you could use an open fish bowl or geometric terrarium.
- Stones - washed before using.
- Activated charcoal - you can buy this from health food shops and is essential for sealed terrariums.
- Compost - part John Innes 1 and part potting compost.
- Your choice of miniature plants - moss, ferns, fittonias, ficus pumilas and variegated ivy. Orchids also work well, as does basil! If you're making an open air terrarium you can also use succulents and cacti.
- A funnel.
- A long pointy stick - think those thin green garden canes.
- A radiator paint brush.
- A skewer with a cork on the end - sounds bizarre but this will be REALLY handy.
- Garden cutters.
- Long tweezers.
How to make a terrarium
- Using the funnel for guidance, start by pouring a layer of stones into the bottom of your vessel. This should be at least an inch thick. Don't use all of your stones, make sure you save some for decoration.
- Sprinkle in roughly 1 teaspoon of activated charcoal and, using your pointy stick, make sure it's evenly distributed over the top of the layer of stones.
- Next fill your vessel just under half full with the compost, again using the funnel to help.
- Using the cork on a skewer, pat down the compost until it is firm.
- Brush down the sides of the vessel with the radiator paint brush to make sure the sides are clean.
- Choose the first plant you'd like to place at the back of your terrarium. Remove it from it's pot and shake off as much of the compost as you can so that just the roots are showing.
- Trim any low lying leaves off of the plant, you want to avoid the leaves touching the compost.
- Using your pointy stick, create a hole where you'd like to place your plant.
- Gently ease the plant into your vessel and drop as close to the hole as you can.
- Using a combination of the pointy stick and the cork on a skewer, fill the hole back up with compost and manoeuvre until the plant is upright.
- Repeat until each of your plants is in place, using the radiator paintbrush to clean any mess you create on the sides of the vessel.
- Using the long tweezers, place any decorative stones or moss around the plants.
- Spray a light mist on to the edges of the vessel until the top of the compost shows a dark, wet ring.
- Seal with a cork or lid and place in a warm sunny place but not in direct sunlight.
Aftercare
In the first two weeks it's a good idea to remove the cork or lid of closed terrariums every other evening. This lets the vessel breath as the plants settle into place.
Close terrariums should only be watered if the plants looks as though they are wilting and condensation has stopped appearing on the glass.
Open terrariums should be spritzed with water roughly once a week.
London Terrarium's Workshops
I had a fantastic time at the workshop. Emma was a wonderful host and fantastic at giving support and guidance. At some times it could be frustrating if the plant wasn't going quite where you wanted it to but Emma had lots of invaluable tips and tricks to help you achieve what you wanted.
I'm so pleased with how to terrarium turned out. What do you think? Now all we need to do is find a bright, warm spot for it to sit!
If you interested in attending a workshop then do check out the London Terrarium's website here. You can choose the demijohn (the one I attended), boiling flask or tinyjohn workshops where everything is included or why not bring your own vessel?
Before you ask, I've not been paid to promote Emma's workshops. I just had such a fantastic time I can't help but recommend them. If you do go along let me know. I'd love to see what you create! Make sure you tag me on twitter or instagram!
In the meantime, why not pin this for later!


Leave a Reply