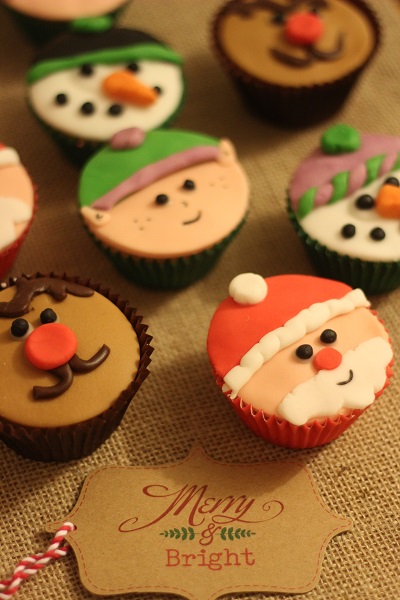
These Christmas Character Cupcakes use simple techniques and colourful fondant to make some of your favourite Christmas characters like Rudolf, Santa and his elves.
Christmas cake decorations
Christmas is a time for baking: its the combination of cooking in the kitchen with your loved ones and enjoying a sweet treat that immediately gives me a warm festive glow.
Some recipes are designed to be made by little helping hands and others are for the grown ups. These Christmas character cupcakes are a fun way to decorate cupcakes together. Who can build the best fondant icing snowman?!
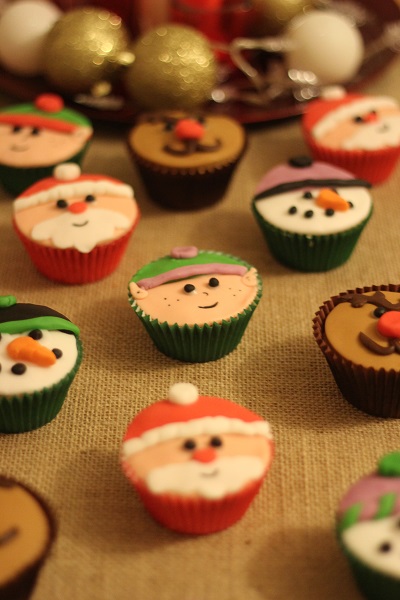
Because of their adorable faces these cupcakes really catch your eye. When I first made these it was for a Christmas Fayre at work. We have a rather accomplished Charity Bakers Club at work, and every time there is a big event for our firm’s charity, we all chip in for a Charity Bake Sale. Christmas is no different!
After baking a batch of 12 vanilla cupcakes, I decorated them as snowmen, Rudolph, Father Christmas and a happy little Elf! If you too want to make these sweet character cupcakes, just follow the instructions below.
Top tips for making Christmas Character Cupcakes
Working with sugar paste isn't always easy. As well as your cupcakes and a wide range of coloured sugar paste or fondant icing, you're also going to need a:
- Round cookie cutter (the same size as the top of your cupcake);
- Sharp knife; and
- Rolling pin.
Provided you have these, some Christmas music and some patience you'll be making beautiful festive cupcakes in no time.
General tips
- Can't find sugar paste? Fondant icing and ready to roll icing work in the exact same way. You can use these interchangeably.
- If your sugar paste is too hard knead it well until it becomes soft and pliable again.
- Only lightly dust your work surface with icing sugar. If you incorporate too much icing sugar into the sugar paste it will dry out and potentially crack.
Tips for making the base
For each of these cupcake designs you need to start by creating a base. You do this by rolling out either brown, pale pink or white really thinly and then cutting out a circle the size of the top of your cupcake.
It's best to keep this layer nice and thin as we will be building on top and you don't want the ratio of cupcake to icing to be all wrong.
Tips for making the hats
You want the top of the hats to have the same perfectly circular edge so cut out another circle from your chosen sugar paste (e.g. green for the elves) then trim until the hat will cover roughly ⅓ of the face. Repeat this for each of the hats you need to make.
Top tips for eyes and noses
The eyes and noses are rather simple to make. Simply pinch a small amount of sugar paste then roll between the palms of your hands until you have small balls. Carefully stick these to the face using the smallest amount of glace icing. A toothpick is the perfect tool for adding just a tiny amount to the base of the icing ball.
You can also make small balls and press down on the slightly before lining them up under Santa's hat to make a fluffy trim.
Top tips for more intricate details
Some of the detailing on the cupcakes can't simply be cut using a cutter or rolled by hand. For example Santa's beards and Rudolf's antlers need a bit more patience.
Make yourself a small template using a piece of paper. Use this and a sharp knife to carefully cut out the thinly rolled sugar paste into the desired shape.
Tips for adding the final touches
For things like the freckles on the little elf's cheeks use an edible marker pen.
The instructions
Christmas Character Cupcakes
Equipment
- Round cookie cutter (the same size as the top of your cupcake)
- Sharp knife
- Rolling Pin
Ingredients
- 12 vanilla cupcakes
- 250 grams white fondant
- 125 grams black fondant
- 125 grams brown fondant
- 250 grams light brown fondant
- 250 grams peach fondant
- 250 grams red fondant
- 250 grams green fondant
- 125 grams orange fondant
- 125 grams purple fondant
- 1 black edible marker pen
- 2 tablespoon icing sugar
- 2 teaspoon water
Instructions
- Begin by rolling out the white, peach, and light brown sugar paste roughly half a centimetre thick. Cut out 4 white circles, 8 peach circles and 4 brown circles using the cookie cutter. These will form the base of the faces.
- Coat the tops of the cakes with a thin layer of glace icing and stick the sugar paste circles to the cakes.
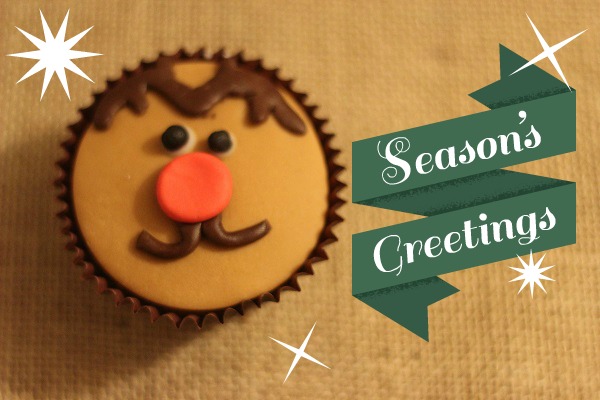
For the Reindeer (4 in total)
- Take a ball roughly the size of a 50p piece of dark brown sugar paste and roll out until half a centimetre thick. Using a sharp knife cut out the shape of antlers freehand. Coat the back with a little glace icing and still to the top of the cake.
- With the remaining dark brown sugar paste, roll a thin sausage and create a ‘W’ shape. Stick this to the cake top so that the centre of the ‘W’ is in the centre of the cake.
- Just a few millimetres below, carefully dab two eyes using a spoon and the glace icing. Take a little bit of black icing and roll two small balls to create the pupils for the eyes. Place these carefully in the centre of the two white dots.
- Lastly, pinch a small amount of red sugar paste and roll into a ball. Flatten with your fingers to create a flat, circular, red nose. Using the glace icing stick the nose over the central spike of the ‘W.’
- Repeat for each brown cupcake.
For the Snowmen
- Roll 6 small balls out of the black icing. Dab two eyes of glace icing in the centre of the cap and add two balls for pupils. Using a small amount of glace icing, stick the remaining four balls in a crescent shape to form the snowman’s mouth.
- Next take a pinch of orange sugar paste and form into a triangle, much like a carrot nose. Stick this with glace icing just below the eyes and in the centre of the cupcake top.
- For the snowman’s hat, roll the purple icing roughly half a centimetre thick. Cut out a whole circle using the cookie cutter. With the sharp knife, cut this in half. Place one half to one side to use as an elf’s hat later. Stick the hat to the cake using a little glace icing.
- Take a small amount of purple sugar paste and roll into a sausage roughly half a centimetre longer than the diameter of the cake. Do the same with the green sugar paste. Place the two “sausages” next to each other and twist. Pinch the ends to seal and stick along the bottom edge of the hat to create a stripe-y trim.
- Take a pinch of green icing and roll into a ball, flatten and then using the knife, score grooves around the outside to look like a pom-pom. Stick to the top of the hate with a little glace icing.
- Repeat for each white cupcake.
For Father Christmas (4 in total)
- Roll the red sugar paste roughly half a centimetre thick. Cut out a circle using the cookie cutter. Cut this in half and place one half to one side for use on another Father Christmas cupcake.
- Stick the red half to the top of the cupcake with a little glace icing.
- Roll a ball and a sausage with the white sugar paste and using your knife create grooves along the edges to create a pom-pom effect. Attach the round pom-pom to the top of the red half of the cupcake and attach the sausage along the bottom to trim Father Christmas’s hat.
- For the eyes, roll two small balls from the black sugar paste. Attach with a little dab of glace icing.
- Using the sharp knife, cut a beard free hand from the white sugar paste. Use semicircle movements in roughly a triangular shape” Stick to the cake with glace icing.
- Finish off the Santa Clause cupcake with a flattened ball of red sugar paste for a nose, and a small smile with the edible marker.
- Repeat for 3 peach cupcakes.
For the elves (4 in total)
- For the elf’s hat, roll the green sugar paste roughly half a centimetre thick. Cut out a whole circle using the cookie cutter. With the sharp knife, cut this in half. Place one half to one side to use as a snowman’s. Stick the hat to the cake using a little glace icing.
- Take a small amount of purple sugar paste and roll into a sausage roughly half a centimetre longer than the diameter of the cake. Do the same with the green sugar paste. Place the two “sausages” next to each other and twist. Pinch the ends to seal and stick along the bottom edge of the hat to create a stripe-y trim.
- Take a pinch of purple sugar paste and roll into a ball, flatten and then using the knife, score grooves around the outside to look like a pom-pom. Stick to the top of the hate with a little glace icing.
- Just a few millimetres below, carefully dab two eyes using a spoon and the glace icing.
- Take a little bit of black icing and roll two small balls to create the pupils for the eyes. Place these carefully in the centre of the two white dots.
- Using an edible marker, draw on a small smile and three freckles on each cheek. (A little rose coloured glitter dust works well for rosey cheeks too!)
- To finish, take some remaining peach icing and roll into two small balls. Pinch half of the small ball to create a pixie ear shape.
- Attach both ears to the edge of the cupcake, slightly overlapping the trim of the hat.
- Repeat for the remaining peach cupcakes.
My personal favourite has to be the Elf. I was pretty happy with how life-like it looked! I always knew they’d be a little cartoony but I still wanted them to look professional. I’m quite pleased with how they turned out.
The only downside is how long they took me. These are fantastic to make if you have a spare afternoon, but doing these at 9pm at night isn’t ideal! So do make sure you leave plenty of time to make them.
I also wish I had had more colours to play with when making the elf and Snowmen’s little hats! Perhaps you could give them matching scarves too?! The possibilities are endless! All you need is an imagination.
Do you have a bake sale at work for Christmas? I think cake is a great way to bring people together – even more so if the cakes are festive!
Have you been baking Christmas cupcakes too? Please feel free to share them in the comments!
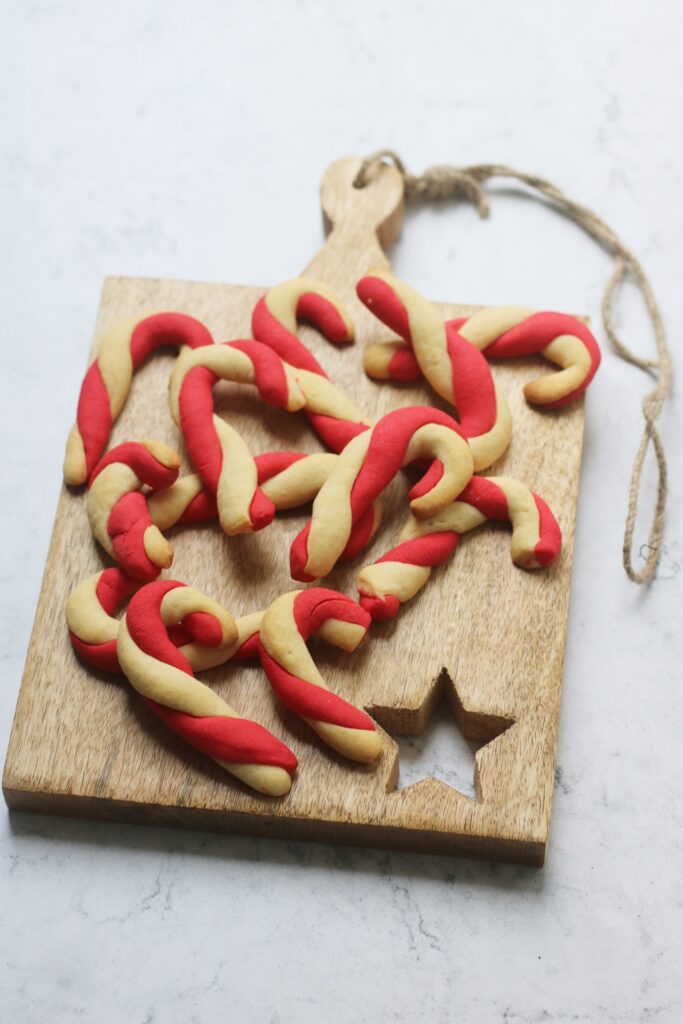
More festive bakes
Check out these other vegan cookies and cakes which are perfect for Christmas.

The Christmas recipe archive
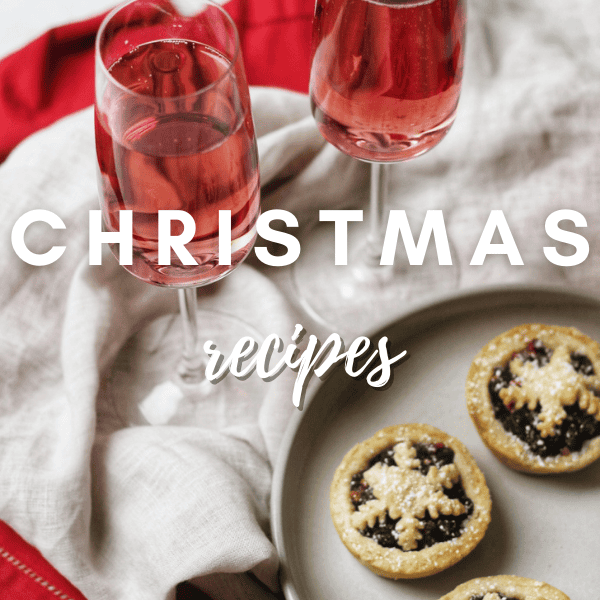
For the full range of Christmas recipes from Christmas dinner to cocktails, cookies cakes and more, check out the Christmas recipe archive.
LifestyleswithLia says
I love these cupcakes!!! Yes the elf is so cute!!! They all put me in the Christmas spirit!!
efwalt says
Thanks Lisa! I think I might have to make these every year they are so cute!!! I particularly love the pointy elf ears :-p xx