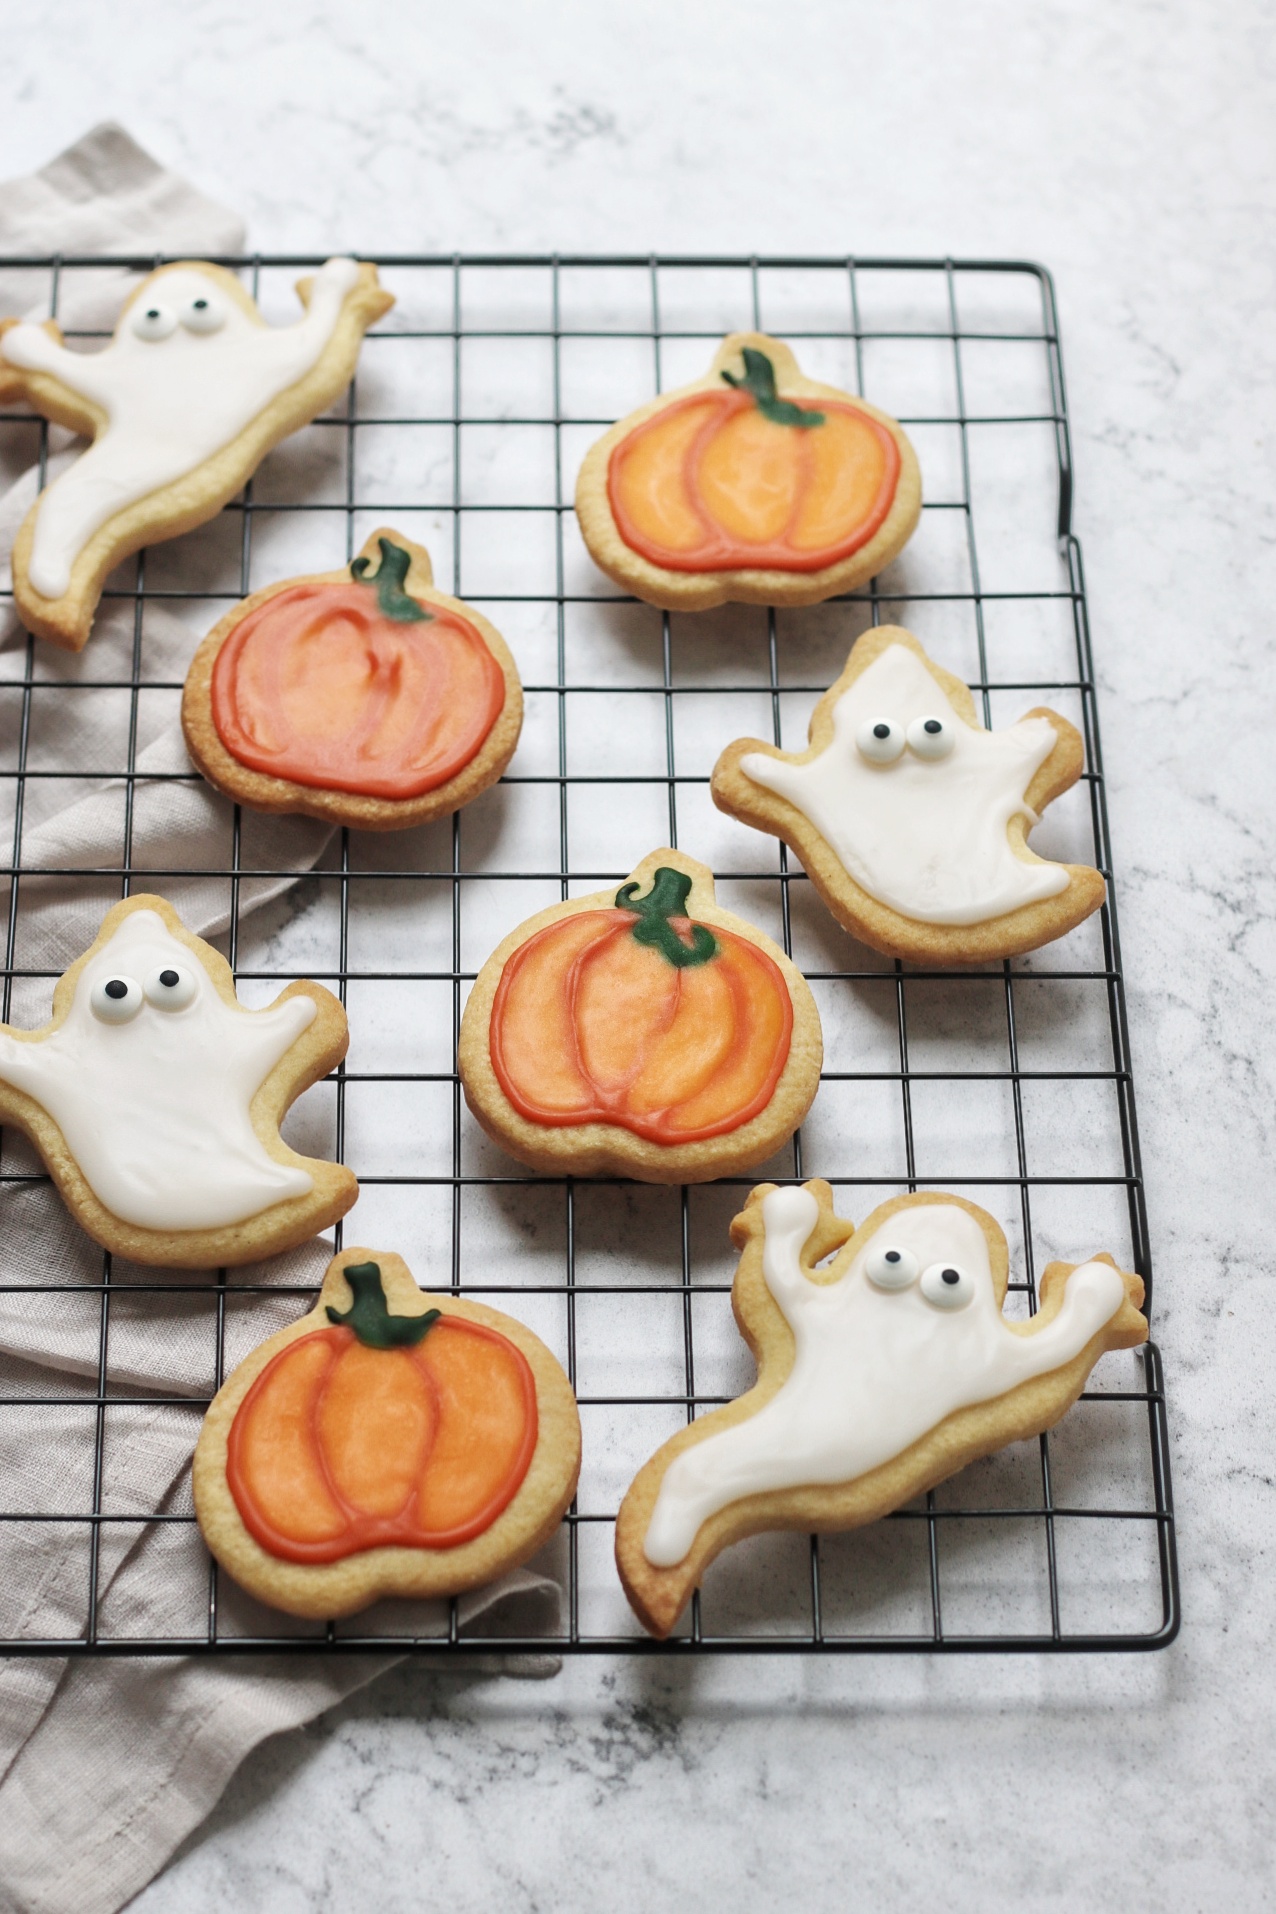
These Vegan Halloween Sugar Cookies are the perfect treat to make with little hands during spooky season! Get my fool proof recipe below.
What are sugar cookies?
Sugar cookies are simple, sweet buttery biscuits that can be cut into a wide range of shapes and sizes before being decorated. They are usually flavoured with just a hint of vanilla.
In the UK they're often just called "iced biscuits" but they sometimes go by other names like "jumbles". Regardless of what you call them they are are a great option for creating Halloween themed treats with kids (and adults) of all ages!
To make sugar cookies you need just butter, caster sugar, plain flour, vanilla extract and milk. A little bit of salt can also be added to balance the flavour (as you would with cakes and other sweet bakes).
How to make sugar cookies vegan
Making these Halloween Sugar Cookies suitable for a plant based diet or someone with lactose intolerance is easy.
Vegan butter
First you will need to swap the butter for a vegan block butter. Naturli and Flora Plant Butter are the two most popular ones in the UK market at the minute. I've made these cookies with both and con confirm both are equally delicious and both come out of the over a beautiful shade of golden brown and with a lovely buttery taste. Alternatively, if you can't source either of these brands, a margarine like Stork would also work well.
Plant milk
As well as swapping out the butter for a vegan alternative, you will also need to replace dairy milk with a plant or nut milk. My favourite milk to use in any baking recipe is soy milk but almond and oat also work well. Use whichever plant milk you prefer but I do recommend you use an unsweetened version. These cookies are already sweet enough.
Are any other substitutions needed?
In the UK, sugar, flour, vanilla and salt are all vegan so you don't need to make any other substitutions to the sugar cookie dough.
Though some sprinkles do contain shellac, which isn't vegan, so do check the ingredients list.
The secret to getting perfect sugar cookies every time
Always use block butter
It is absolutely essential that you use a hard, block butter. The two vegan brands I mentioned above (Naturli and Flora) have been specifically designed to have the same firm, texture as regular butter. Margarine is also a good alternative as it has the same solid texture.
The reason the texture is so important is because it helps keep the dough firm, is easier to roll out and ensures that they do not spread out in the oven. The last thing we want is for our Vegan Halloween Sugar Cookies to spread out and lose their shape!
Spreadable butter also has a higher water content which means that the biscuits won't have a lovely buttery texture, they will be more crisp and firm.
Don't be tempted to use other sugars
Baking is a science and whilst I know it can be tempting to swap out ingredients for what you have in the cupboard, don't be tempted to use a different type of sugar.
These Vegan Halloween Sugar Cookies must be made with caster sugar. Only caster sugar will make the dough lovely and smooth (making it easier for you to roll out and work with). It will give them the perfect level of sweetness. And, caster sugar, will make them the perfect shade of golden brown.
Light brown sugar, sweeteners, so called "natural" sugars like coconut sugar or maple syrup will all leave you disappointed as they will affect both the flavour and texture of the cookies. A Halloween nightmare!
Chilling is essential!
It can be tempting to skips steps like chilling the dough. In this recipe it gets chilled once after it is kneaded into a smooth ball, and then again once the cookies have been cut out into their desired shapes.
If you are in a rush then you can halve the chilling time by putting them in the freezer, rather than the fridge. Both methods work. Just make sure you don't skip this vital step or you risk having poorly defined shapes.

How to decorate your Vegan Halloween Sugar Cookies
Spooky cookie cutters
You can buy a whole range of different Halloween themed cookie cutters online from ghosts to pumpkins, bats, black cats, coffins and more!
If you don't want to buy cookie cutters just for Halloween why not try one of these ideas:
- A gingerbread man cookie cutter can be decorated to look like zombies, Eqyptian mummies, skeletons, Count Dracula or even Voodoo dolls. The list goes on!
- A basic circular pastry cutter could be decorated to look like a pumpkin, a pentagram, a skull, a spiders wed, a blood shot eyeball or a bubbling cauldron!
- A triangular cookie cutter could be candy corn or a witches hat!
- Trim the corners off of a rectangular cookie cutter to make a simple coffin shape.
All you need is a vivid imagination!
Vegan icing
Sugar cookies are often decorated with a simple icing made from just water and icing sugar that has been coloured using gel food colouring. The good news is that none of these ingredients are made using animal ingredients so no substitutions are required.
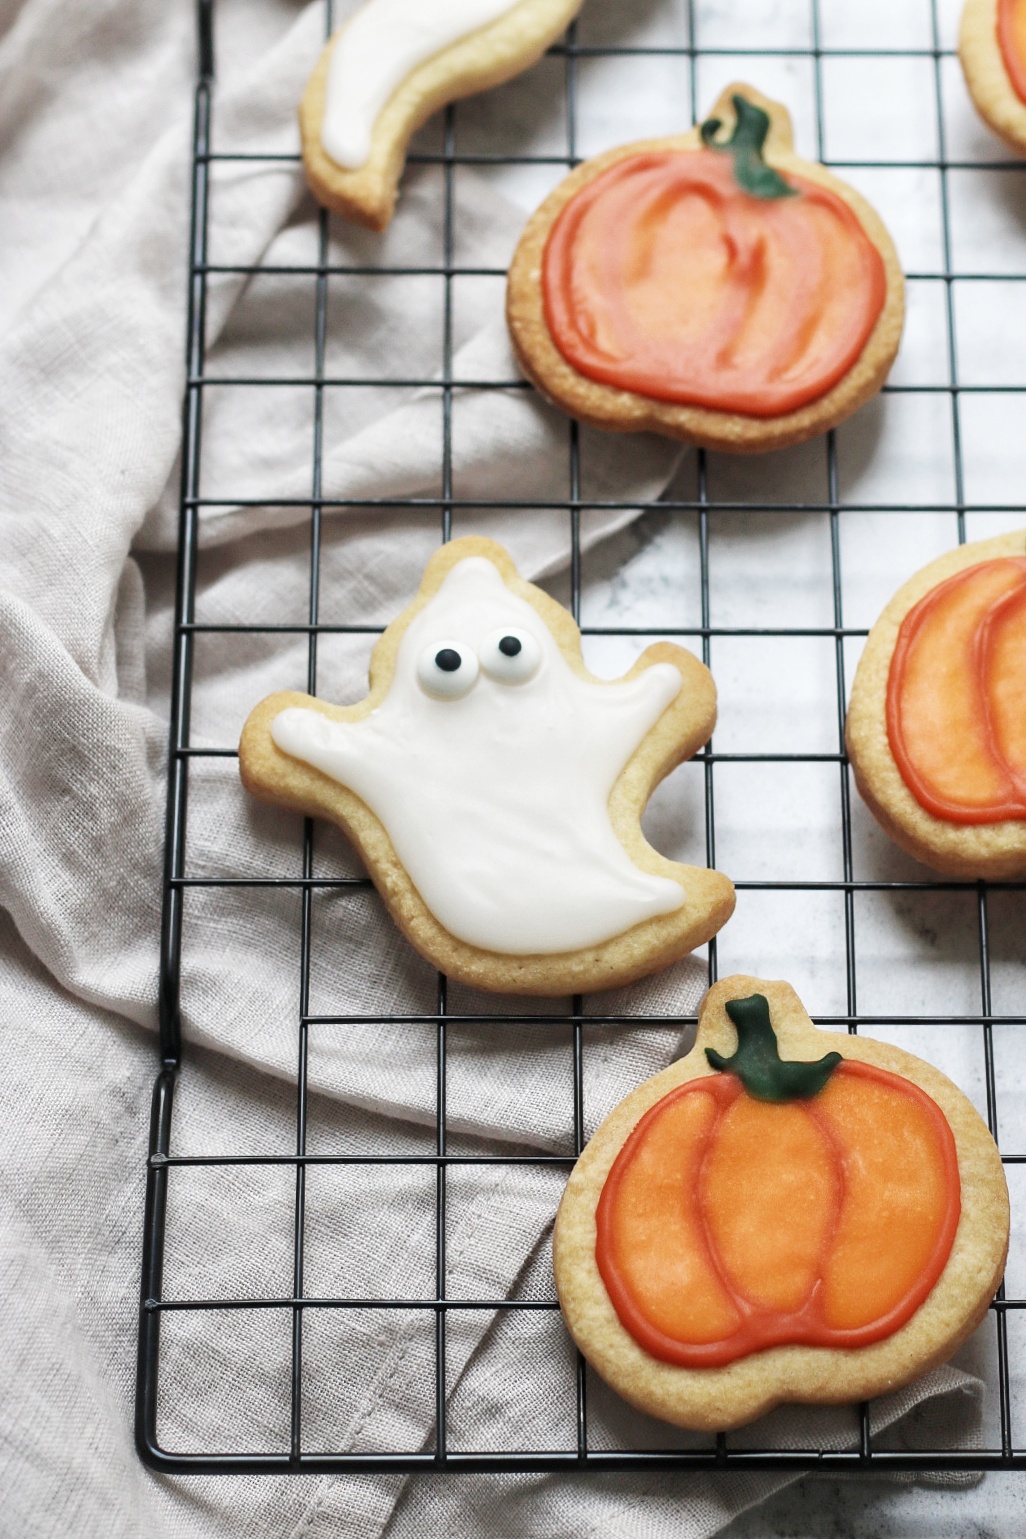
I recommend making a big batch of icing to a nice, thick consistency that is pipe-able but doesn't spread easily. Next, split this out into lots of bowls and colour it as needed. Pipe the edges of all of my cookies before adding a little water so that it is more of a "flooding" consistency to cover the rest of the cookies, within the lines you have just piped.
You can also use vegan chocolate to decorate your cookies with instead of icing. Dark chocolate makes a great shade of brown for decorating coffins!
Vegan sprinkles
There are lots of vegan Halloween themed sprinkle mixes on the market for example Asda have a mix of bats and pumpkins! You can also buy cool eye ball sprinkles from Wilton that use carnauba wax instead of shellac making them suitable for vegans.

The recipe

Vegan Halloween Sugar Cookies
Equipment
- Rolling Pin
- Cookies cutters
- Baking trays
- Cooling rack
- Icing bags
Ingredients
For the cookie dough
- 150 g vegan block butter or margarine
- 100 g caster sugar
- 1 teaspoon vanilla paste
- 275 g plain flour
- 1 pinch salt
- 2 tablespoon unsweetened soy milk or similar non-dairy milk
For the decoration
- 250 g icing sugar
- water warm
- gel food colouring colours of your choice
- sprinkles
Instructions
To make the cookies
- In a large bowl, cream together the butter, sugar and vanilla until light and fluffy (I use an electric mixer but this can be done by hand).
- Add in the flour and salt and stir until combined; to bring it together into t a ball of dough, add the plant milk and stir.
- Lightly dust your work surface with flour and tip the dough out (don't worry if its still crumbly at this stage, there's no need to add extra milk).
- Knead the dough to bring it together until its one smooth ball of dough. Avoid overworking it.
- Wrap the dough in cling film or place it into a Ziploc bag and place into the fridge to chill for at least 30 minutes. While the dough is cooling, line a couple of baking sheets with baking paper and place to one side.
- Once the dough is chilled, roll it out on to a floured surface. Be sure to move pick up the dough and rotate in between rolling it out to stop it sticking to your work surface. Stop once the dough is roughly 5mm / ¼ inch thick.
- Cut out as many cookies as you can and place them straight on to the lined baking trays. Place these trays into the fridge for 30 minutes.
- Bring together all of the trimmings into a ball, re-roll and cut out more cookies. Keep repeating this until you have use up all of the dough and don't forget to chill them before baking.
- While the cookies are chilling, preheat the oven to 180 C / 350 F / gas mark 4.
- Bake the cookies for 12-15 minutes until they are just golden brown.
- Once baked, transfer the cookies to a cooling rack and leave to cool completely before decorating
To decorate
- Sift the icing sugar into a large bowl and slowly add just 1 tablespoon of warm water at a time until the icing is smooth and thick. It should be thick enough to hold it's shape when piped. Be very cautious as it's much easy to add more water to make it thinner than it is to add more icing sugar to make it thicker.
- Divide the thick icing sugar into smaller bowls and colour with food gel.
- Transfer some of this thick, colour icing, into separate icing bags and pipe the edges of your cookie designs. Let this set slightly.
- Return the icing to the bowls and add 0.5 teaspoon of water to each bowl. Stir well until you have a more thin, spreadable consistency (adding a drop or two more of water if you need to).
- Carefully spoon or pipe the thinner icing into the centre of the cookies, the outlines you have already created will act as a dam to stop it flowing over the edges of your cookies.
- Add any sprinkles as a finishing touch before the icing sets.
- Leave the icing to dry for an hour or two before eating.
Nutrition
More Halloween recipes
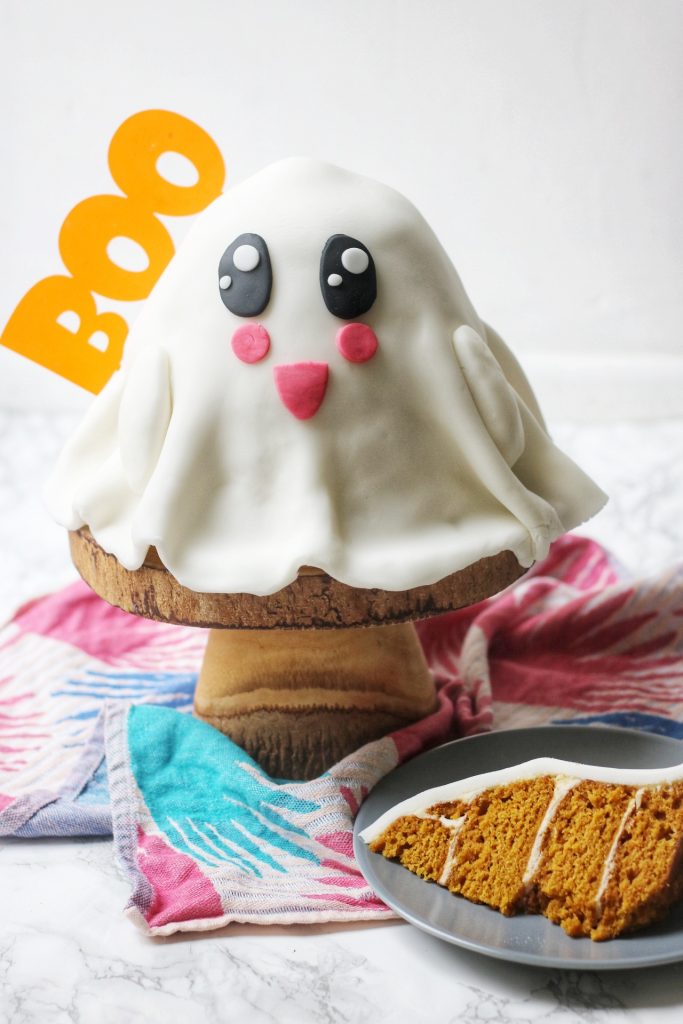
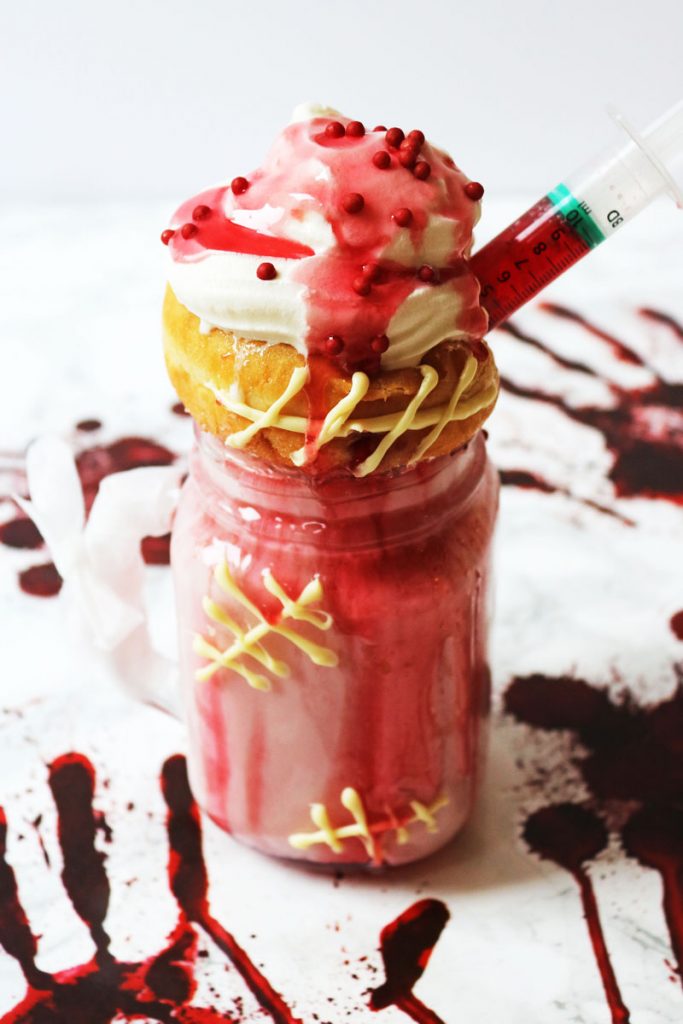
For more Halloween recipes like Spooky Rocky Road, White Zombie Cocktail, Halloween Pinata Cake and more, check out the full Halloween recipe archive.

Cooking Gallery says
Love the Halloween cookies! They look adorable!
Laura, Russ, Phoebe and Ezra says
We will be making some of these tomorrow. Thank you! Though we have no royal icing powder so the kids will have to settle for plain. Hope they go down well 🙂
Emmyw says
Good luck Laura, be prepared to get sticky 😀 They are certainly lots of fun to make! Can't wait to see pics of the finished result 🙂
simply.food says
WOW these cookies turned out great.