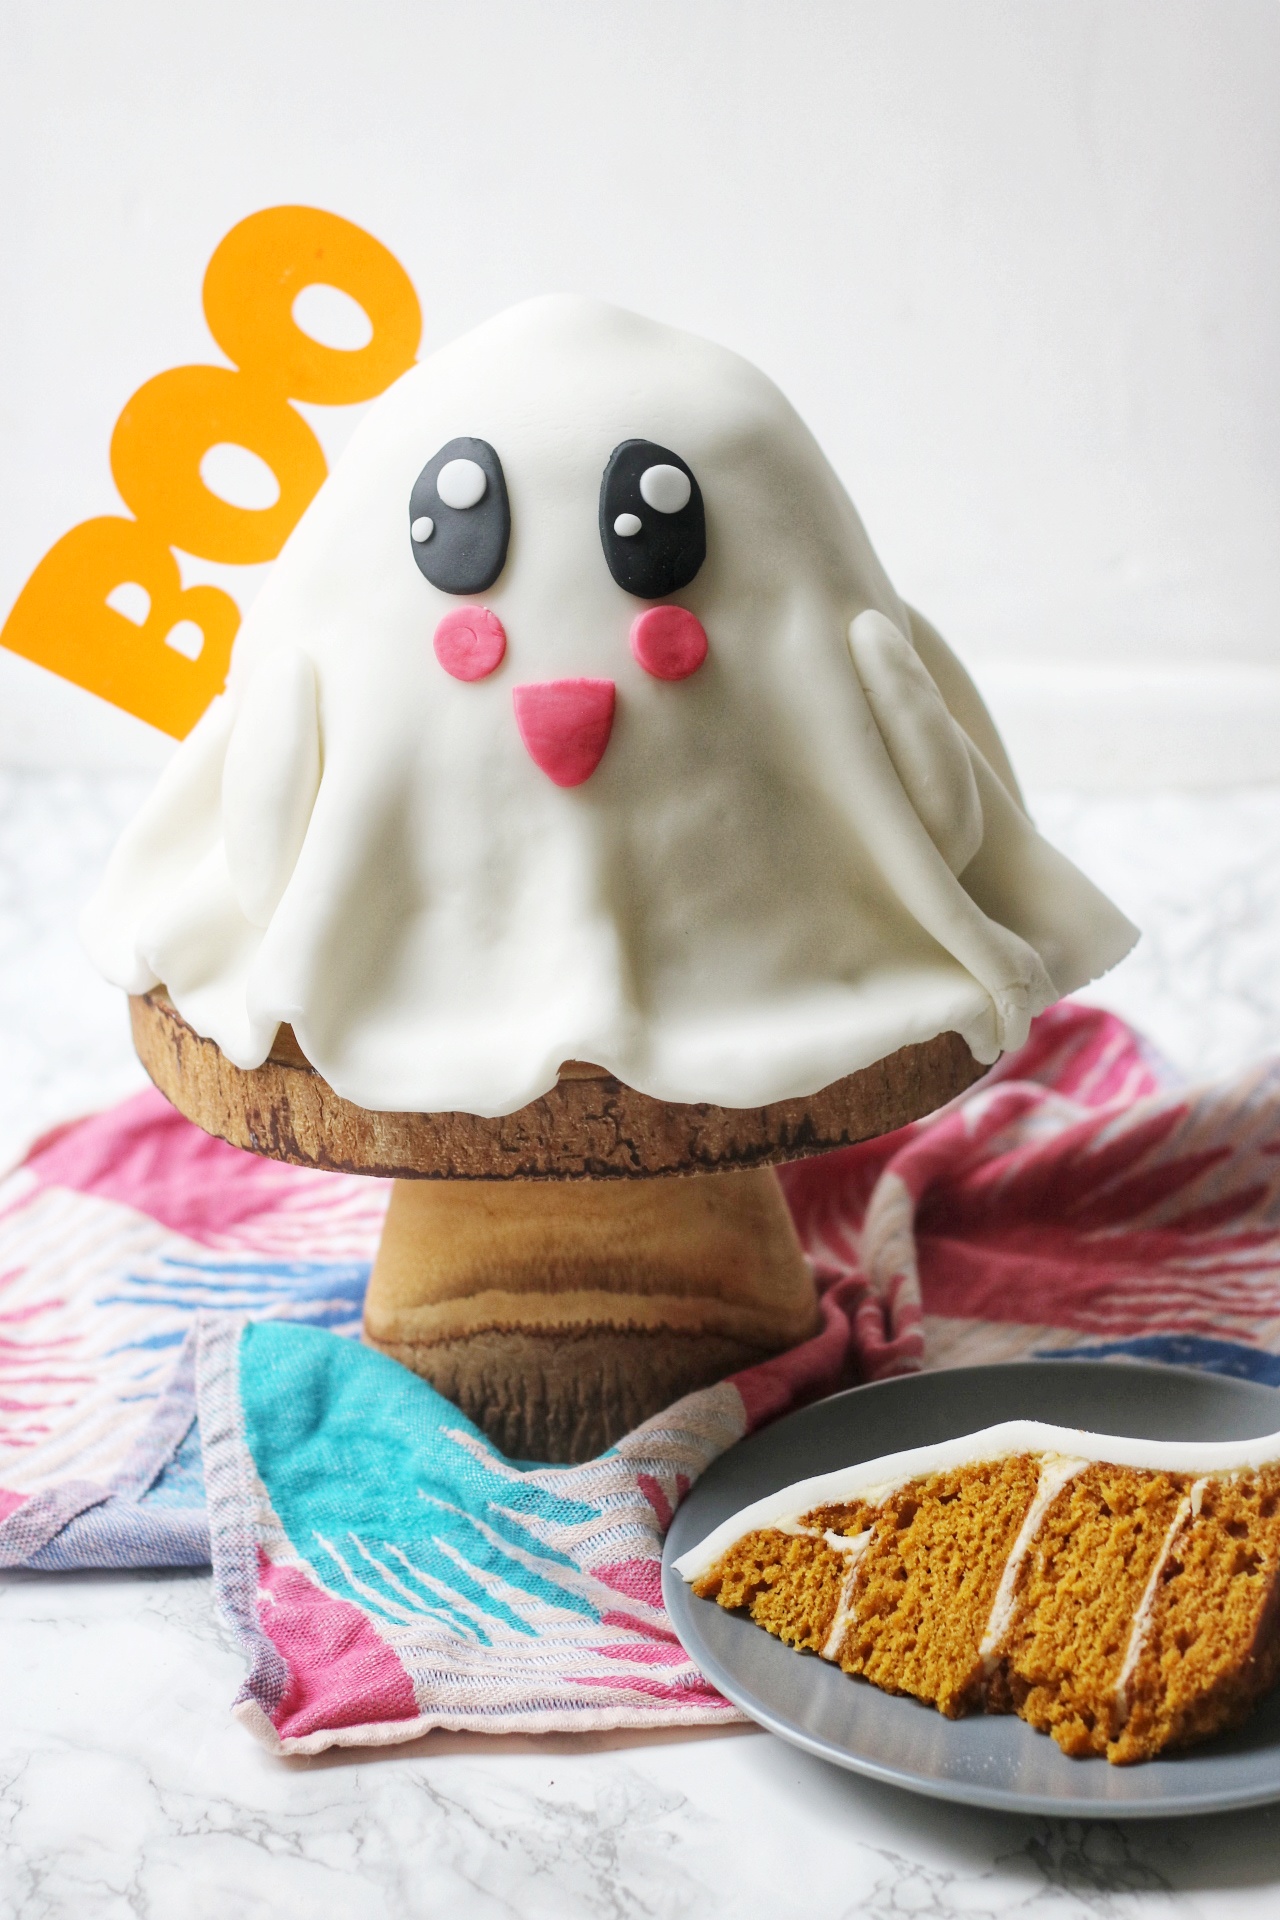
This Pumpkin Spice Layer Cake is decorated to look like an adorable kawaii ghost! It's perfect for Halloween. Get the recipe below.
What does Kawaii mean?
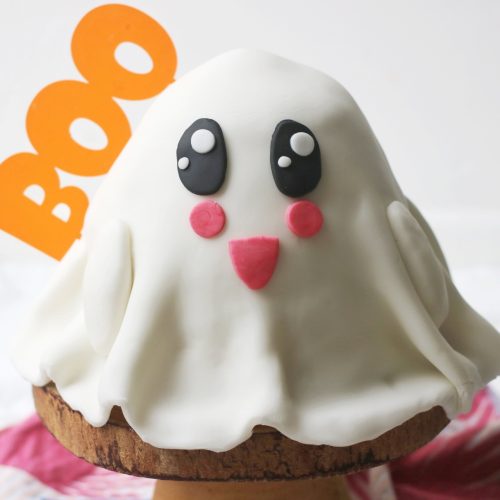
Isn't this ghost cake the cutest thing you've ever seen?! That's why it's "kawaii". Kawaii is a Japanese word which means cute, adorable and lovable and is widely considered to be the culture of cuteness that has spread across Japan and beyond!
Kawaii cakes featured as one of the challenges during the 100th episode of The Great British Bake Off but kawaii characters and designs aren't just found in baking. They can be characters in cartoons, designs on stationery or even feature in fashion. Hello Kitty is one of the best well known kawaii characters and she appears on pretty much everything! The culture of kawaii even extends to the way people act.
The culture of kawaii is thought to have originated as a subculture among teenagers in Japan during the 1970s. Sanrino launched Hello Kitty in 1974 and have been making lots of kawaii characters ever since. Most kawaii characters are designed to have disproportional bodies, often with wide eyes, and a little or mouth (or sometimes no mouth at all) which appears quite small in comparison to their big heads.Some of my favourite kawaii characters as Gudetama, Pusheen and Totoro.
Kawaii cakes
When visiting Japan I loved stopping off at bakeries to see the brightly coloured, cute confections on sale. From steamed buns to cupcakes, many sweet treats were decorated so that they were kawaii! I used these memories of my trip to Japan to come up with my design for this Halloween themed kawaii cake.
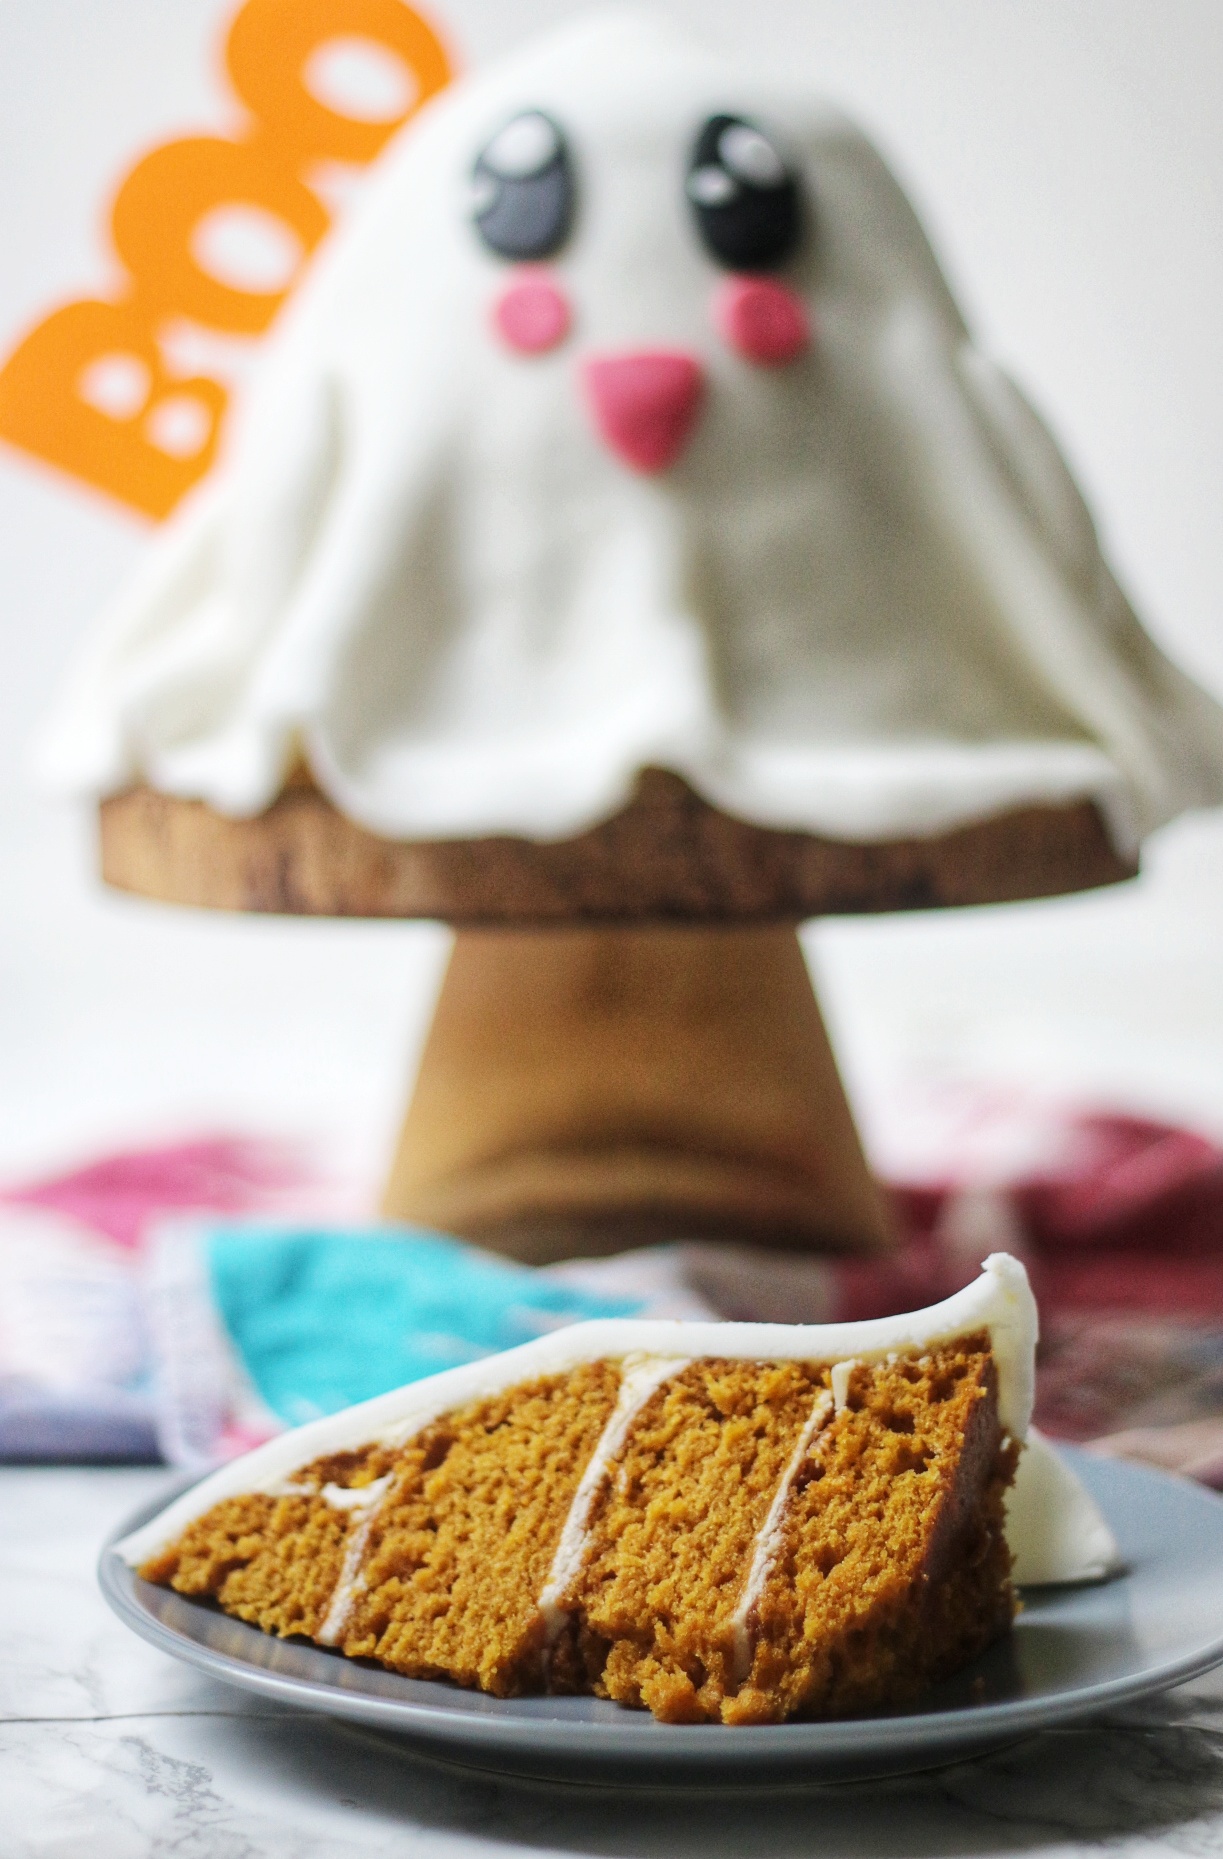
I stacked 4 layers of vegan pumpkin spice sponge cake, sandwiched together with a vanilla buttercream . Because the sponges are made with pumpkin puree and oil (rather than eggs and dairy) the sponges are super light! Once stacked, I carved them so that they had a domed top and were ever so slightly wider at the base than they were at the top.
I rolled out nearly 1 kilogram of white fondant and draped it over the stacked cakes. The best thing about decorating this cake is that you want the fondant to be all rippled and pleated around the edges. There's no need to worry about getting perfectly smooth fondant! If you want to make it even easier, you can buy the fondant ready rolled!
To make the adorable features of the face I dyed most of the remaining fondant black and pink. I then cut out two rosey cheeks, a cheeky smile and two big bright and sparkly eyes! Two little chubby arms give this lovable ghost even more personality. I've named him Jasper.
You can see all of my #gbbobakealong challenges here.
The recipe
This Kawaii Ghost Cake isn't just cute it's vegan too! There are also no dairy or eggs in sight. It's also pumpkin spice flavour making it the perfect Halloween treat.
Kawaii Ghost Cake
Equipment
- 1 x 7 inch cake tin
- 2 x 6 inch cake tin
- 1 x 5 inch cake tin
Ingredients
For the cake
- 375 grams plain flour
- 3 teaspoon baking powder
- 1 teaspoon bicarbonate of soda
- 1.5 teaspoon ground cinnamon
- 1.5 teaspoon ground ginger
- 1 pinch ground nutmeg
- 425 grams pumpkin puree
- 175 millilitres vegetable oil
- 100 millilitres plant milk e.g. almond or oat milk
- 300 grams golden caster sugar
- 1 teaspoon apple cider vinegar
To decorate
- 250 grams icing sugar
- 100 grams non-dairy butter
- 0.25 teaspoon vanilla paste
- 1 kilogram white fondant
- pink food colouring
- black food colouring
Instructions
To bake the cake
- Pre-heat your oven to 180C/350F/gas mark 4 and line your cake tins with grease proof paper. (You will need 1x 7 inch cake tin, 2x 6 inch cake tins and 1x 5 inch cake tin.)
- In a large mixing bowl, whisk together the flour, bicarbonate of soda, baking powder, and spices.
- In a separate bowl, whisk together the pumpkin puree, vegetable oil, plant milk, sugar and apple cider vinegar.
- Pour the wet ingredients into the dry ingredients and carefully fold them until the cake batter is smooth.
- Pour the cake mix across the three tins ensuring they are all as level as possible.
- Place the cake tins into the oven and bake for 20 minutes.
- Once the 20 minutes is up, check on the smallest of the cakes. If it is bouncy to the touch and pulling away from the edges of the tin remove from the oven and place on a cooling rack.
- Leave the remaining 3 cakes to bake for a further 10 minutes before checking to see if they have finished baking. (The largest of the 3 cakes may require an additional 5 minutes).
- Once all of the cakes have been removed from the oven, remove from their tins and place on a cooling rack.
To decorate
- Once the cakes have completely cooled, whisk together the non-dairy butter and the icing sugar until you have a creamy, spreadable buttercream.
- Stick the 7 inch cake to a cake board with a small amount of the buttercream.
- Spread the base of one of the 6 inch cakes with buttercream and stack on top of the 7 inch cake.
- Spread a layer of buttercream on top before stacking the second 6 inch cake on top of the first.
- Add another layer of buttercream before topping the cake with the 5 inch sponge.
- Using a serrated knife, carve the cake so that it has a domed top and gets slightly wider towards the base. You can use any off cuts to fill in any gaps making sure the cake is one smooth shape.
- Cover the cake in the buttercream until smooth all over.
- Coat a clean work surface with a dusting of icing sugar.
- Roll out roughly 750 grams of white fondant into a circle large enough to cover the cake.
- Drape the white fondant over the cake and let it naturally create ruffles and pleats. Gently press the fondant into the buttercream to ensure it's secure.
- Keep roughly 200 grams of the remaining fondant and place it to one side.
- Split the remaining 50 grams in half and colour one half pink and the other half black.
- Roll out the pink fondant and cut out two circular rosey cheecks and one "u" shaped mouth.
- Roll out the black fondant and cut out two oval shaped eyes.
- Pinch four small balls from the remaining white fondant. Press these out gently until they are small, flat discs. Secure these to the black eyes using a little of the leftover buttercream.
- Attach the eyes to the cake using some leftover buttercream.
- Next, attach the rosey cheeks directly below the eyes, followed by the mouth (again using leftover buttercream as glue).
- Finally, split the remaining white fondant in two and roll into two sausage like arms. Pinch the tops of each arms so that they are thinner than the ends.
- Attach the arms to the body using the last of the buttercream.
- Optional: add a spooky cake topper or even a fondant bow to make it extra cute!
More ghoulish and ghastly bakes!
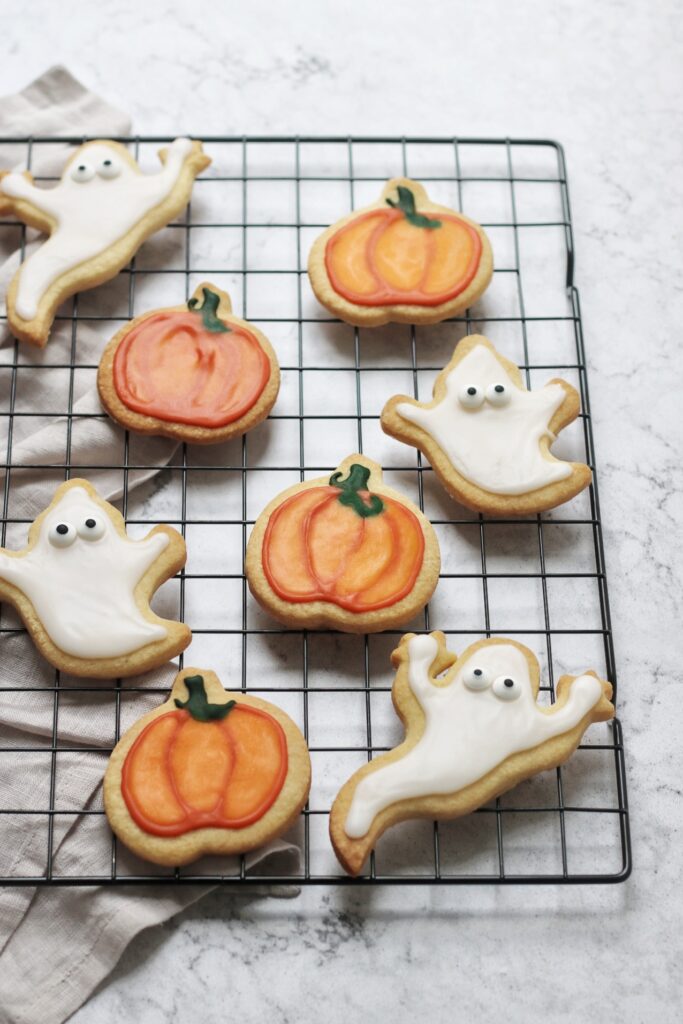
You can find the full archive of Halloween recipes here.

Leave a Reply