Bookmark this incredibly simple recipe for perfect fairy cakes every time (and with UK measurements)!
A classic recipe
Here's a fun fact for you, this was the FIRST recipe I posted on this little blog of mine, all the way back in 2011. It was the obvious recipe to share as it was the one that I had memorised off by heart when I was a little girl.
The recipe is adapted from the tried and tested Mrs Beeton's Small Rich Cakes recipe. Every Sunday I used to climb up on to my Mum's kitchen counter to fetch the weighty cookbook from above the kitchen cupboard (a strange place to store cookbooks, I know) and I'd get to baking and decorating.
Eventually I graduated to bigger and better cakes and bakes but this classic fairy cake / cupcake recipe is always one I go back to. So, when I decided to start cataloguing my recipes this was the first one that got published on the blog.
How to bake the perfect fairy cake every time
Over the years I've learnt a couple of things about what can really make or break a batch of cake batter. So if you want the lightest, fluffiest, tastiest fairy cakes then you'll want to follow these top tips!
1. Make sure your ingredients are room temperature
It's not good trying to cream together rock hard butter that is straight out of the fridge. Let it warm up before starting to beat.
2. Don't over mix the batter once you've added your flour
Some people use the "all-in-one method" for making cupcakes and fairy cakes. It's not a bad method, Mary Berry herself uses it. That being said, I find to get the perfect cake you need to add your flour right at the end. When the flour is added to the bowl you should fold gently, rather than mixing vigorously!
Baking is a science afterall and mixing too hard at this stage will develop gluten in the flour making them tough and chewy. Not what you want!
3. Use a scoop to fill your cake cases
I must admit I don't always do this. But, if you want uniform cakes for a cake sale or party then definitely measure your mix out using a regular ice cream scoop. That way you'l get the same amount of batter in each case.
4. Always pre-heat the oven
Don't be tempted to skip this step. You need to have the oven at the correct temperature before the cakes go into the oven. That leads me on to my next tip...
5. Invest in an oven thermometer
You probably know your own oven quite well - it wasn't until I moved into a rental flat that I realised I had no idea what temperature my own was at, despite what it said on the dial.
Ever since I've had an oven thermometer making sure I'm baking at exactly the right temperature - now my cakes come out perfect every time.
6. Don't open the oven door!
You'll probably read this on lots of baking blogs and in cookbooks but its never more true than for fairy cakes.
Opening and closing the oven door can cause the fragile air bubbles in the atter to burst. The result, a dense cupcake that has barely risen. The rush of cold air also messes up the cooking time which means you will have no idea when they will actually be ready. You can't possibly know how much heat was lost and how much time to add on.
Trust yourself (and my recipe) and don't peak until the very end.
7. Don't leave the fairy cakes in their pan
That metal cake pan you used is going to retain heat even when its out of the oven. If you leave your cupcakes sitting in their too long they are going to continue to cook! This will make them dry - something which no amount of frosting can fix. Move them striaght over to a cooling rack or a cool kitchen counter.
Experimenting with flavours
Once you've mastered the basic fairy cake recipe you can play with flavours. Here are some of my favourite cupcake recipes on the blog.
The recipe
Fairy Cakes
Ingredients
For the cakes
- 100 grams self raising flour
- 100 grams butter
- 100 grams caster sugar
- 2 eggs
- 1 pinch salt
For the buttercream
- 600 grams icing sugar
- 300 grams butter
- 1 vanilla pod seeds only
- 2 tablespoon milk
Instructions
- First pop the oven on to gas mark 4 (160 C) and weigh out all of your ingredients.
- After weighing out your ingredients cream the sugar and the butter together in a big bowl using an electric whisk.
- Make sure you cream the butter and the sugar for a long time! This is essential for light and fluffy cakes. You will know when the butter and sugar is creamed enough as the colour will go from a bright yellow to a much paler, creamier yellow. The mixture will also be extremely soft to the touch!
- Once the butter and sugar has been creamed beat your two eggs.
- Slowly add a little bit of the beaten egg mixture to your butter and sugar, whisking thoroughly in between each addition! Again make sure it is thoroughly whisked before adding more.
- Once all of the egg is mixed in, sift the flour and the pinch of salt into the bowl.
- Lightly fold the flour into the mixture until it is all combined!
- They are now ready for the oven!!! They will take roughly 20-25mins.
- Once they have gone a nice golden colour, poke a knife or metal skewer into one of the cakes. If it comes back clean they are ready!
- Leave the cakes to cool.
To decorate
- Beat the butter until it begins to soften, slowly adding the vanilla ad icing sugar.
- Using a hand whisk, mix together until smooth, adding a splash of milk if necessary.
- The consistency should be soft but firm enough to hold its shape when piped.
Nutrition
Time to decorate
What's nice about using such a simple and classic fairy cake / cupcake recipe is that you can decorate them in lots of different ways. Whether you go for bright and colourful buttercream, topped with sweets or a simple glace icing with a cherry on top they never dissapoint.
My favourite way to decorate a cupcake is with a swirl on top and a couple of sprinkles for good measure.
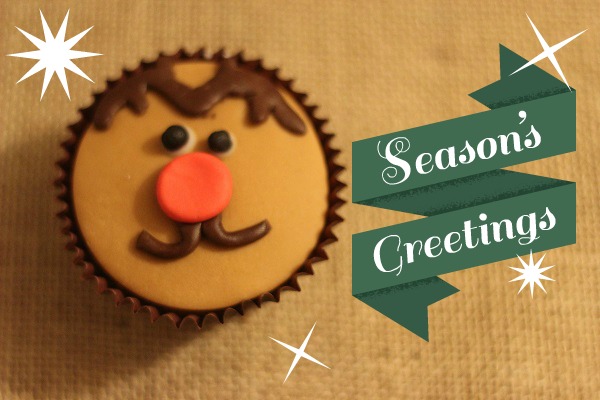
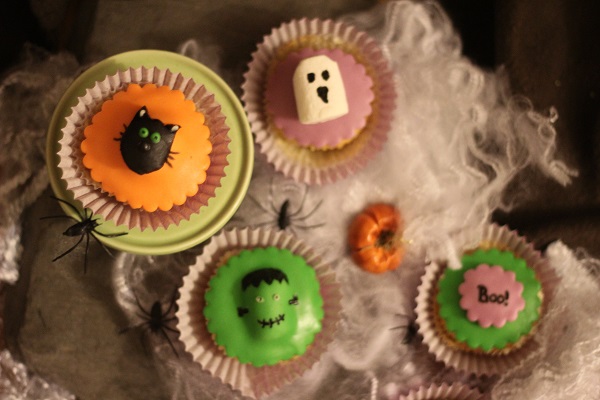
You can also use fondant to make different characters!
Make it vegan
Since starting this blog I've switched to a plant based diet. More about that here.
If you want to turn this, or any other baking recipe on the blog vegan (or egg or dairy free) then check out my big vegan baking guide which walks you through the steps to making plant based substitutes.
More cake recipes
For the full range of cake inspiration, check out my cake recipe archive.

Leave a Reply