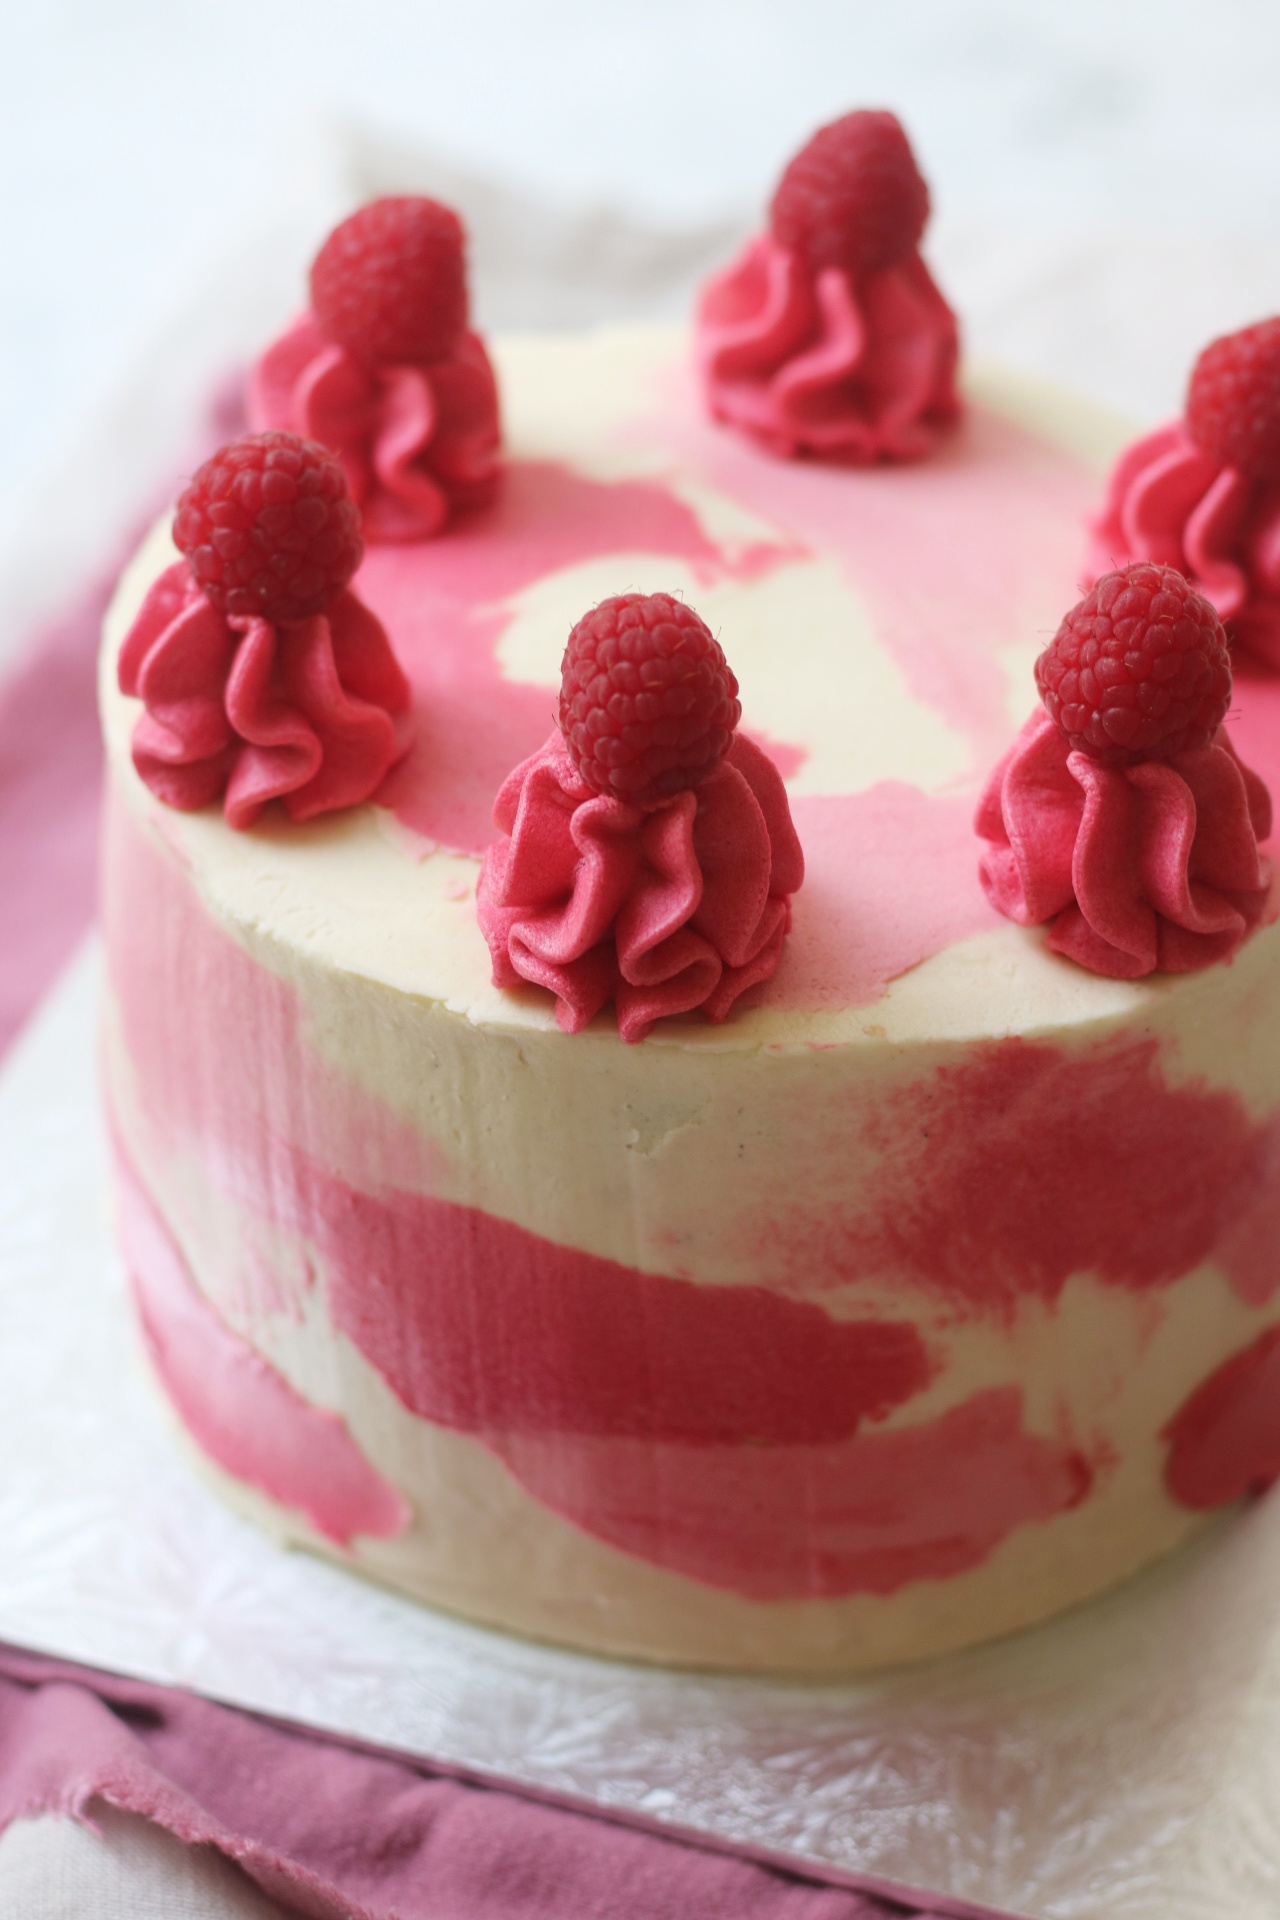
This Vegan White Chocolate and Raspberry Cake is the perfect plant based celebration cake. Find out how to make and decorate it below.
Celebration cakes
There are so many opportunities throughout the year to celebrate. From birthdays to Easter, Christmas, New Year and of course other special occasions like passing an exam, getting a new job or even getting engaged.
And with any celebration comes cake!
Regardless of the opportunity to celebrate cake is a must and just because you or your friends and family are vegan doesn't mean you need to miss out.
Vegan celebration cakes come in a whole range of shapes and sizes, and of course flavours! Today I'm here to share my recipes for Vegan White Chocolate and Raspberry Cake.
I think the sweetness of the white chocolate and the slight tartness from the fresh raspberries is a great combination! Of course the pink and white decoration looks pretty striking too.
As well as telling you how to bake the cake I'll also share instructions on how to decorate the cake just like I did. Of course this is optional and you can decorate your cake any way you wish.
How to make a Vegan White Chocolate and Raspberry Layer Cake
Vegan baking substitutes
Making a vegan cake doesn't have to be complicated. I think there's this common misconception that vegan cakes are difficult to make, particularly because you need to substitute out eggs.
There are so many commercial egg replacers on the market it can be hard to know which one to choose.
The good news is I don't use these in my recipes. I want you to be able to make this recipe at home without having to buy any specialist ingredients from the shops.
That means I don't use other egg replacers like flax seed eggs either. I use good old fashioned baking powder! More on how to make the sponge cake below.
If you want to find out more about substituting eggs and dairy in your cakes and bakes, check out my big vegan baking guide.
Making the sponge cake
There are two methods you can use when baking a cake: (1) the all in one method; and (2) the creaming method. Both work but I personally prefer the creaming method as I think it results in a lighter, fluffier cake!
The most important thing to do before making the sponge is to line your tins and weigh out all of your ingredients. You don't want to work too slowly when making this cake as as soon as the baking powder hits the rest of the cake mix it will start reacting. We want to make sure the air bubbles it creates are trapped in the sponge so we need to work quickly. Having everything weighed out and the tins already lined will help with this.
Once you've lined your cake tins and weighed out your ingredients it's time to cream the butter and sugar together along with the vanilla paste. You do this by adding them to a mixing bowl and beating (either by hand or using an electric whisk) until they are creamy. You'll know its done because the mix will no longer be grainy (meaning the sugar has been fully incorporated) and it will be paler in colour with tiny black flecks from the vanilla.
Once they have been creamed together we slowly add the milk while still beating. This will make a thinner, creamy batter.
Next comes the flour and baking powder. I add the baking powder to the flour first and give it a good stir to make sure it's evenly distributed. I then add the flour to the rest of the cake mix and fold it in using a spatula. Folding the flour in means you don't over mix which would result in a tough cake.
And that's it. The cake mix is made! Simply divide it between the two tins and you're ready to bake.
How to decorate the cake
Once you've baked your cake and left it to cool it's time to decorate!
Make up a big batch of white chocolate buttercream according to the recipe below and let's get decorating.
First I add a teaspoon of the buttercream to the cake board to stick my first layer down. This means it won't slide around while we're decorating.
Next fill a piping bag with ⅔rds of the buttercream and pipe a ring around the top of the first layer of sponge. This is going to trap in the raspberry jam which we are going to spread in the middle.
Once you've topped the first layer with buttercream and raspberry jam, place the second layer on top and give it a good push down to make sure it's stable and secure. The buttercream will hold it in place.
Next take the piping bag again and pipe the buttercream all around the cake and on top of the cake. Take a large, offset spatula and run it around the sides and top of the cake until smooth. If you find the spatula is dragging a little and it's not entirely smooth, you can run it under hot water before running it around the edges.
Take the remaining butter cream and divide it into two. Colour one batch pale pink and the other a deeper, brighter shade of pink.
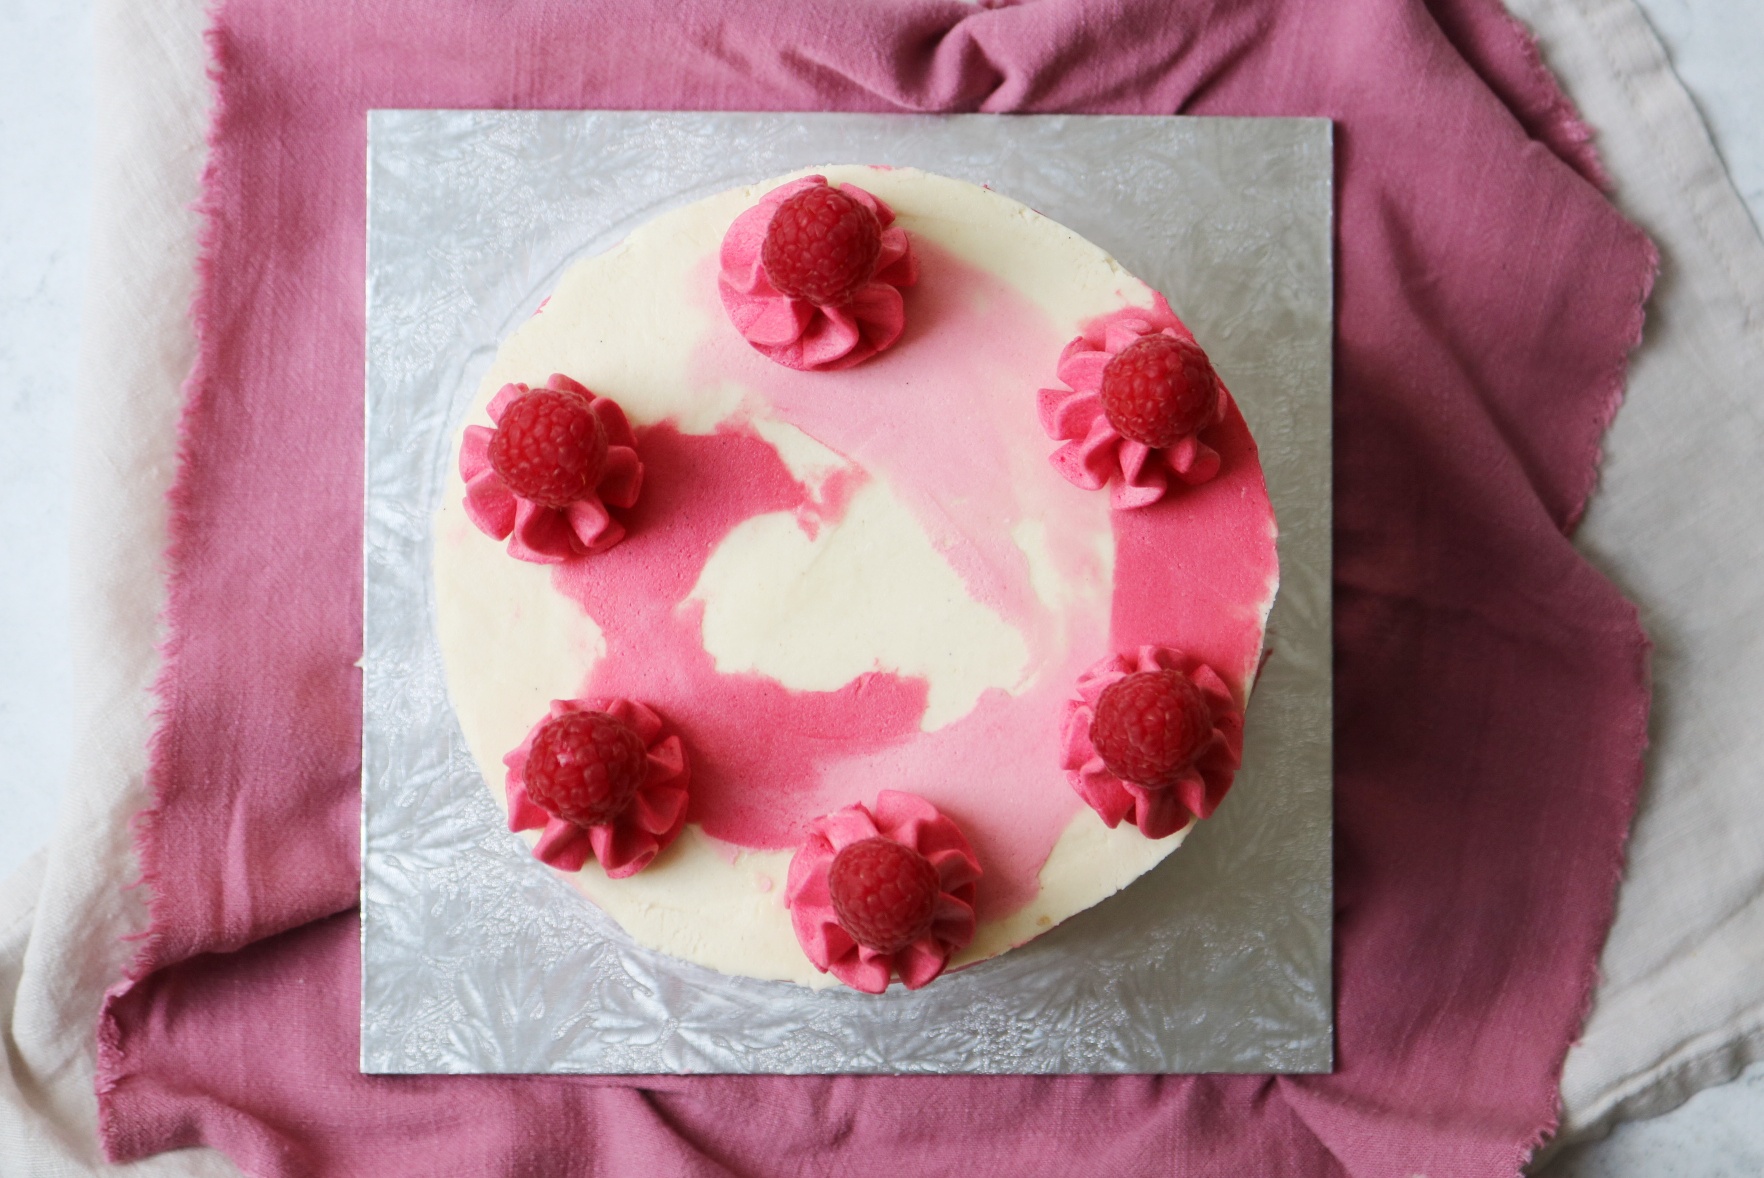
To get the watercolour effect, take a smaller spatula and add blobs of the two shades of icing around the cake. Do this at random rather than making them all neatly lined up.
Using the large, offset spatula, run it around the sides and top of the cake again, dragging the pink icing to create the watercolour effect. Keep running the spatula around and add more of the pink icing until you have the desired effect.
Add a large star tipped nozzle to a piping bag and fill with the leftover pink icing. Pipe 6 swirly stars on top of the cake then top with a fresh raspberry.
It's now ready to serve so grab some candles and let's celebrate.
The recipe
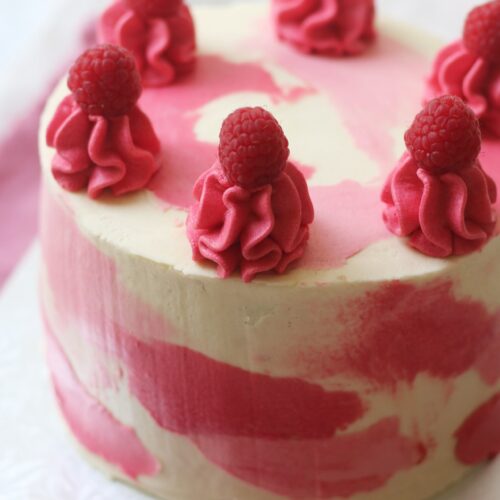
Vegan White Chocolate and Raspberry Cake
Equipment
- 2 7 inch cake tins
Ingredients
For the sponge cake
- 225 grams dairy free spread e.g. Flora dairy free
- 300 grams caster sugar
- 485 grams self raising flour
- 1 teaspoon baking powder
- 450 ml dairy free milk e.g. oat milk
- 2 teaspoon vanilla paste
For the decoration
- 6 tablespoon raspberry jam
- 250 grams dairy free spread e.g. Flora dairy free
- 500 grams icing sugar
- 150 grams vegan white chocolate
- 75 ml dairy free milk e.g. oat milk
- 0.5 teaspoon vanilla paste
- pink food colouring
- 6 raspberries
Instructions
To bake the cake
- Pre-heat your oven to 180C / 350F / gas mark 4
- Line two 7 inch cake tins with grease proof paper and place to one side.
- Add the dairy free spread, caster sugar and vanilla paste into a mixing bowl and beat well until creamy.
- Continue to beat whilst adding the milk in a little at a time.
- Add the flour and baking powder to the mixing bowl and fold in gently until it has all been incorporated.
- As soon as a smooth batter has formed, stop folding and divide between the cake tins.
- Place into the centre of your oven and cook for 45 minutes or until the edges of the cakes start coming away from the sides of the tins.
- Leave the cakes to cool in the tin for 5-10 minutes before transferring out on to a wire rack to cool completely.
To decorate
- Beat together the dairy free spread and the icing sugar until smooth.
- Melt the white chocolate then beat into the buttercream mix.
- Add the milk a little at a time while continuing to beat - do this until you have a smooth, pipe-able buttercream. (You may need more or less milk depending on your buttercream).
- Spread a little buttercream on a cake board or cake plate and place down the first layer of sponge cake.
- Fill an icing bag with a quarter of the icing and carefully pipe a ring of buttercream around the top of the sponge cake layer.
- Fill the middle of the buttercream ring with the raspberry jam.
- Place the sponge layer on top and press down gently.
- Pipe buttercream around the outside and top of the cake until covered.
- Using a spatula, start covering the sides of the cake with buttercream trapping in as many crumbs as possible.
- Using a large, offset spatula run it around the outside of the cake and on top of the cake until it is smooth.
- Divide the remaining buttercream into two bowls and colour one light pink and the other dark pink.
- Using a smaller spatula, add blobs of the two shades of pink around the cake at random.
- Take the large spatula and again run it around the outside of the cake until smooth
- Place an open star nozzle into a second piping bag and fill with the remaining buttercream.
- Pipe swirls on the top of the cake then finish with fresh raspberries.
Nutrition
More vegan celebration cakes
The cake collection
For the full range of cake recipes on the blog check out the cake collection here.

Leave a Reply