My Vegan Cherry and Almond Cake tastes like a Bakewell tart crossed with a Victoria sponge cake! Get the recipe below.
A fruit and nut cake with a twist
Is there a better fruit and nut combination that cherry and almond? Most people first come across these two ingredients in a Bakewell tart but it lends itself well to cake too! (In fact I first tried this combination in this recipe for Bakewell Muffins).
Almond Sponge Cake
You get a double dose of almonds in this cake as the recipe calls for ground almonds as well as almond extract. You could leave the extract out if you wanted but I love the rich, marzipan like flavour that it imparts to the finished cake. Ground almonds, however, are essential.
Bakers have been adding ground almonds to cakes for hundreds of years. Why? Well ground almonds are the perfect way of making sure you have a moist, spongy cake! If you've not come across ground almonds before you might have seen them labelled as almond meal, almond flour, or almond powder. Ground almonds is a much more accurate name as it isn't a milled flour at all. Instead it's just almonds that have been ground down to a fine consistency. If your'e in a reach pinch you can make your own ground almonds with the raw nuts and a food processor. If you can get hold of chopped almonds you're already half way to having ground almonds to use in your cake.
The rest of the cake ingredients are as you'd expect in a vegan sponge cake. I swap butter for non-dairy butter, instead of cow's milk I use soy milk and the cake gets its lift from bicarbonate soda instead of eggs.
Cherry Compote
In between each layer of almond cake is a healthy spread of cherry compote. If you make one shortcut then do feel free to purchase a cherry compote or jam from the supermarket. There are lots of fantastic brands to choose from these days like Bonne Maman.
As with any cake recipe, the better quality ingredients you can source, the better the cake will turnout. The same goes for compotes and jams. If you want to make your own then you can use frozen cherries and jam sugar.
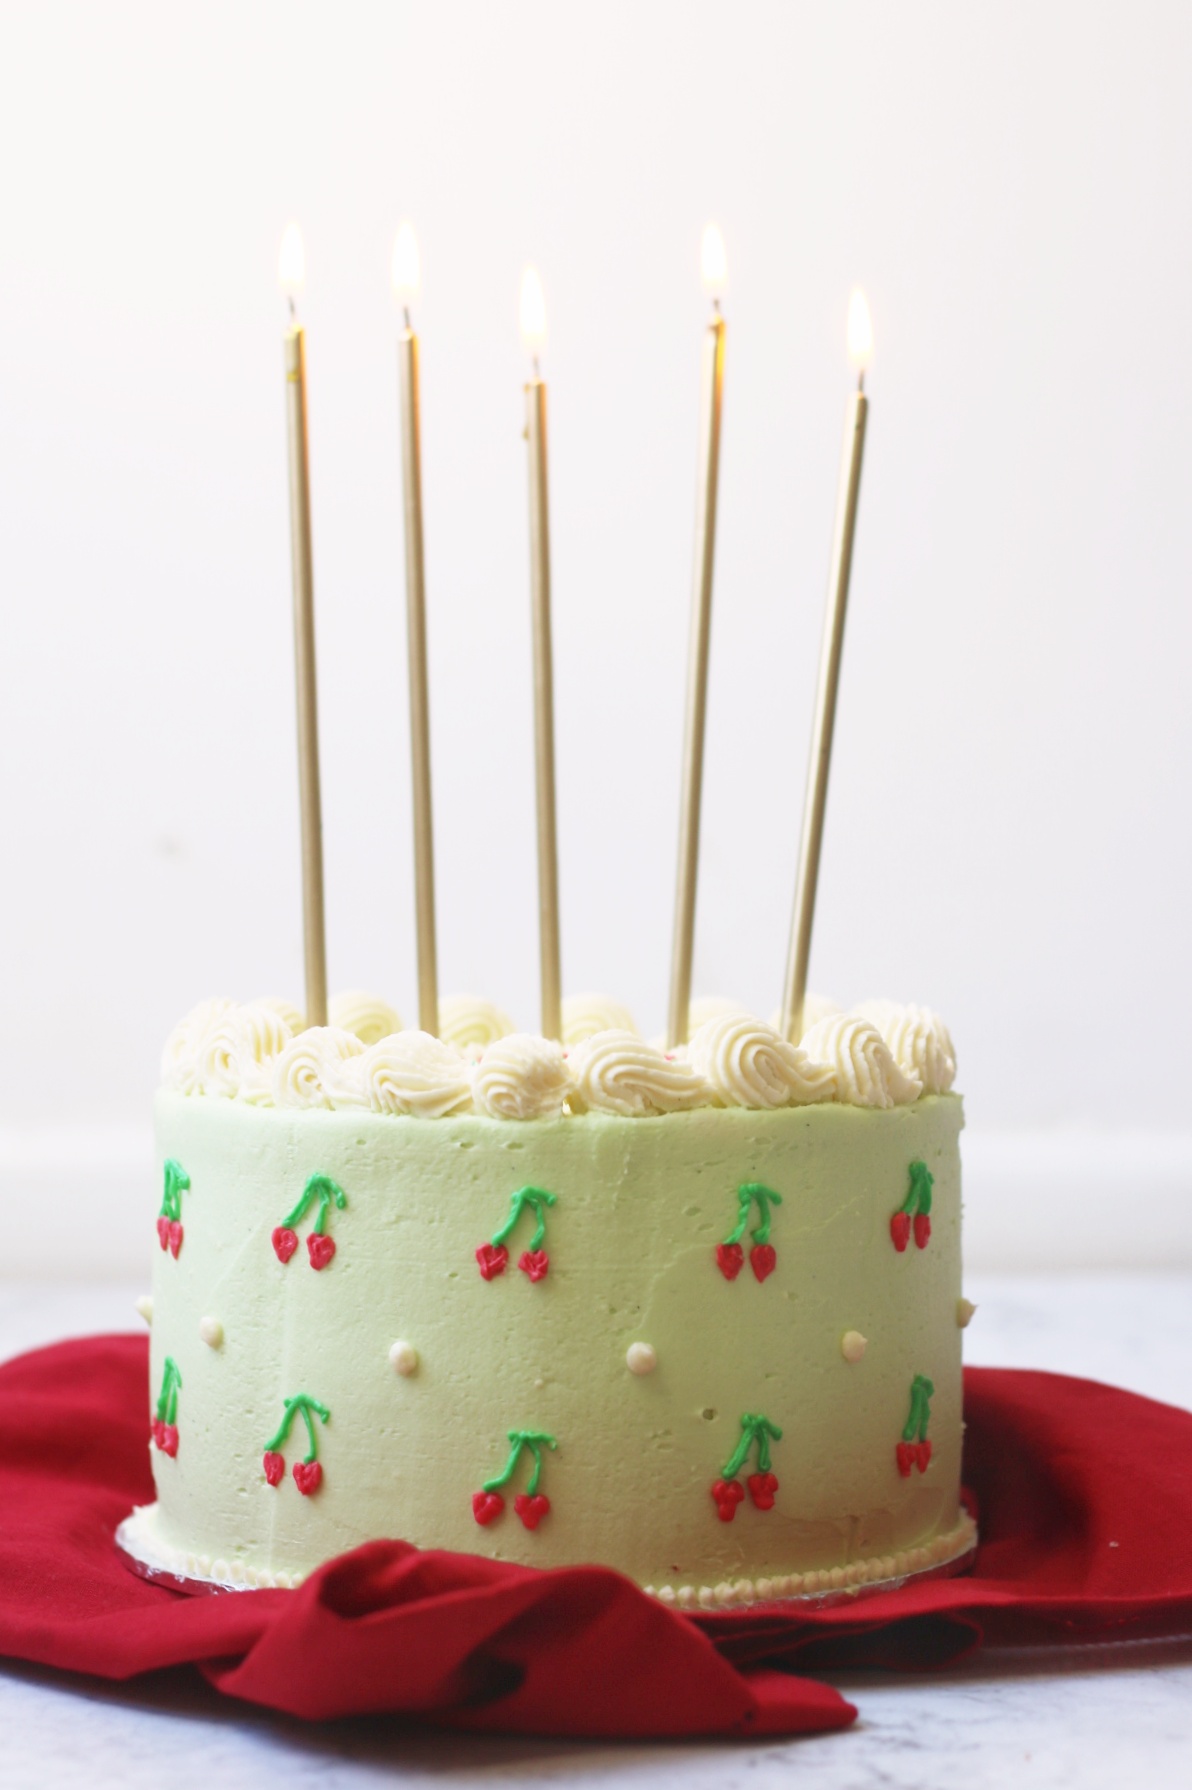
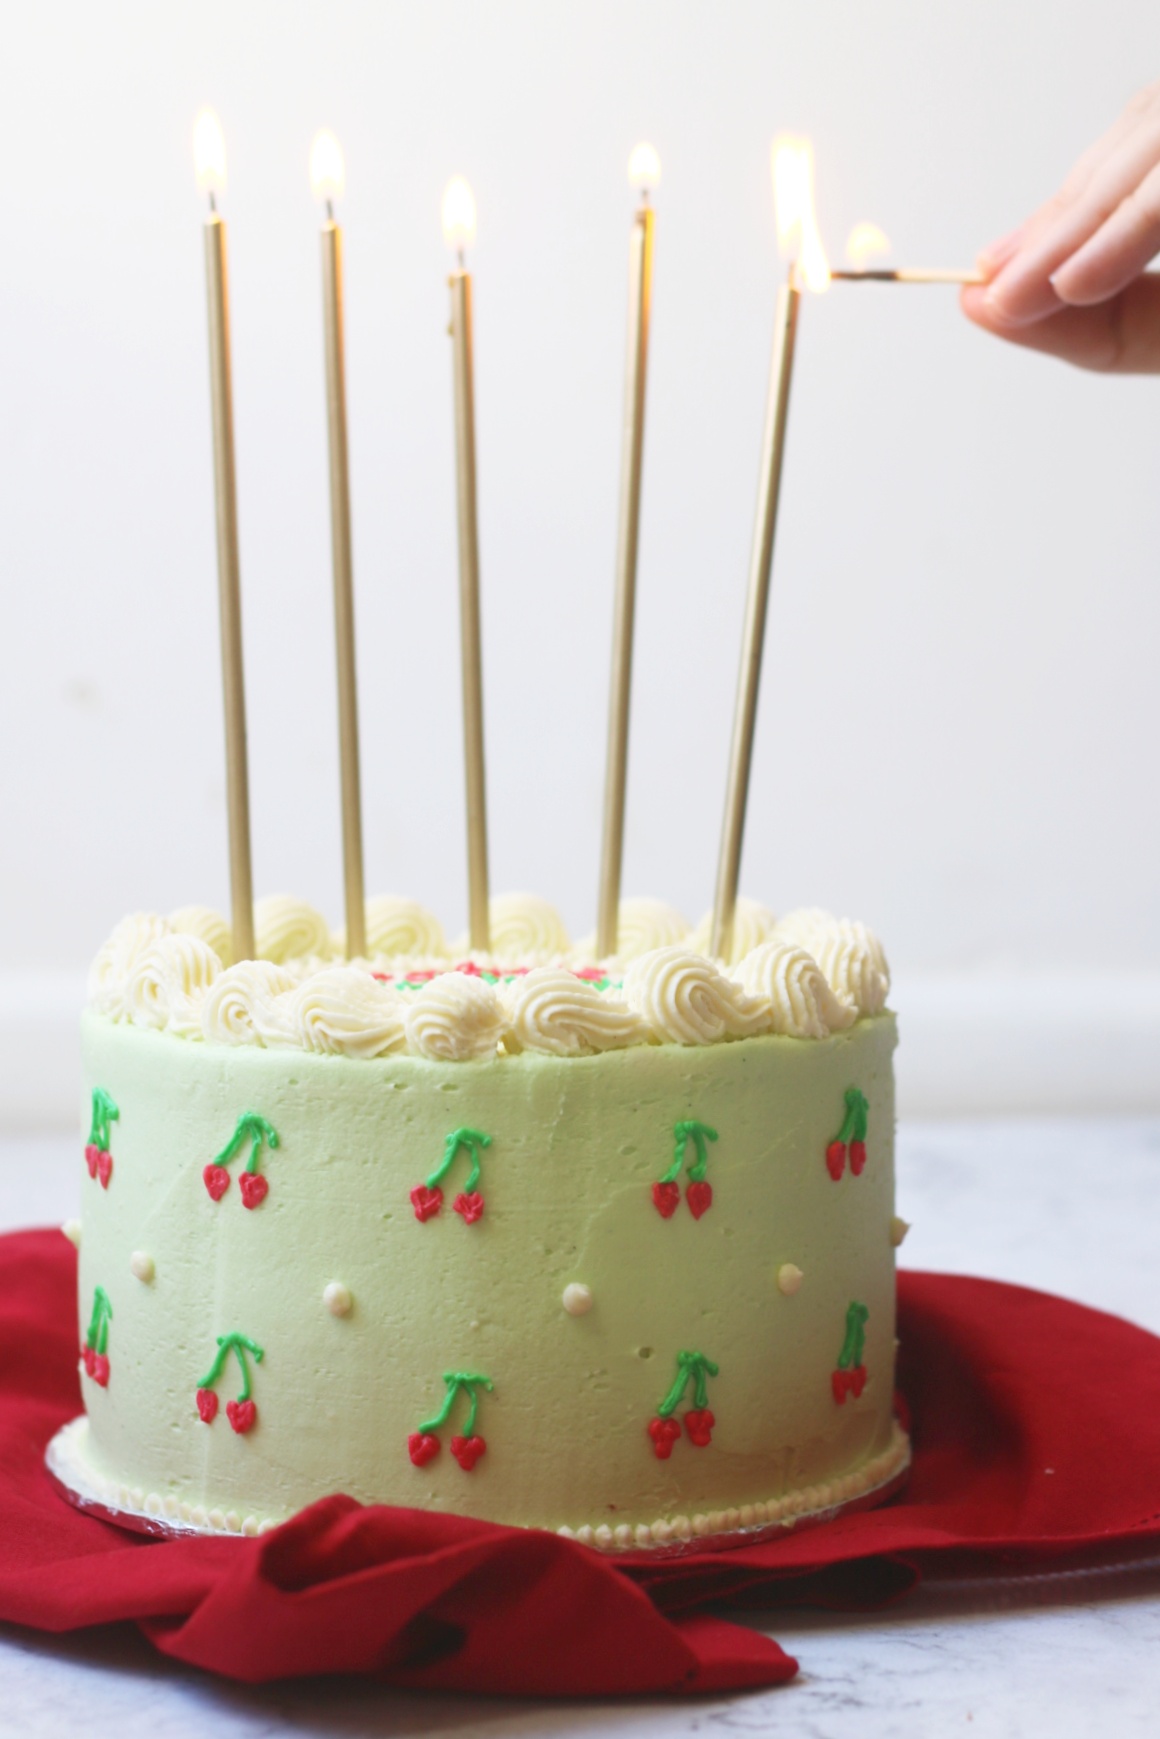
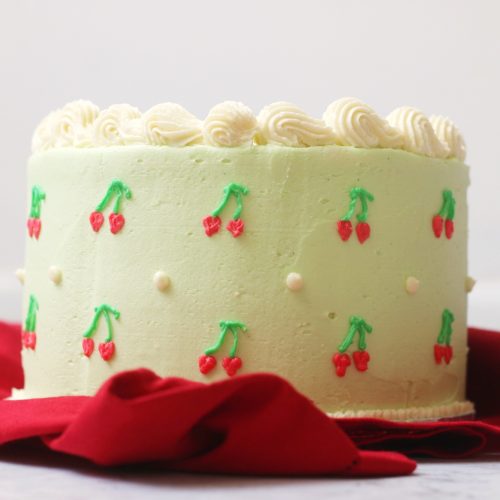
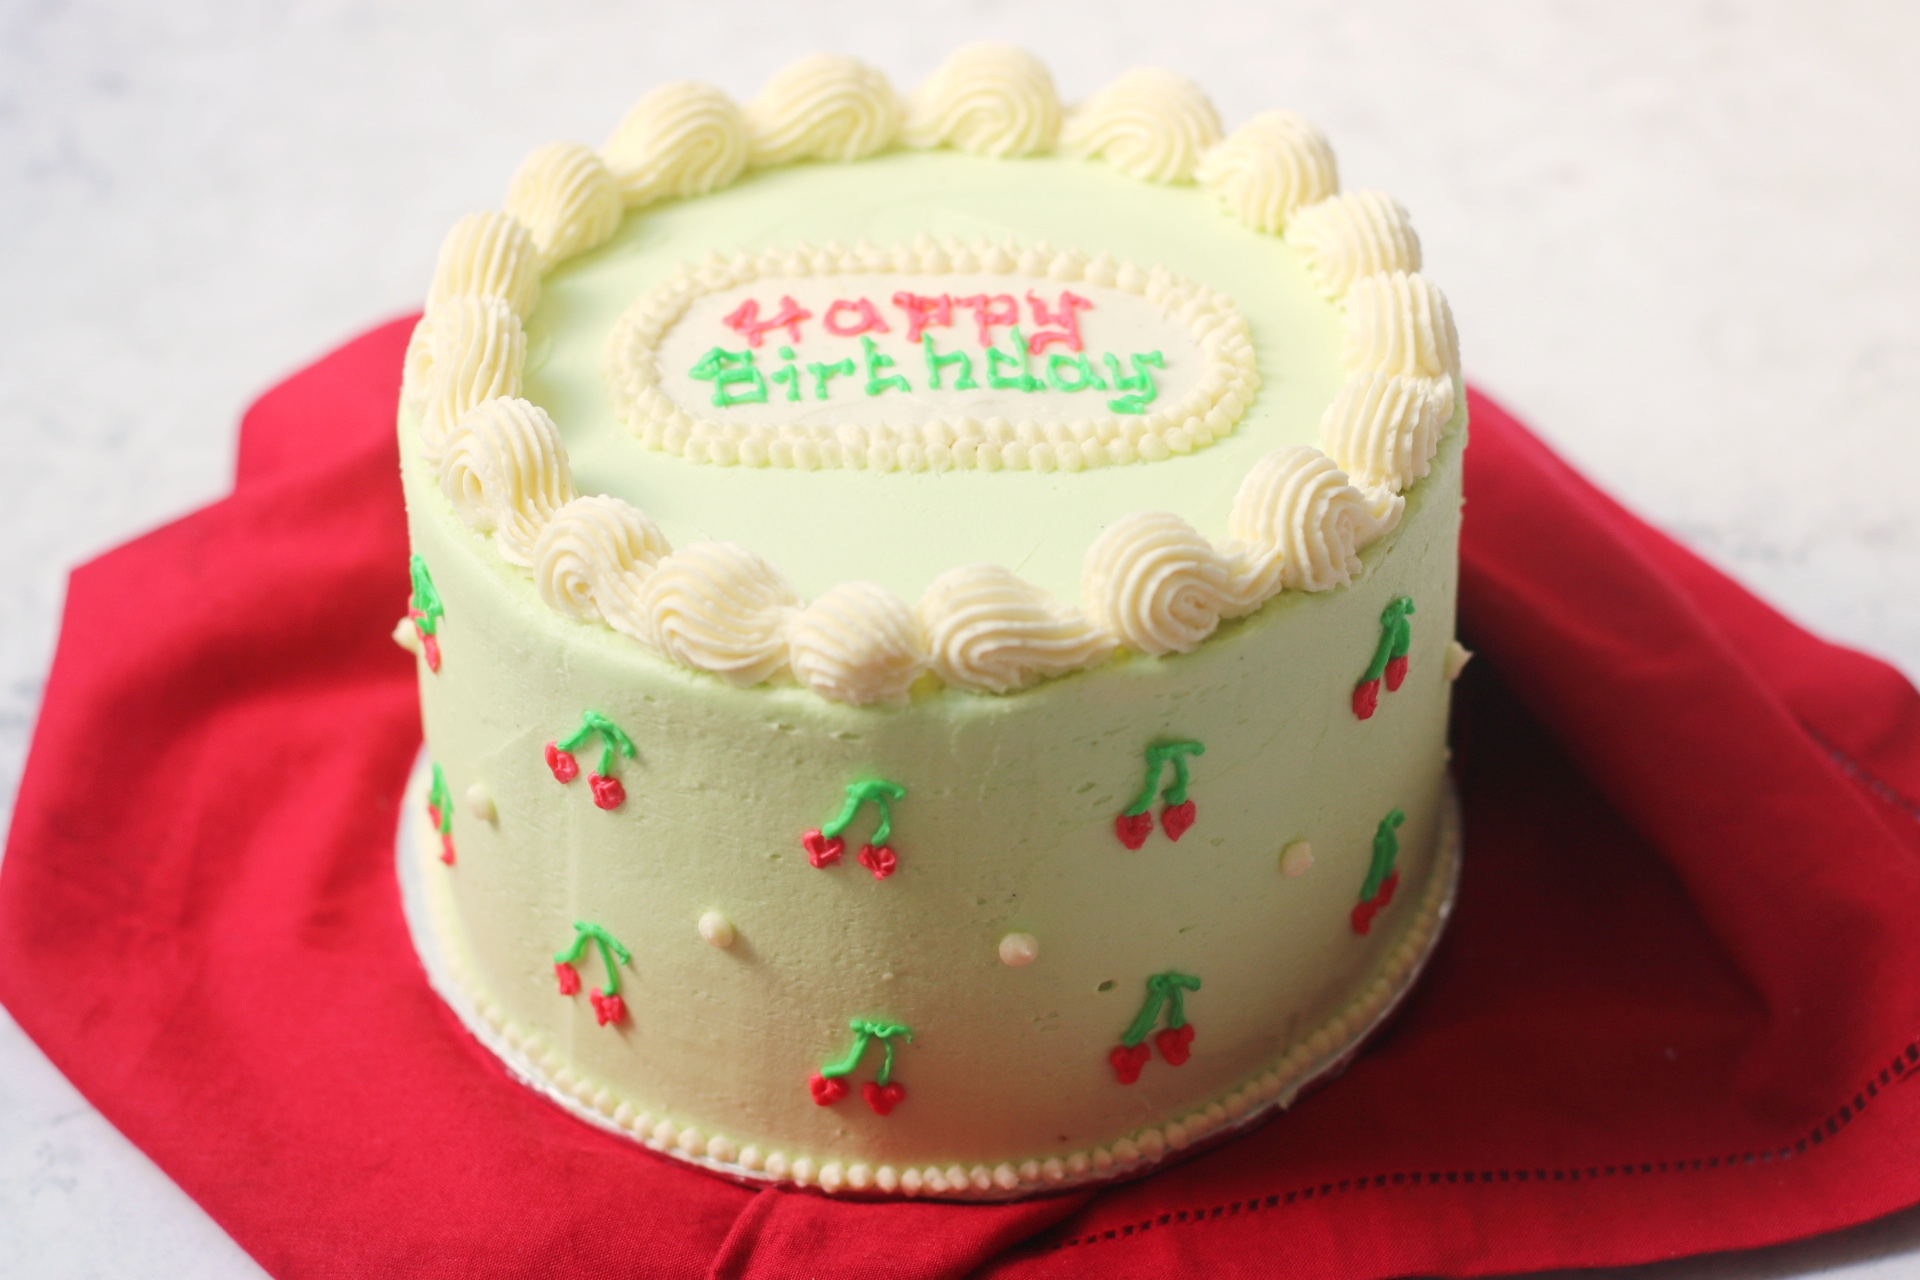
Minimalist cake design
For this cake design my inspiration mainly came from Korea but also from the wonderful Lily Vanilli Bakery in London who has a wonderful way with colour and piped frills. I'm currently a huge fan of pastel coloured cakes with minimalist designs piped on them. So, for this cake I chose a pistachio green for the main buttercream base. I then mixed it a little darker to pipe tiny cherry stems and a bright red buttercream for the cherry fruit.
Essential kit to help you get 'the look'
To pull off this design you don't need a lot of fancy equipment, just an icing bag with a star tip and a spatula! But, there are some bits of kit that are worth investing in because they will make your life a whole lot easier:
- Cake leveller - this will help you to cut off any excess cake so that your cakes stack evenly. It makes filling and decorating them much less stressful.
- A cake board - you need to put your cake on something so this is one bit of cake you can't do without.
- A cake turntable - icing your cake while it sits on a cake turntable is a real life saver. It makes smoothing icing a dream and means you can easily spin the cake as you pipe more delicate details.
- An off-set spatula and an icing scraper - these are two super handy tools to help you get really crisp, clean, straight sides to your buttercream.
- Piping bags - these you really cant do without, I pipe a thick layer of icing around the edge of the cake before smoothing it. It's a quick way to cover the cake with a layer of buttercream.
- An open star tipped nozzle - this is used to pipe around the top edge and bottom edge of the cake.
- A round tipped, writing nozzle - this is used to pipe the cherries and little polka dots around the sides of the cake.
- Red and green gel colouring - I always recommend Wilton gel food colouring. You only need a tiny bit when working with gel food colouring (especially if you just want a pastel shade).
The recipe
For more advice, my big vegan baking guide covers everything you need to know in order to make delicious plant based treats that are egg and dairy free. Check it out here. In the meantime, here's how to make my Vegan Cherry and Almond Layer Cake.
Vegan Cherry and Almond Cake
Equipment
- 3 x 6" cake tins
- 7" cake board
- Offset spatula
- Piping bags
- Star tipped nozzle
- Round tipped nozzle
Ingredients
For the sponge cake
- 225 grams dairy free spread e.g. Flora dairy free
- 300 grams caster sugar
- 400 grams self raising flour
- 1 teaspoon baking powder
- 75 g ground almonds aka almond meal
- 100 g glace cherries roughly chopped
- 450 ml soy milk or similar plant milk
- 1 teaspoon almond essence
For the decoration
- 8 tablespoon cherry compote
- 250 grams dairy free spread e.g. Flora dairy free
- 500 grams icing sugar
- 25 ml soy milk or similar plant milk
- 0.5 teaspoon vanilla paste
- red and green gel food colouring
Instructions
To bake the cake
- Pre-heat your oven to 180C/gas mark 4.
- Line three 6 inch cake tins with grease proof paper and place to one side.
- Add the dairy free spread, caster sugar, flour, ground almonds, baking powder and almond extract into a large bowl.
- Beat well using an electric whisk, adding the dairy-free milk slowly.
- As soon as a smooth batter has formed, stop whisking, stir through the cherries and divide between the three cake tins.
- Place into the centre of your oven and cook for 45 minutes or until the edges of the cakes start coming away from the sides of the tins. (See notes)
- Leave the cakes to cool in the tin for 5-10 minutes before transferring out on to a wire rack to cool completely.
To decorate
- Beat together the dairy free spread and the icing sugar until smooth.
- It needs to be smooth and soft enough to pipe. (Add a little milk if its not quite soft enough.)
- Spread a little buttercream on a cake board or cake plate and place down the first layer of sponge cake.
- Fill an icing bag with a quarter of the icing and carefully pipe a ring of buttercream around the top of the sponge cake layer.
- Fill the middle of the buttercream ring with half of the cherry compote.
- Place the next sponge layer on top and press down gently.
- Pip another ring of buttercream on top of the second sponge layer and fill with the cherry compote.
- Top with the final layer of sponge cake and press down gently.
- Use any buttercream left in the piping bag to fill any gaps between the layers.
- Using a spatula, start covering the sides of the cake with buttercream trapping in as many crumbs as possible.
- Split the remaining buttercream into two bowls. One bowl should contain ⅔rds of the buttercream and the other just ⅓.
- Colour the larger portion of buttercream pale green and use to cover the cake.
- Start by spooning it on to the top of the cake working in circular motions to smooth the icing out to the edges until it hands over slightly.
- Add the remaining green icing to the sides of the cake (you may find it easier to use a piping bag to ensure even coverage before smoothing with a spatula).
- Once the edges are smooth, add a star tipped nozzle to a piping bag and fill with the smaller portion of buttercream. Use this to pipe around the top of the cake to create a decorative edge. (You can also add detailing around the base of the cake or polka dots around the middle.)
- Return any leftover icing to two bowls, colour one half a dark shade of green and the other bright red.
- Divide this icing into separate piping bags fitted with round tip nozzles (alternatively just cut a very small opening in the end of the piping bag).
- Carefully pipe two rows of small cherries using the red and green icing leaving roughly 1.5 inches between each. Any leftover icing can be used to pipe a messages on the top of the cake.
Notes
How do I know when my cake is cooked?
If you're unsure whether the cakes are cooked, insert a skewer into the centre of the cake. If it comes out clean and dry then they are done.How long will my cake keep?
This cake is best stored in an air tight container and enjoyed within 3 days of baking.How to scale a cake recipe up or down
Not got the right sized tin? Then don't worry! In this post I teach you how to adjust the ingredients in a cake recipe so that it will fit your tin perfectly.
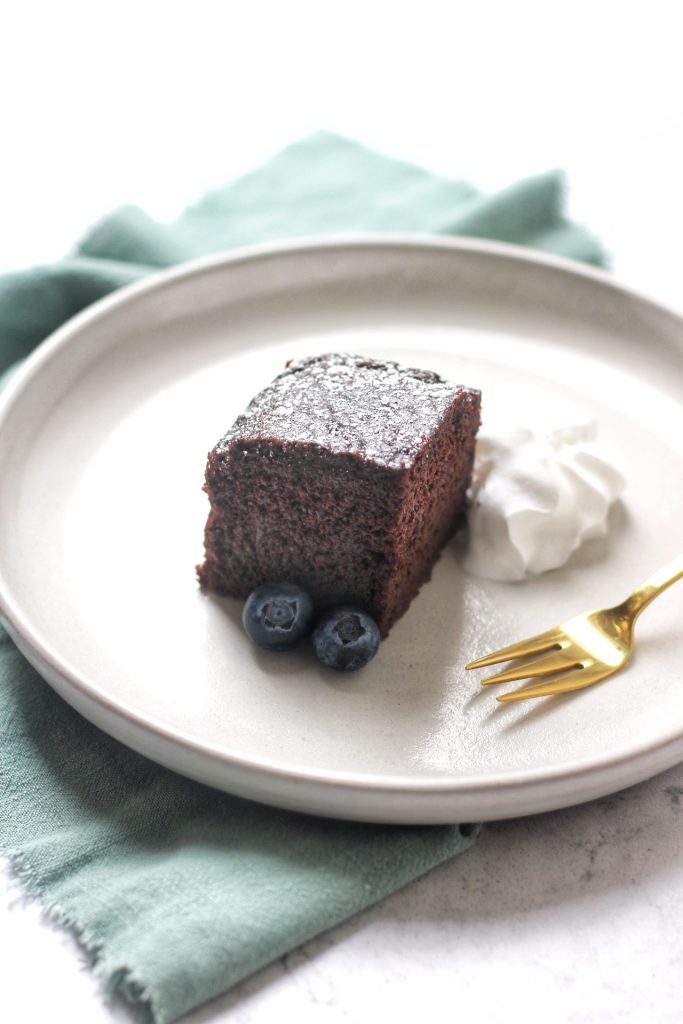
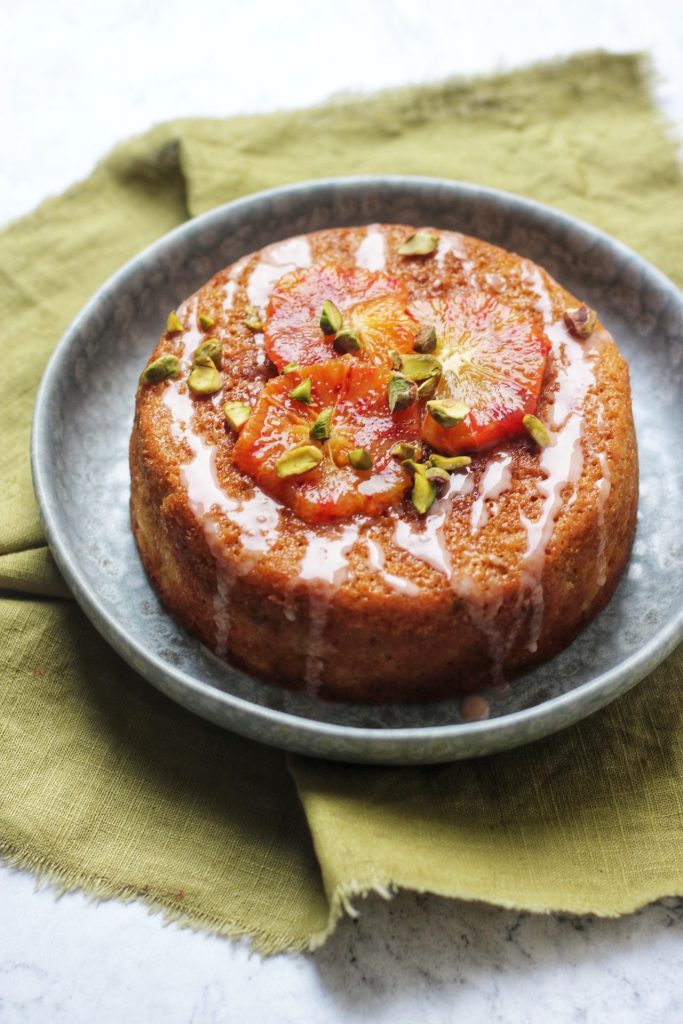
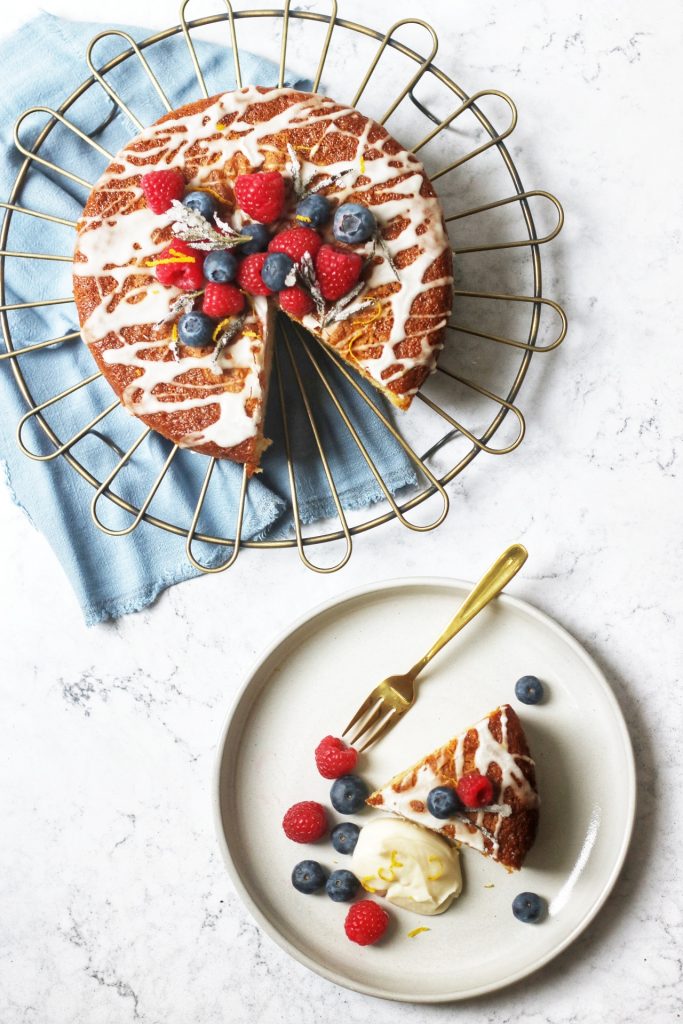
More vegan celebration cakes
I made my Vegan Cherry and Almond Cake for my sisters birthday. Whatever the occasion, I've got a vegan cake recipe for you! Check out 4 of my favourites below and search the blog for even more cake inspiration.

Discover even more vegan recipes with Supper in the Suburbs
If you want to see more plant based recipes, check out my vegan recipe archive. For help switching to a plant based diet, check out my Go Vegan! page.
Sof says
So glad I stumbled across this recipe. I was searching for a cherry bakewell type cake. Cake was moist, had a good texture, and tasted wonderful. Really impressed. Still great 3 days later! Looking forward to trying more recipes from the blog/site.
Emma says
Yay! Glad you loved it!! Thank you so much for the review.
Hanna says
This looks perfect for what I need! Do you think a cream cheese frosting could also work well with the flavor of the cake?
Emma says
Yes that sounds delicious!