Vegan Puff Pastry is easier to make than you think. With my top tips you can master this notoriously difficult pastry at home.
Home to make Vegan Puff Pastry at home
There are some ingredients that I always buy store bought. Until lock down, puff pastry fell under that category. When the store bought varieties are already vegan and sometimes even come ready rolled, it seems silly going to all the effort of making your own.
But, if you want to up-skill in the kitchen and really impress your friends, why not learn how to make vegan puff pastry from scratch. Let me show you how.
Preparation is key
Before you start making your puff pastry it's important to be well prepared. It's quite an involved process and takes a whole day, so you want to make sure you have everything you need and that your workspace is clear.
For this recipe you'll need:
- a mixing bowl
- something to cover the bowl (e.g. a plate, tea towel, cling film etc)
- a rolling pin
- a pastry brush
- cling film / baking paper to wrap the pastry in
You'll also need:
- strong white bread flour
- salt
- unsalted vegan butter
- water
Making the dough
If you're familiar with making any pastry dough then you'll know just how easy this step is.
All you need to do is place flour, salt and diced butter into a bowl and rub the butter into the flour, using your fingertips. You need to keep doing this until the mixture looks like breadcrumbs.
Once you've reached this stage, slowly add the cold water until a dough is
formed. You don't want to handle the dough too much, just bring the ingredients together into a ball no matter how rough around the edges. No kneading!
All that's left to do is to wrap it in cling film and put it in the fridge for at least 2 hours.
Creating layers
The next step requires a lot of attention. The first thing to focus on is the softness of your butter and dough. When both are out of the fridge they need to be at roughly the same level of soft.
Once they're at the same consistency, place the dough on to a lightly floured surface and roll it out into a square (roughly 18cm big). The next step is a slightly strange one. You need to roll the dough out so that it is the shape of a "+". Starting from roughly a third in from the edge, roll each side out about 10cm.
You will end up with the dough being a "+" shape with the dough in the middle being thicker than the edges.
Dot the softened butter over the raised centre and fold the flaps in the following way:
- Starting with the bottom flap, fold it over the centre so that it covers the butter entirely sealing it in.
- Next take the top flap and fold it just 80% over the centre.
- Take the reamaining two flaps and fold them so that they meet in the middle. This should be creating a vertical line up the middle (this is known as the "seam").
Make sure you have plenty of space as you will now need to roll out the dough to about 60cm in length.
Fold the dough in thirds starting from the bottom to the middle and then the top to the middle. This is what's known as the "first turn".
You will need to turn the pastry 90 degrees so that the "seam" is on the left.
Roll it out again to 60cm in length and fold the dough in thirds just like we did above. That is the "second turn".
Wrap the dough up in cling film again and then place it back in the fridge to chill for at least 3 hours.
Once it has chilled, repeat the process again doing another two turns (that's four in total).
Rest for another 3 hours.
Repeat the process again for another two turns (that's six in total!)
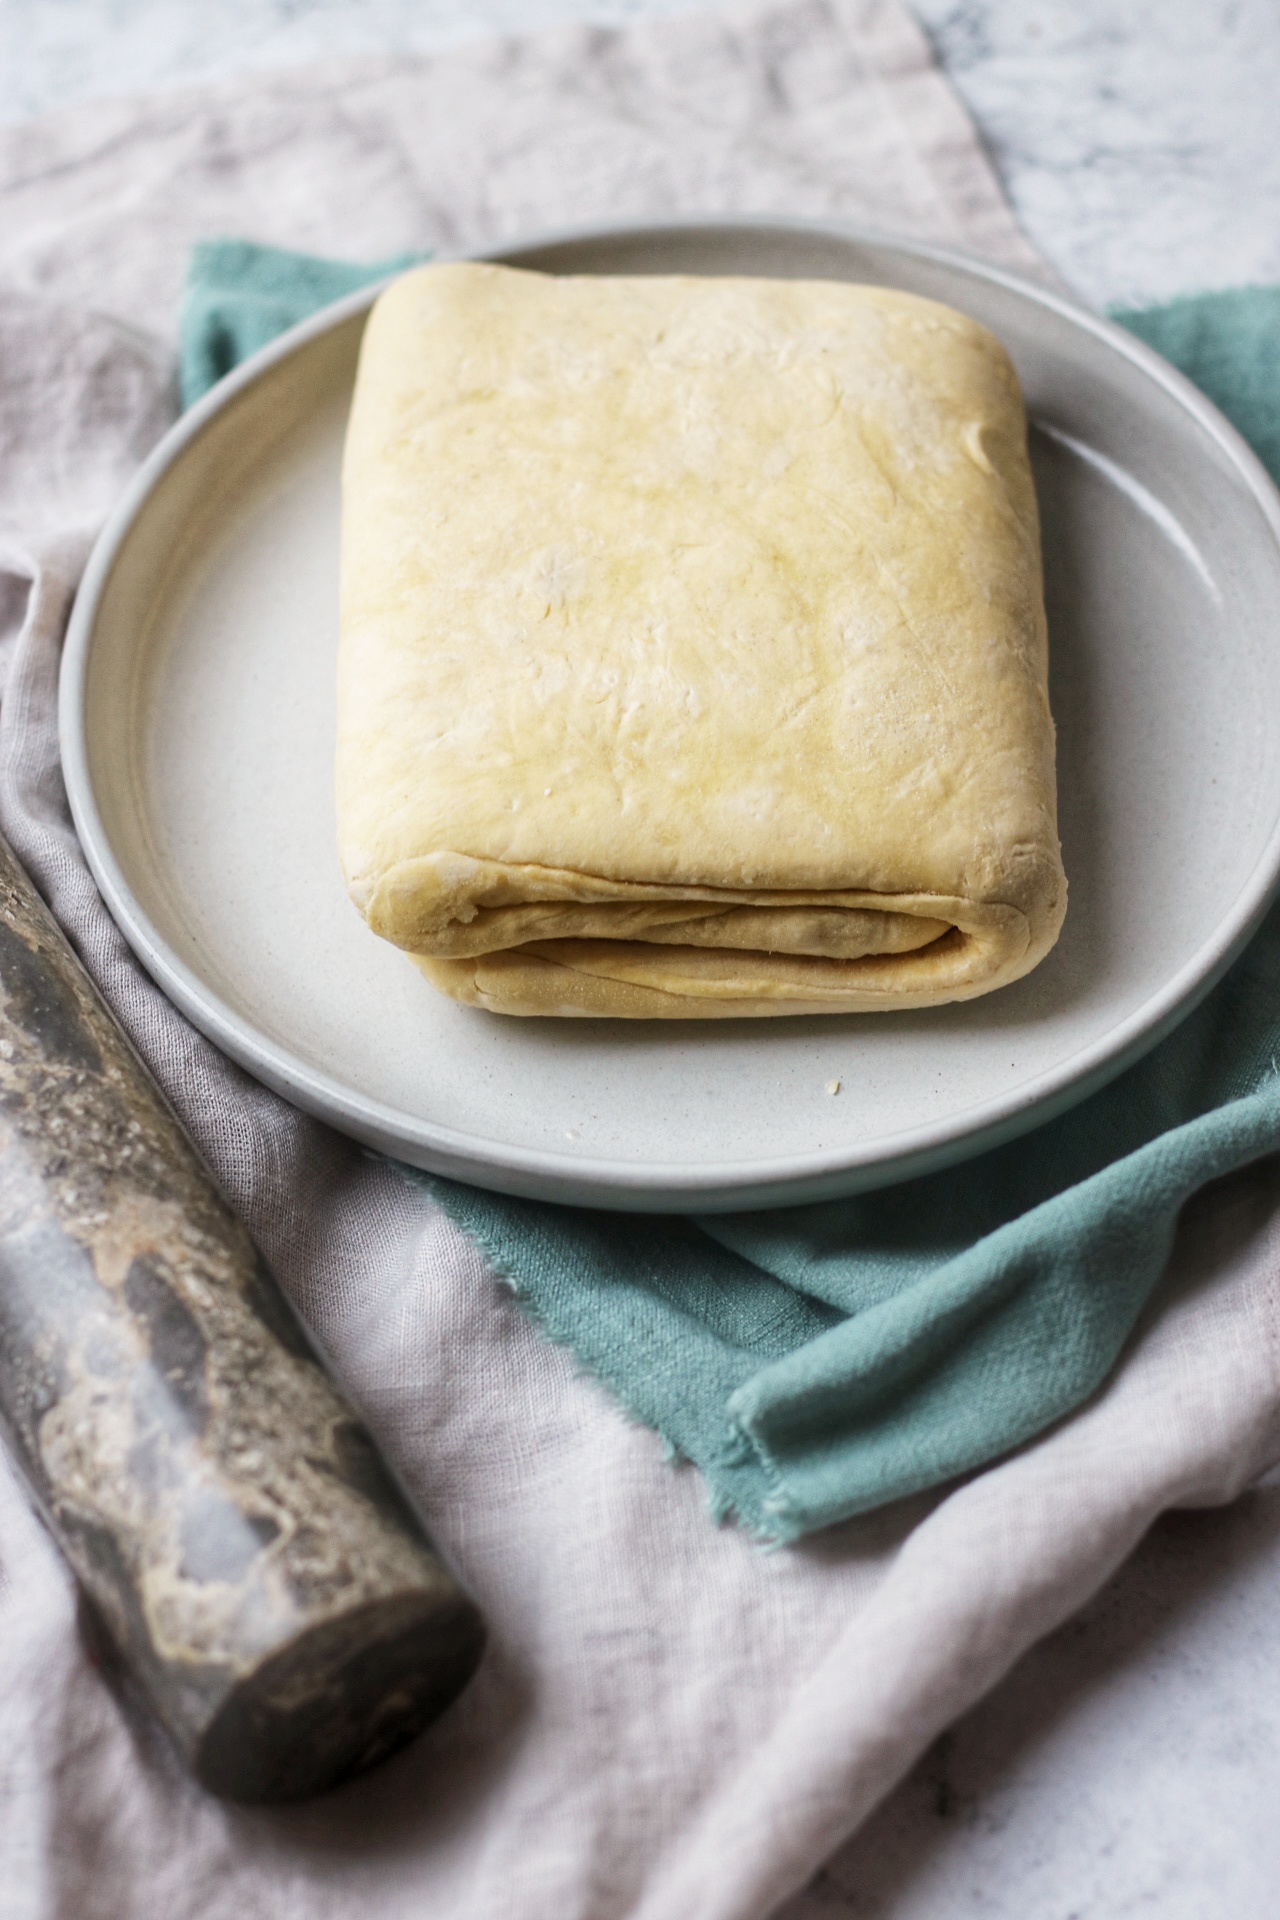
Rest your dough for another 3 hours and then it's ready to use!
FAQs
What makes puff pastry puff up?
The process of folding and turning the dough and the butter creates paper-thin layers of butter trapped between paper-thin layers of dough. When the pastry is baked the liquid in both the butter and the dough evaporates, this creates puffed up layers. The butter also melts into the dough which makes it golden brown and crispy.
Can I use plain flour instead of bread flour?
No, you need the high gluten levels found in strong white bread flour.
Can I use a spreadable "butter"?
No, it needs to set firm while chilling in the fridge.
What do I do if my kitchen is too hot? My butter keeps melting!
Chill the pastry after each turn instead of every two turns.
How soon do I need to use my vegan puff pastry?
Homemade puff pastry can be kept in the fridge for up to three days so long as it is tightly wrapped in cling film.
Can I freeze my vegan puff pastry?
If you want to freeze your puff pastry then do this after four turns, not six. When you want to use it, defrost it overnight then do the final two turns before you use it and bake it. This makes sure that whatever you are making will be nice and puffy!
How can I use my vegan puff pastry?
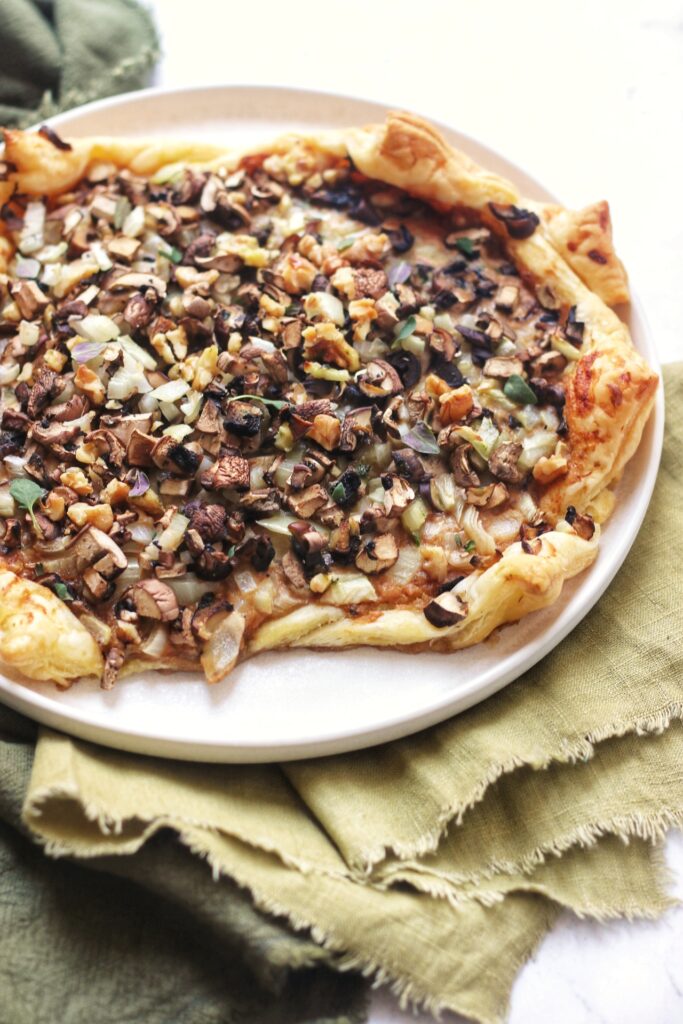
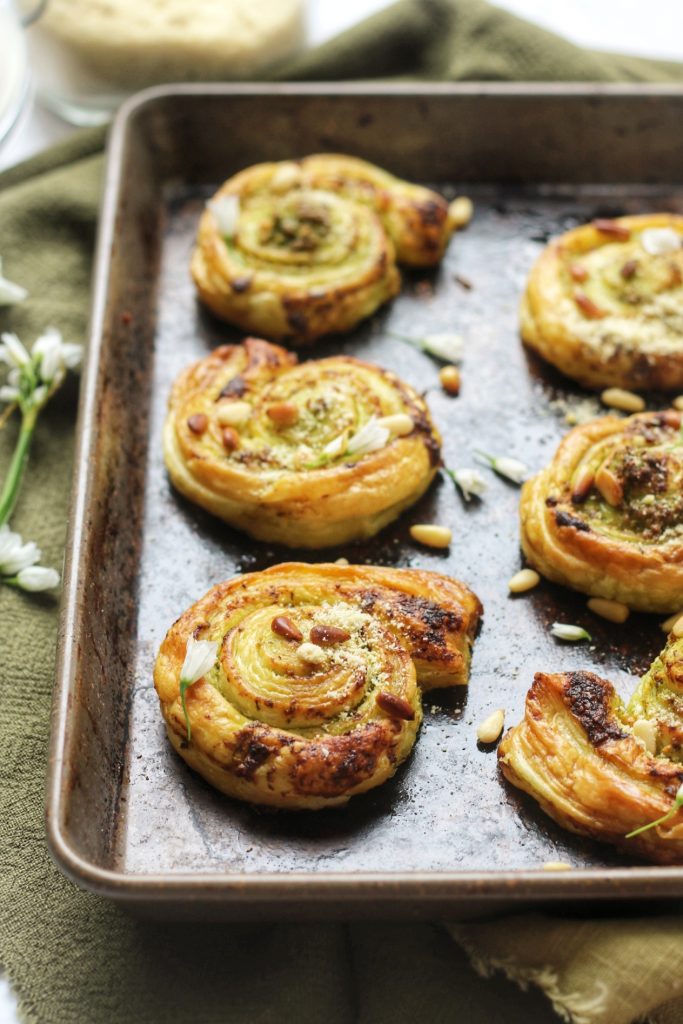
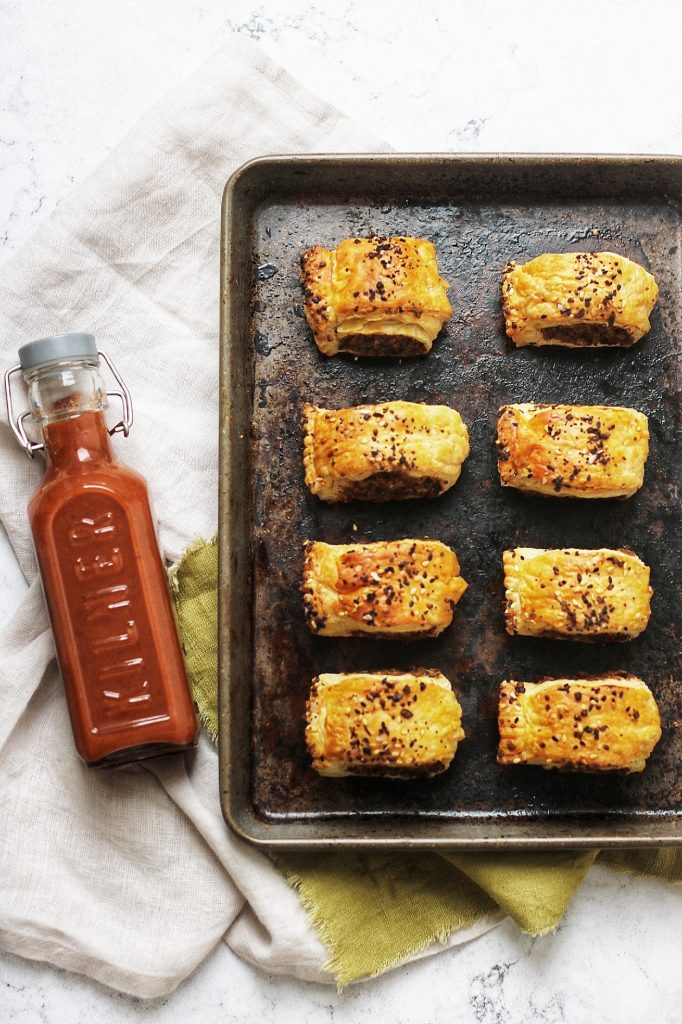
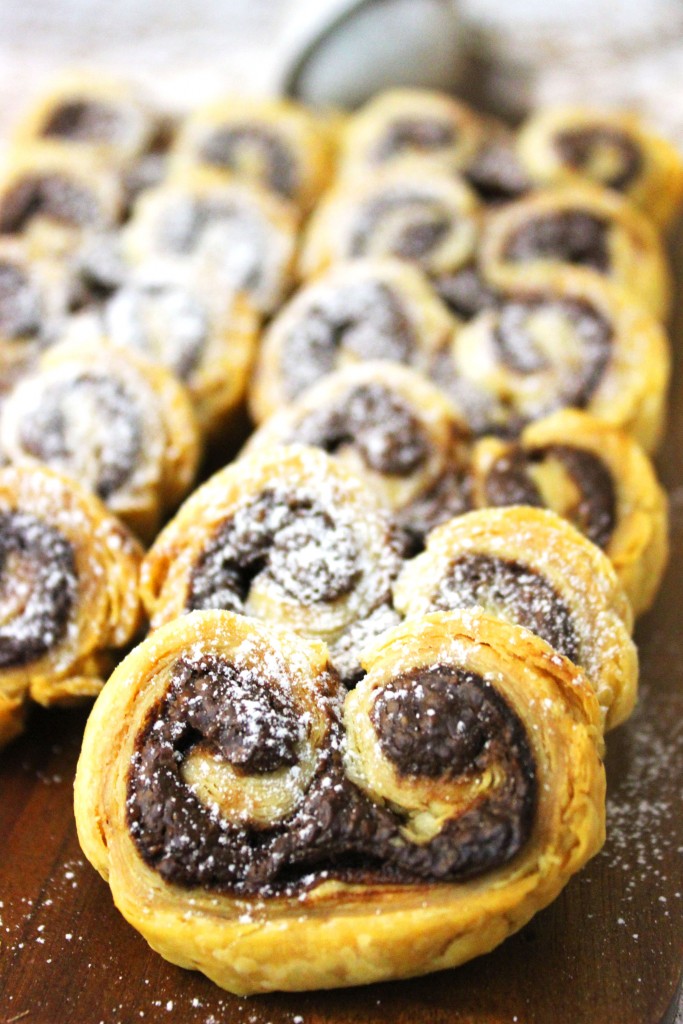
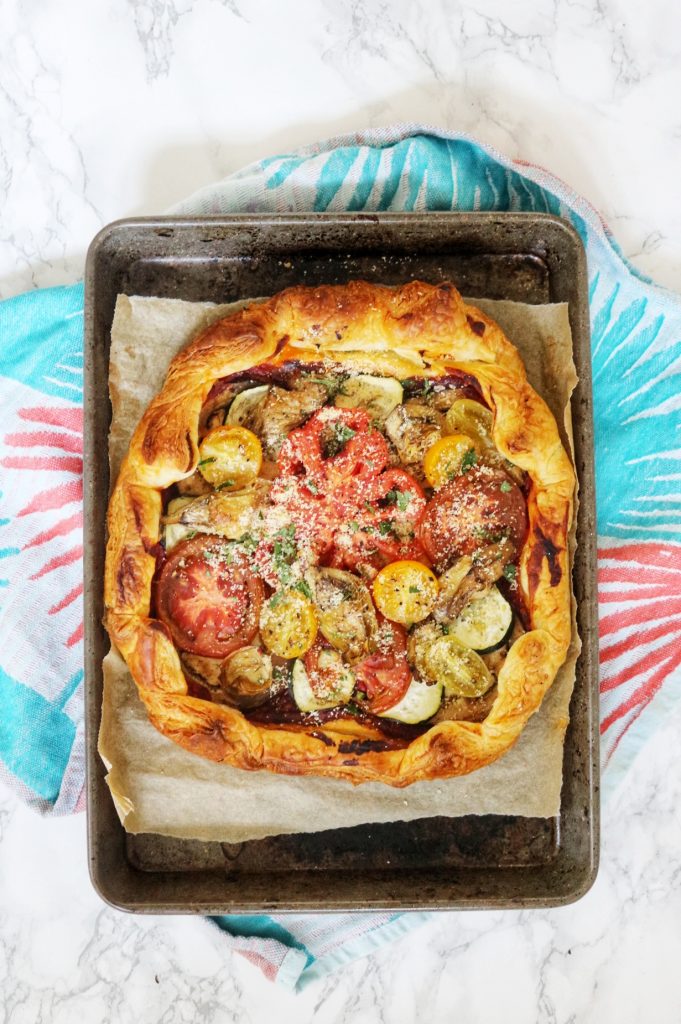
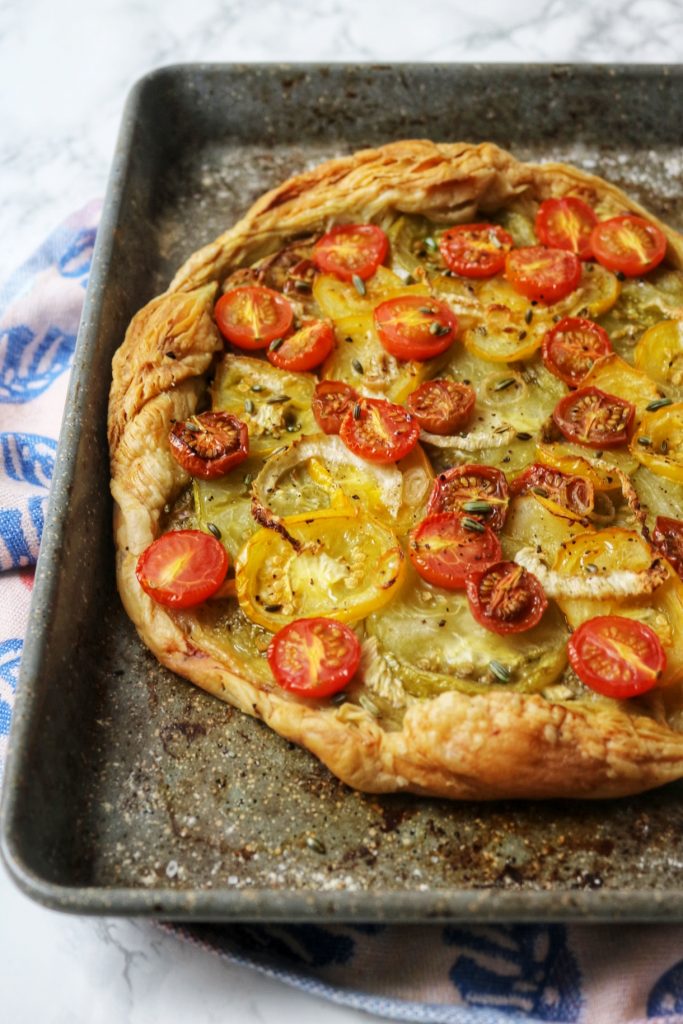
Puff pastry has lots of uses. If you want a technical challenge you could make homemade croissants or the french mille-feuille. Alternatively you could use it to make sausage rolls, cheese straws, pinwheels or pies. (See more suggestions below).
The recipe
Homemade Vegan Puff Pastry
Ingredients
- 250 g strong white bread flour
- 4 g salt
- 40 g vegan butter cut into cubes
- 120 g water cold
- 210 g vegan butter softened
Instructions
To make the dough
- Add the flour, salt and diced butter to a mixing bowl.
- Rub the butter into the flour using your finger tips. Do this until the mixture resembles fine breadcrumbs.
- Slowly add the cold water until the dough just starts coming together into a ball.
- Take the dough out of your mixing bowl and wrap tightly in clingfilm.
- Place into the fridge and let rest for at least 2 hours.
To create the layers
- Once chilled, remove it from the fridge and turn out on to a lightly floured work surface.
- Roll the dough into a square roughly 18cm in size.
- Then, roughly a third in from the edge, roll each side outwards until it forms a "+" shape.
- Dot the softened butter over the raised centre of the "+".
- Fold up the bottom flap so that it covers the middle section and the butter completely.
- Next fold the top flap down so that it is covering 80% of the centre section.
- Take the left and right flaps and fold them in so that they meet in the middle. This line where they meet is known as the seam and should always be running vertically.
- Roll the dough out so it is 60cm long.
- Fold the dough in thirds starting by folding the bottom to the middle and then the top to the middle. This is your "first turn".
- Rotate the pastry 90C in front of you so that the seam is facing upwards again.
- Again, roll the dough to 60cm in length and fold the dough in thirds as you did before. This is the "second turn"
- Wrap in clingfilm and place in the fridge for 3 hours.
- Repeat the process again until you have done a total of "four turns" then pace back in the fridge for 3 hours.
- Repeat once more so you have done "six turns" in total.
- Rest your pastry for a final 3 hours, it is then ready to use.

Leave a Reply