This post sets out everything you need to know when embarking on baking sourdough bread for the first few times. It covers everything from knowing your sourdough starter is ready, essential equipment and the ingredients you'll need. Read on for a fool-proof Sourdough Bread recipe that works every time.
Top tips for baking sourdough bread
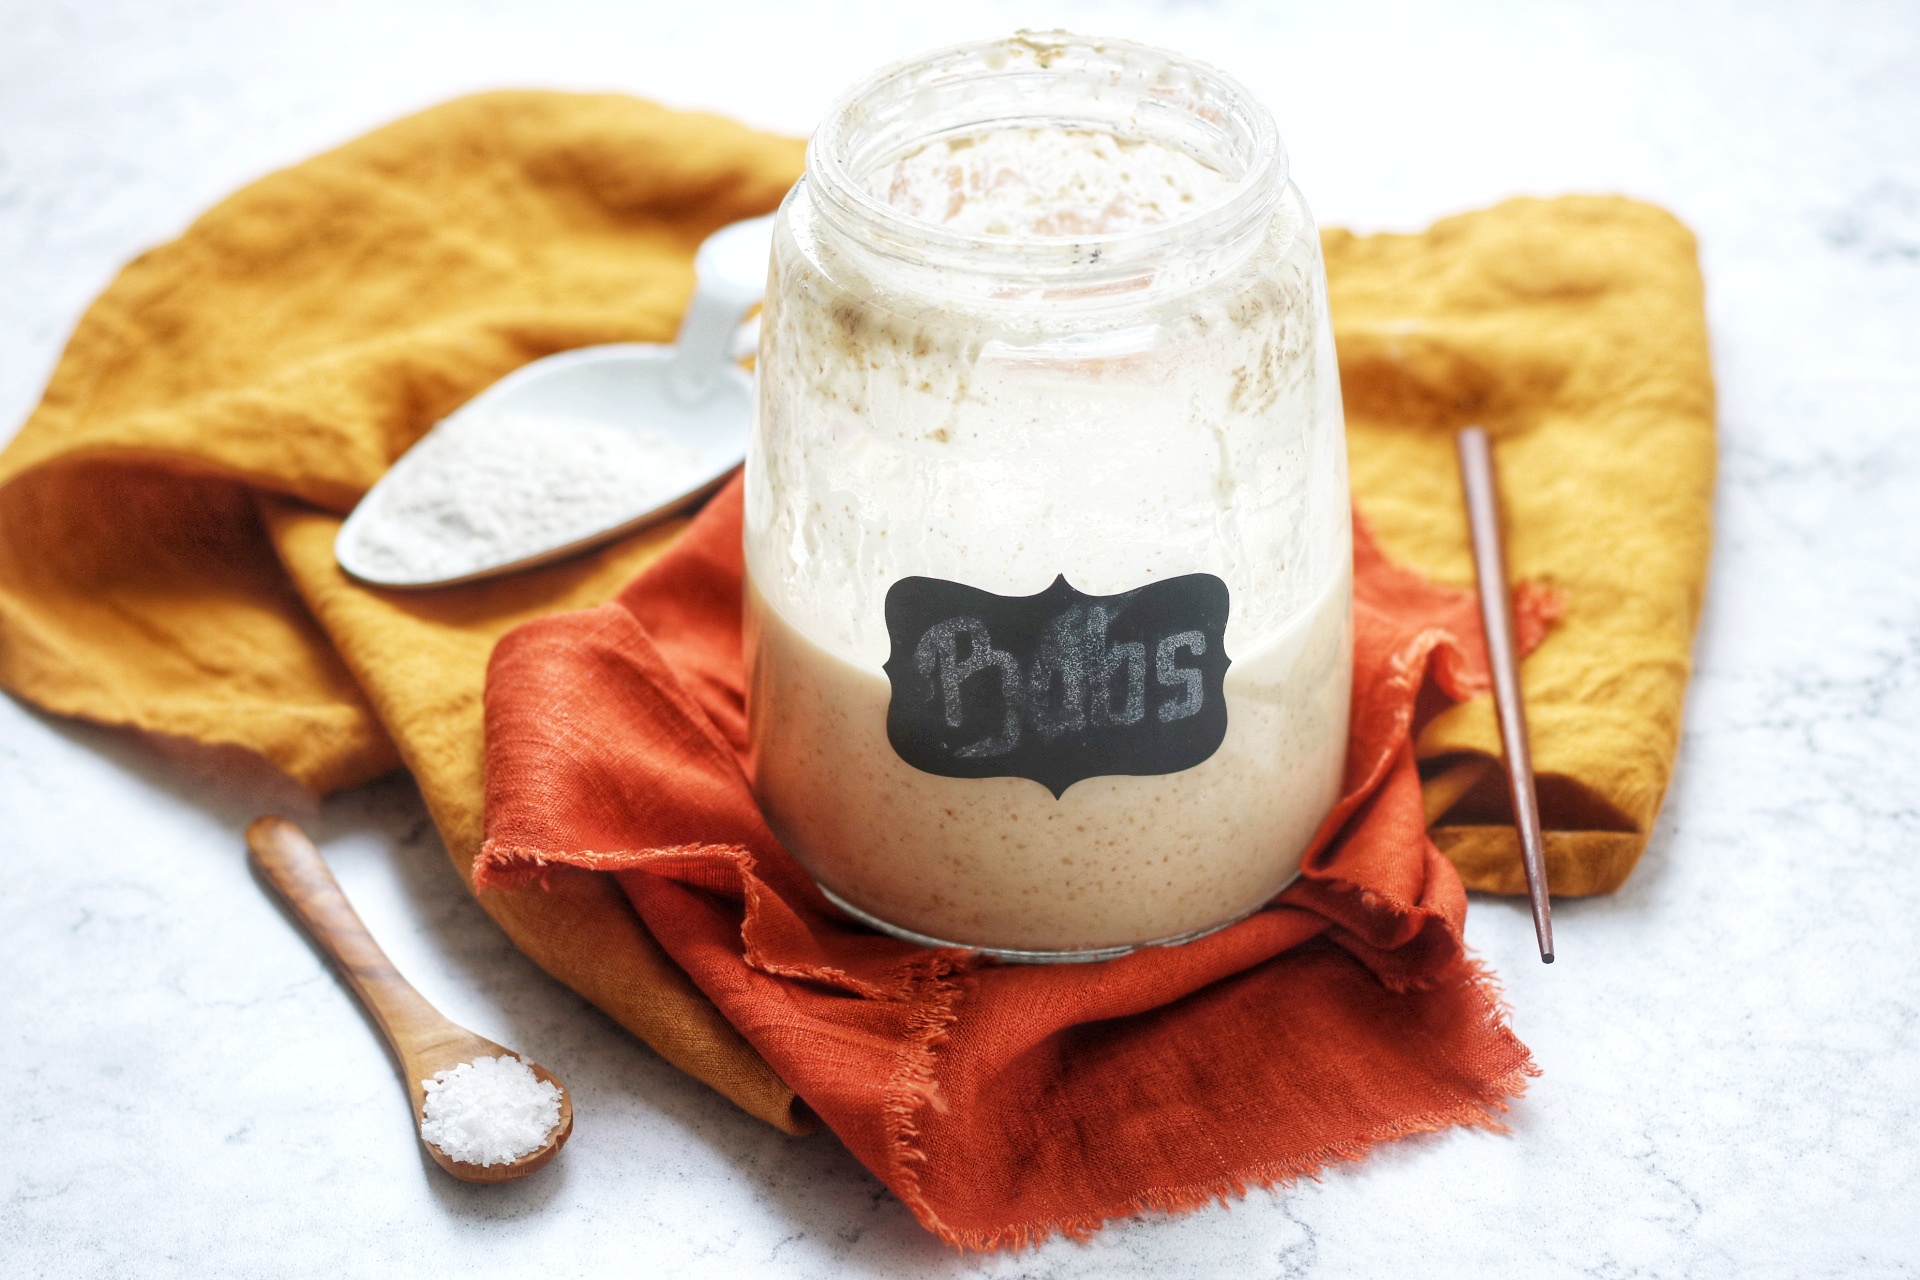
Start with a bubbly sourdough starter
If you're looking for advice on baking your first loaf of sourdough bread then it is probably safe to presume you already have a sourdough starter that is alive and well.
For those of you who don't have a starter already, you will want to take a look at my guide: "everything you need to know about making a sourdough starter". The good news is it takes as little as 5 days so you don't have too long to wait until you have your first freshly baked loaf of bread.
You will know when your sourdough starter is ready because it will bubble after being fed. It will also be roughly the thickness of double cream and have a delicate honeycomb like texture when you drag a spoon through it.
Everyone's sourdough starters look and behave different so trial and error will be involved. If you think it might be ready, give it a go. The worst that will happen is you will have a flat loaf but it will still be delicious. You will also have learnt a valuable lesson in when your starter isn't ready!
Baking bread doesn't require a tonne of equipment
Sourdough baking can be overwhelming with talk of bannetons, dutch ovens and lames. These are all pieces of equipment you might want to invest in after you've made a few loafs but none are essential.
The bare basics you will need are:
- Scales to weigh your ingredients
- A bowl in which to mix and prove your dough
- A casserole dish in which to bake your bread
What is a banneton?
A banneton is a type of proving basket which is designed to give shape and structure to the dough. They are a beginners nightmare as the dough sticks to them really easily if they aren't lined or dusted well enough with flour. Avoid the headache by proving in a regular bowl until you've got the hang of the dough.
What is a dutch oven?
Dutch oven seems to be a much more common term outside of the UK and it baffled me when I kept seeing it in Sourdough recipes. Really it's just a casserole dish or similar oven safe pot with a well fitting lid. You can also get special bread bakers that look like upside down dutch ovens (a baking sheet with a domed lid / cloche.)
The reason they are popular is that steam is an essential part of the sourdough bread baking process. Dutch ovens trap in any steam that escapes from the wet dough as it cooks. This keeps the crust softer for longer which means the bread can expand and grow more easily.
If you don't have a cast iron dutch oven don't panic. Any casserole dish will do!
What is a lame?
If you've fallen in love with sourdough you've probably seen lots of Instagram posts of artisan loaves beautifully scored with leaf designs, spiral patterns and more. These are achieved by slashing the dough just before placing it into the oven.
You can cut the dough with a very sharp knife but a "lame" is a special tool designed just for this purpose. It's essentially a razor blade with handle. I definitely wouldn't worry about investing until you're really confident with baking.
Sourdough requires just 4 ingredients
If you've ever looked at the ingredients list of a loaf of bread marked "sourdough" in the supermarkets you have probably found yourself left confused and disappointed. In fact, an investigation carried out in the UK by Which? showed that 75% of loaves labelled "Sourdough" contained much more than the 4 ingredients you'd expect.
Ingredients like yeast, ascorbic acid, yogurt or even vinegar have no place in a sourdough loaf. Yeast is a "cheats" ingredient used to speed up the rising process. If you want a quick and easy white loaf you can find my recipe here - but it's not sourdough!
Yogurt and vinegar are often added to get that signature "tang" you'd expect from sourdough. My favourite thing about baking sourdough is that it's flavour is unique to me and my kitchen. No-one else's sourdough tastes the same! You can also adjust the flour you feed your sourdough to adjust how sour it is. Isn't sourdough clever?
Read more out the Which? investigation here.
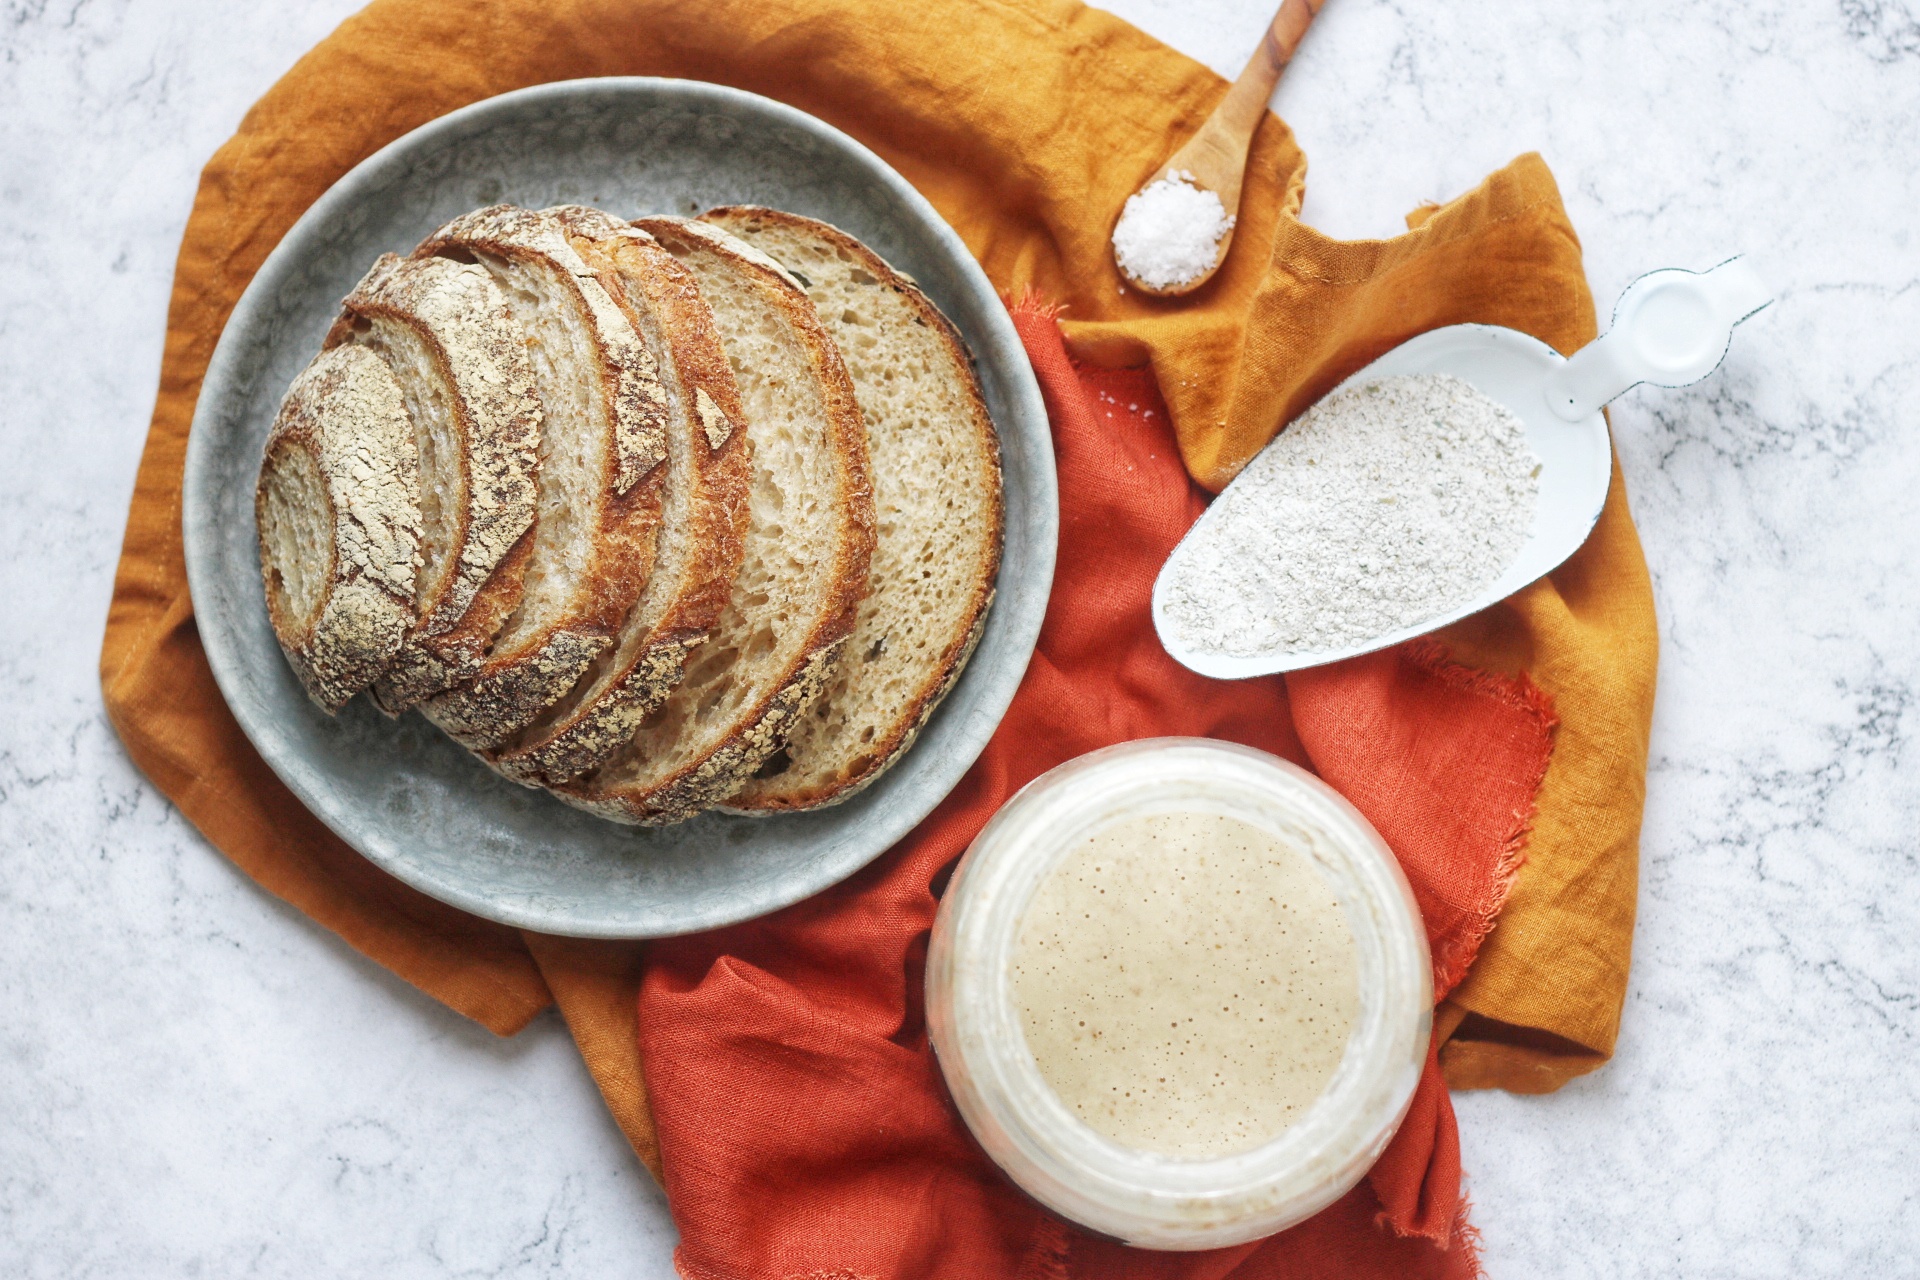
To make sourdough bread at home you need just four ingredients: (1) your sourdough starter, see above; (2) flour; (3) water; and (4) salt. Let's take a look at those last 3 ingredients in a bit more detail.
Flour
You can bake a loaf with strong white bread flour, wholemeal bread flour or rye flour. If you really want to get experimental you can use a combination of flours such as granary, seeded or malted flour. Or perhaps even spelt, buckwheat or Korassan flour! I recommend starting with strong white bread flour to begin with as it will produce a simple, versatile loaf of bread. Other flavours will behave differently and will need different amounts of water. You can experiment with other flavours once you've mastered the basics and know when to add more water.
Water
Don't let anyone tell you that you need to buy bottled, mineral water to make sourdough bread. I have only ever used regular, unfiltered London tap water.
Salt
You can use any cooking salt you wish from table salt to pure sea salt. Just make sure it's sufficiently fine. If you use rock salt or salt flakes of any kind you will need to grind it or crush it first to make sure it evenly disperses through the bread.
The stages of baking sourdough bread
When you first enter the world of sourdough it can be incredibly confusing. There are so many technical terms thrown around and everyone seems to have their own "fool-proof" method. The problem is that there are tonnes of variables that affect your final bread. What I hope to do with this next section is give you a rough guide to the various stages of baking sourdough. I'll strip back the jargon and show you what to look out for so you know when it's time to move on to the next stage, not because I say so but because your dough is saying so.
The stages are as follows:
Day 1
- Feed your starter - once fed this is sometimes referred to as the "levain". I feed mine the night before if I want to start baking in the morning.
Day 2
- Mix ingredients - this can be done by hand or machine (I find I am less inclined to add more water if I do it by machine).
- First rest (1 hour) - this is sometimes called the "autolyse". During this time the flour will fully hydrate and gluten will begin to develop.
- Stretch and fold (2 hours) - this is done by grabbing the dough from the far side of the bowl and then stretching it over itself. Turn the bowl 90 degrees and repeat three times, working your way round the bowl. We do this to build up gluten in the dough (like kneading). You will notice how after each stretch and fold the dough gets better at holding its shape.
- Long rest (6 hours+) - this is when the dough will really increase in size but it is also when it will develop it's flavour. The longer you leave it the more sour it will be. It is sometimes called the "bulk fermentation" stage.
- First shaping - shape the dough as tightly as you can into a ball without it tearing.
- Rest (1 hour)
- Second shaping - this is your opportunity to create tension and get the shape you want.
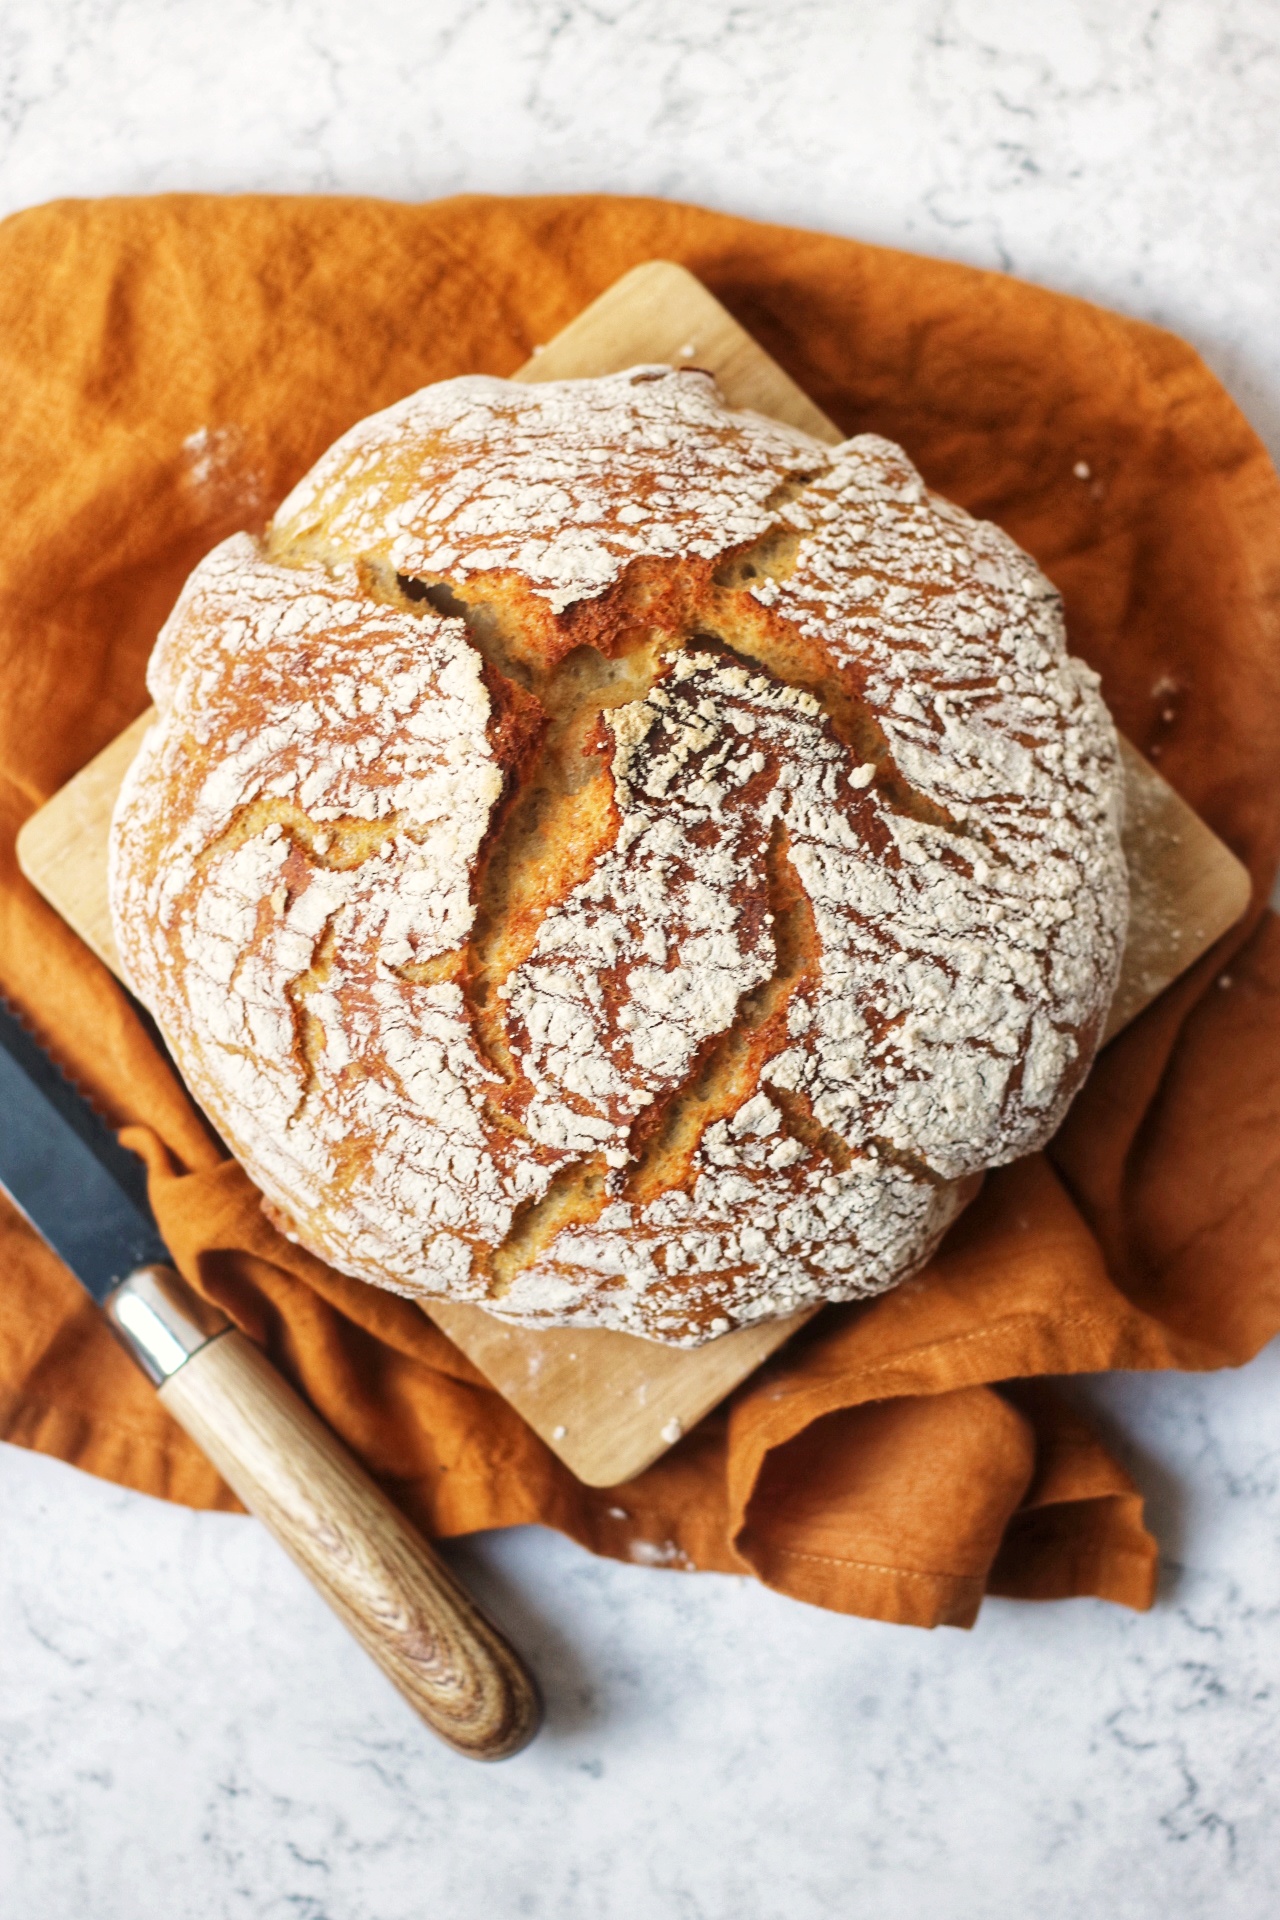
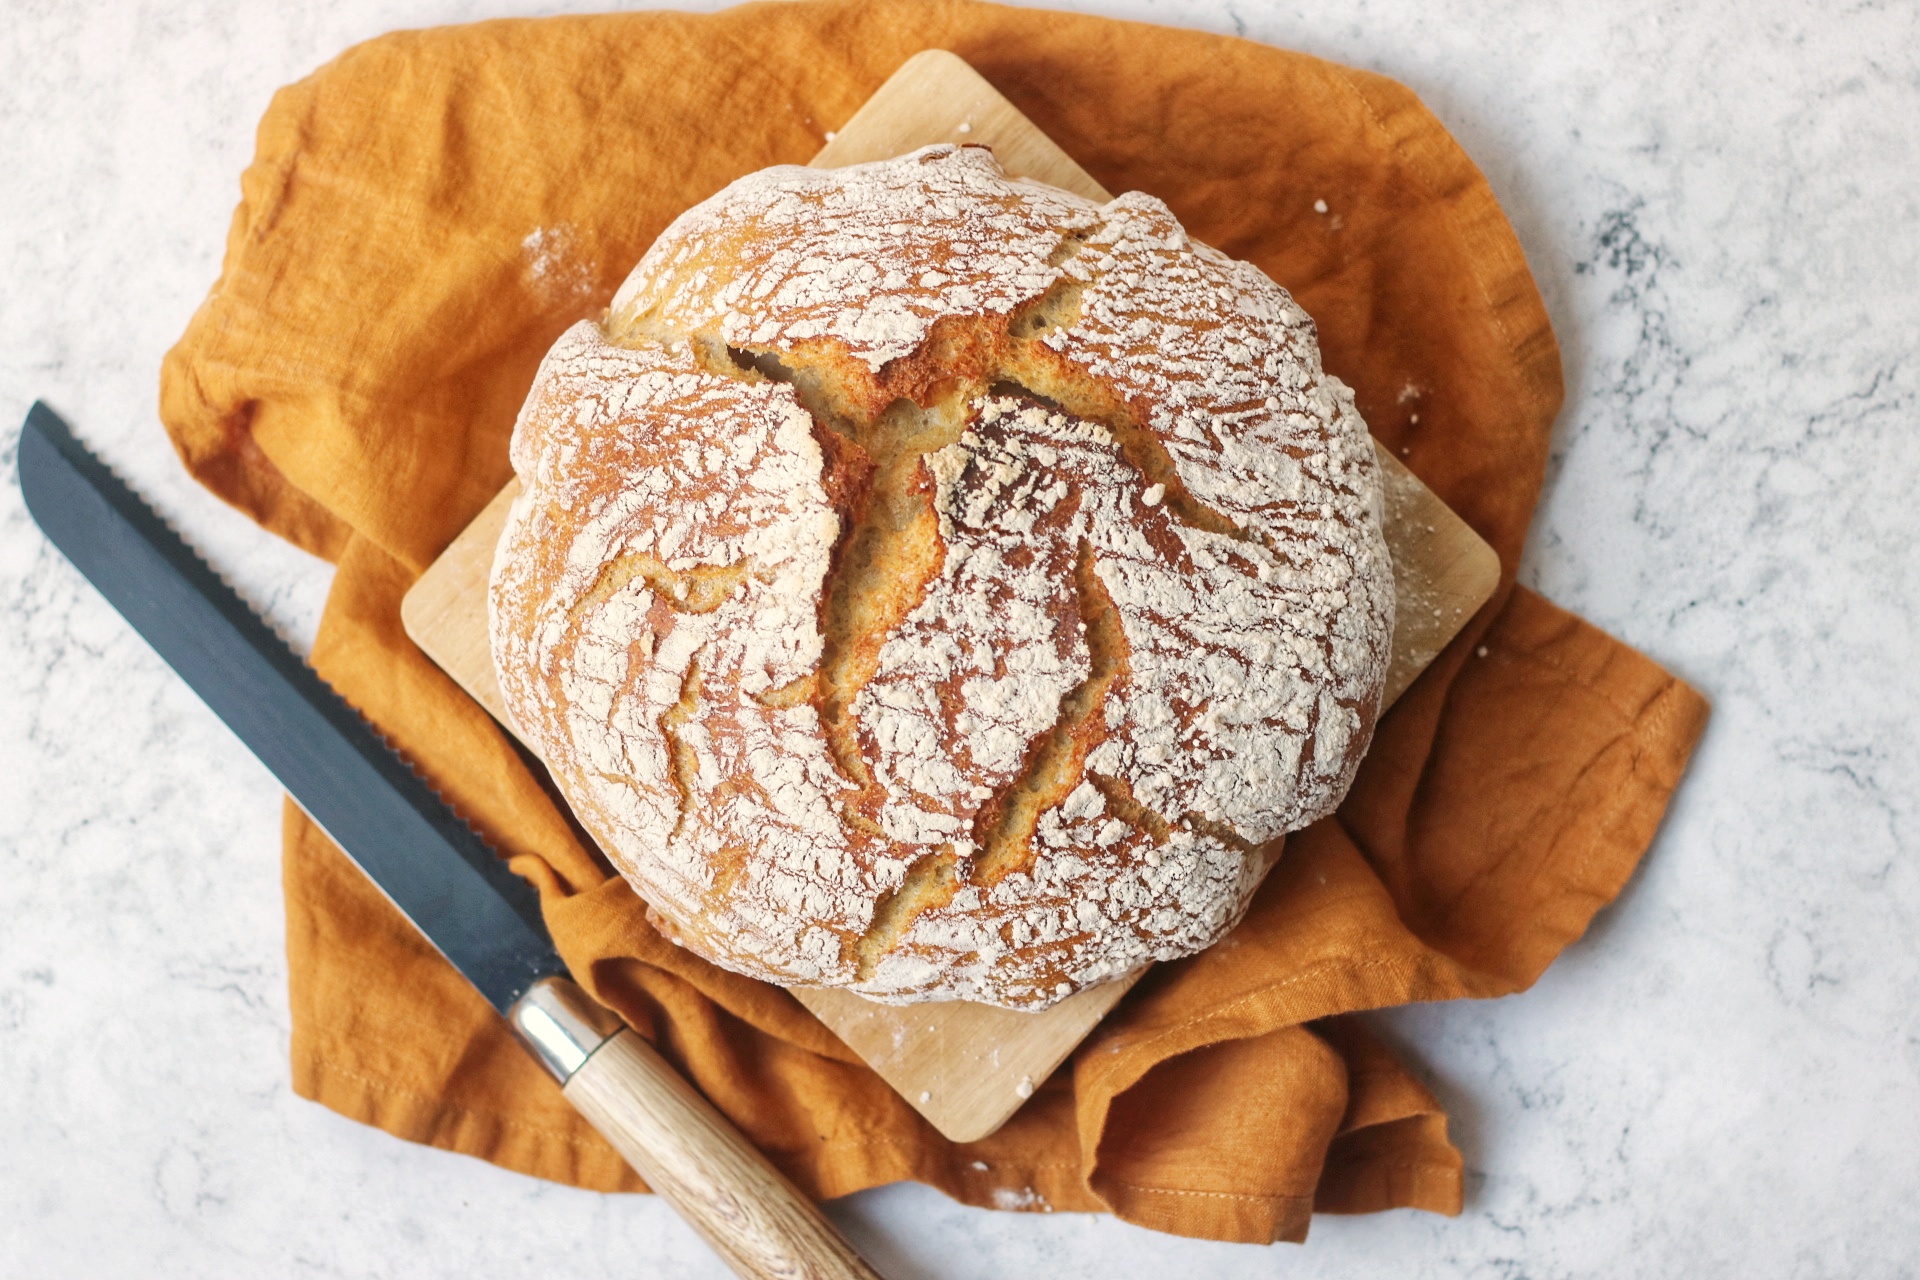
- Scoring - if feeling artistic, slash the loaf with your favourite design.
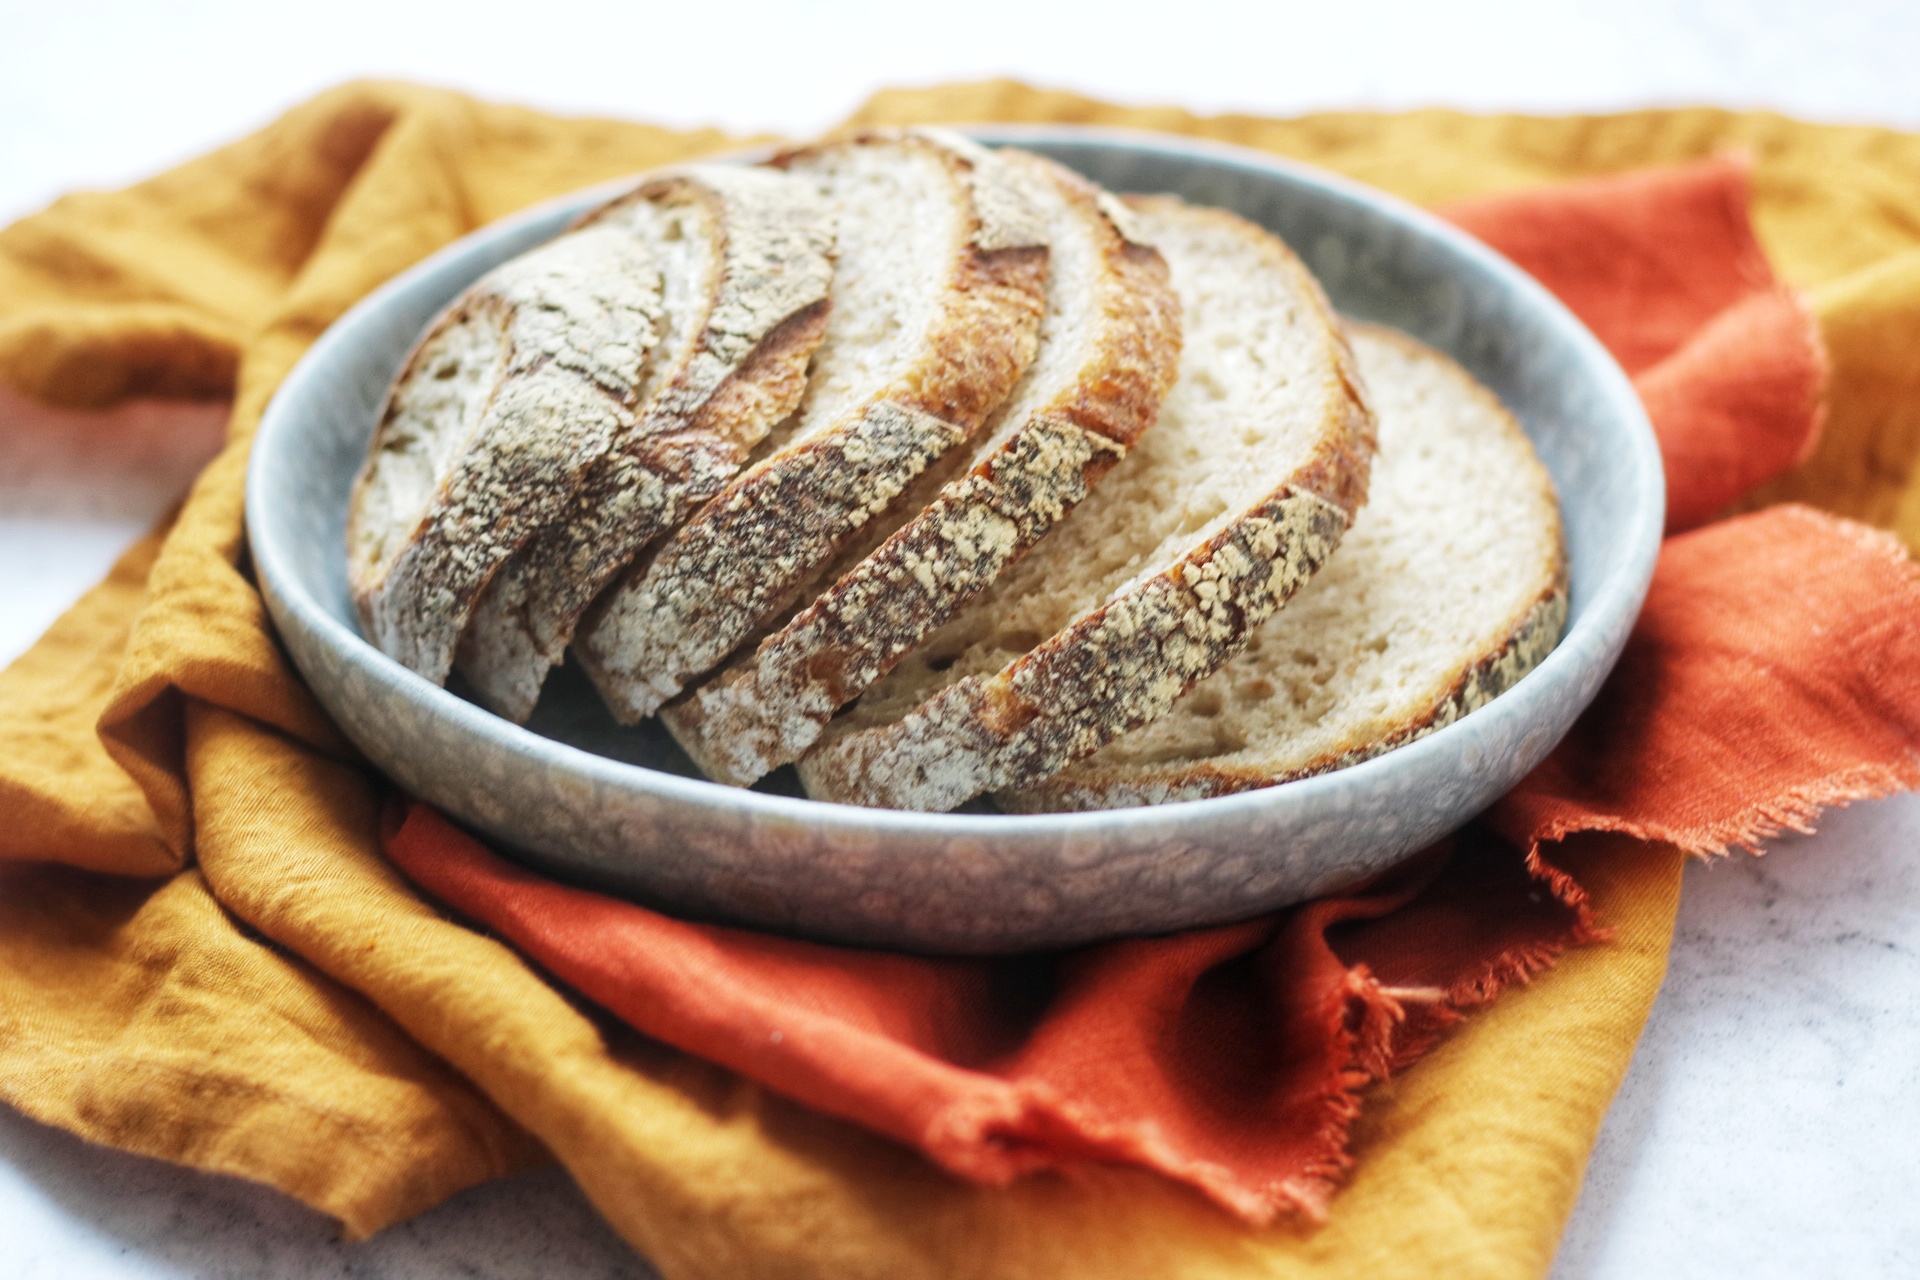
- Bake (45 mins) - while the loaf is in the oven it will continue to rise and form it's crust.
- Rest - that's right... you will need to let it cool down slightly before you cut into it and enjoy.
- Eat!
Simple Sourdough Bread Recipe

Simple Sourdough Bread
Equipment
- Electric scales
- Mixing bowl
- Casserole dish with lid
Ingredients
- 150 grams sourdough starter (fed 6-8 hours before you come to bake)
- 500 grams bread flour
- 300 grams water
- 5 grams salt
Instructions
Mix ingredients
- Add the flour, sourdough starter and 200 grams of the water to a bowl and mix until it comes together to form a dough. Only add the remaining 100100g if it's needed to form a dough ball (some flours are thirstier than others!)
First rest (1 hour)
- Cover with cling film or a damp tea towel and leave to rest for an hour.
Stretch and fold (2 hours)
- To stretch and fold, dip your hand in water then (starting at the far side of the bowl) push it between the dough and the side of the bowl. Grad the dough and pull it up and towards you. Tuck the dough back down the side of the bowl closest to you. Rotate the bowl 90 degrees and repeat, working your way around the bowl.
- Repeat this at either 15 minute or 30 minute intervals for a total of 2 hours.
Second rest (6 hours +)
- Once you have completed your stretch and folds, leave it to prove in the bowl (covered with cling film or a tea towel) for 6 hours or until it has doubled in size. If you want to prove it overnight, place it in the fridge.
First shaping
- Tip the dough out on to a floured work surface and press out gently. Take the top edge and fold it in to the centre. Do this with the right edge, bottom edge and then the left edge. Keep repeating this to create tension on the outside. Pinch the centre where these edges meet to create even more tension.
Rest (1 hour)
- Place it back in the bowl to rest.
- While the dough is resting, place the dutch oven or casserole dish into the centre of your oven and pre-heat to 240C / gas mark 9. Cut a square of baking paper twice as wide as your ball of dough.
Final shaping
- If the dough has kept its shape well it may not need too much extra tension creating, simply pull the edges in a few more times before scoring and baking. If it is still quite loose, repeat the first shaping technique then place it smooth side up and use your hands, shaped like a "V", to keep pulling and tucking the edges of the dough under and place on the baking paper. Cut slits from the four corners to just an inch or two away from the edge of the dough.
Scoring
- Scoring is not essential but if you want to score your loaf you can do so now. Keep your lame or knife at a 45 degree angle and don't cut too deeply, just enough to break the tension on the surface.
Baking
- Transfer the dough into the dutch oven or casserole dish, carefully lowering it in with the baking paper. Place the lid on and cook for 30 minutes.
- Remove the lid and cook for another 10-15 minutes or until the crust is golden brown.
Final rest
- Once cooked, remove the loaf from the oven and cool on a wire rack until room temperature before slicing.
Nutrition
Frequently asked questions
Do I have to weigh my water?
In short, yes. The reason we weigh our water is because it is more accurate than going by eye, looking at the side of a measuring jug.
My dough is really wet and hard to shape, what have a I done wrong?
You haven't done anything wrong. Different types of bread require different amounts of water. You may need to add more flour for a more firm dough. I always recommend adding *just* enough water to bring the ingredients together into a dough ball. It will get more runny and relaxed as it develops. Next time, increase the bread flour a little bit.
It may also be that you haven't built up enough tension so keep practising your stretch and fold technique so that you build up the gluten and add strength to the dough.
My loaf is dense, how do I make it lighter next time?
The likely culprit is an under proved or over proved dough. That's right, you've missed the "sweet spot".
If it was under proved the gluten won't have had time to form and so won't have been strong enough to trap the air bubbles that formed. Or, the yeast might not have produced enough carbon dioxide to create those bubbles.
If the dough was over proved then the gluten will have begun to break down and they will have collapsed in on the air bubbles.
Why isn't my sourdough very sour?
There can be a number of causes for bread that isn't very sour but the temperature at which your loaf rises can have a big difference. Acetic acid is the one that gives the signature sour tang. You can encourage the natural yeast to make more acetic acid by letting the dough rise for longer in the fridge.
Can I freeze my sourdough?
Yes! Sourdough bread freezes very well. You can freeze a whole loaf, half a loaf or in slices. When you want to eat it simply defrost on a wire rack covered with a tea towel.
More about sourdough baking...
...everything you need to know about making a sourdough starter.


Leave a Reply