This is the only white sandwich loaf recipe you will need! Find out how to make it below.
Perfect for beginners and experts alike
I'll be the first to admit that baking bread is something I have struggled with in the past. Jon has always been the baker in this house – probably because he has so much more patience than I do. But as I've mastered the technique for doughnuts, brioche buns, and other sweet loaves, I decided I needed to go back to basics and really perfect the white loaf of bread.
I know bread machines are incredibly useful bits of kit, but for me part of the point of baking a fresh loaf of bread is to get your hands dirty, to flour down your counter top and to knead away for 5, 10 or 15 minutes as required. It's meant to be a labour of love and that's what makes the finished loaf all the more special. So, I took it upon myself to master the white loaf of bread. And here I am, with a fool-proof recipe, and tips and tricks backed up by the science of bread making to show you that you too can make the perfect white loaf of bread.
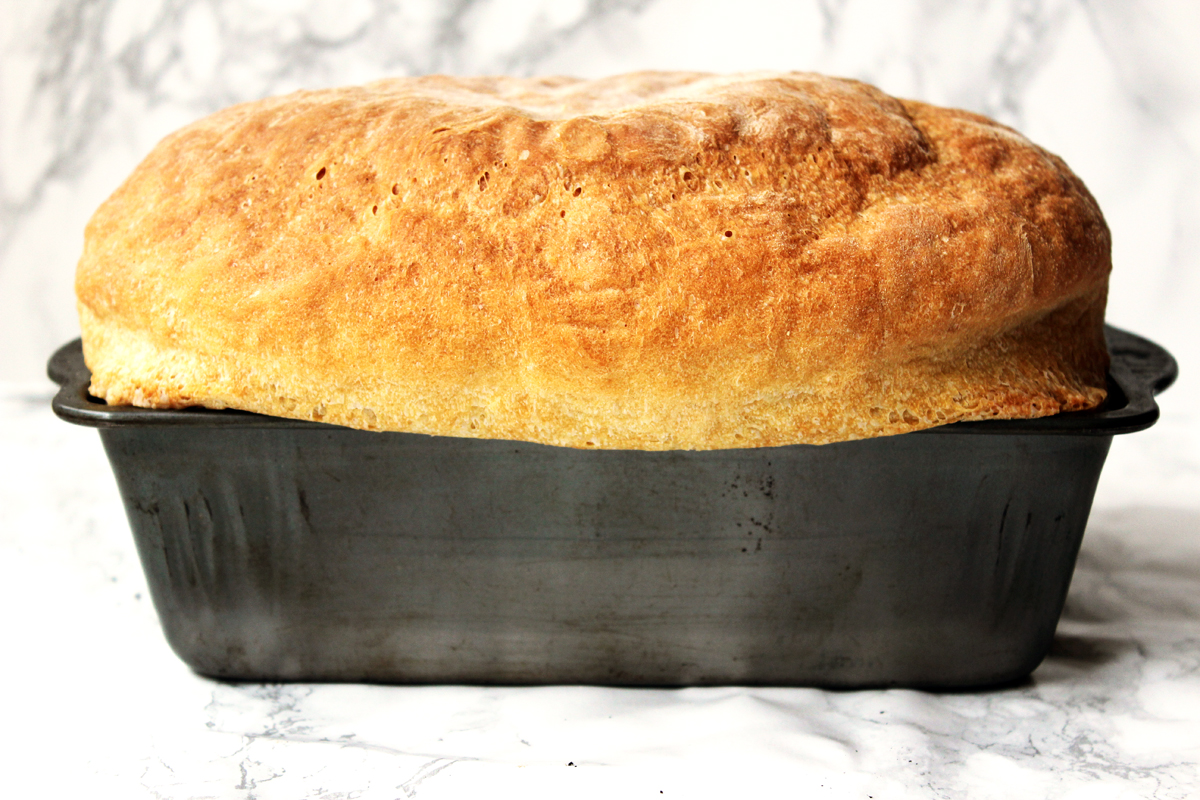
The science of baking bread
So what actually happens when you bake a loaf of bread? From combining the ingredients, to kneading the dough, proving and finally baking there's a lot of science that goes in to the humble loaf of bread.
Step 1 – mixing the dough
Once you've weighed out your ingredients the first step is to mix together your ingredients. Here we are talking about the water and flour. The yeast comes later.
The key here is to ensure that the flour and water are fully and evenly incorporated. You need to ensure that there are no dry spots. The dough will initially look loose and formless and possibly too wet. The next stage is crucial to gluten formation. You need to let this flour and water mix rest for about 30 minutes. This allows the gluten to organise itself and relax. It also makes sure that he flour is fully hydrated – we really don't want dry spots!
Step 2 – add the yeast
Once the flour and water mix has relaxed we need to add the yeast. We don't do this earlier as adding the yeast earlier would speed things along too quickly. The flour needs to hydrate before we worry about fermentation.
Presuming you're using an active dry yeast you will need to "bloom" it or "activate" it. Follow your packets instructions at this stage, but make sure you deduct the water you use from the overall water in the recipe or your dough will end up too wet.
Add this to the dough before kneading.
Step 3 – knead
As you knead the dough will begin to tighten up. This is because gluten is beginning to develop and you will have introduced small air pockets into the dough. Gluten is made up of two proteins called prolamin and glutelin. These proteins absorb water and stick together to create a net when you knead the dough. The gas let out by the yeast gets trapped causing the dough to rise during the first proof. The more you knead the dough the "tighter" this net becomes and the tighter the crumb structure meaning the smaller and more uniform the air bubbles will be.
Step 4 – the first proof
As you let the dough proof, the yeast begins to ferment. In simple terms the yeast feeds on the sugars in the dough and they let out byproducts including gas and alcohol. The alcohol produced is what gives great bread its characteristic flavour and scent. At room temperature fermentation takes about 1.5 – 2.5 hrs. Increase the temperature and the dough will rise faster. But, if the dough gets too hot the bubbles will form to quickly and burst meaning a flat loaf of bread (the is what people refer to when they say their loaf has "over-proofd". Also, if you don't let the dough rise for long enough you also won't get as much alcohol produced and so your bread won't taste as good. On the other hand, leave the dough too long and the yeast will eat all of the sugars meaning there will be nothing for it to feed on in the final proof.
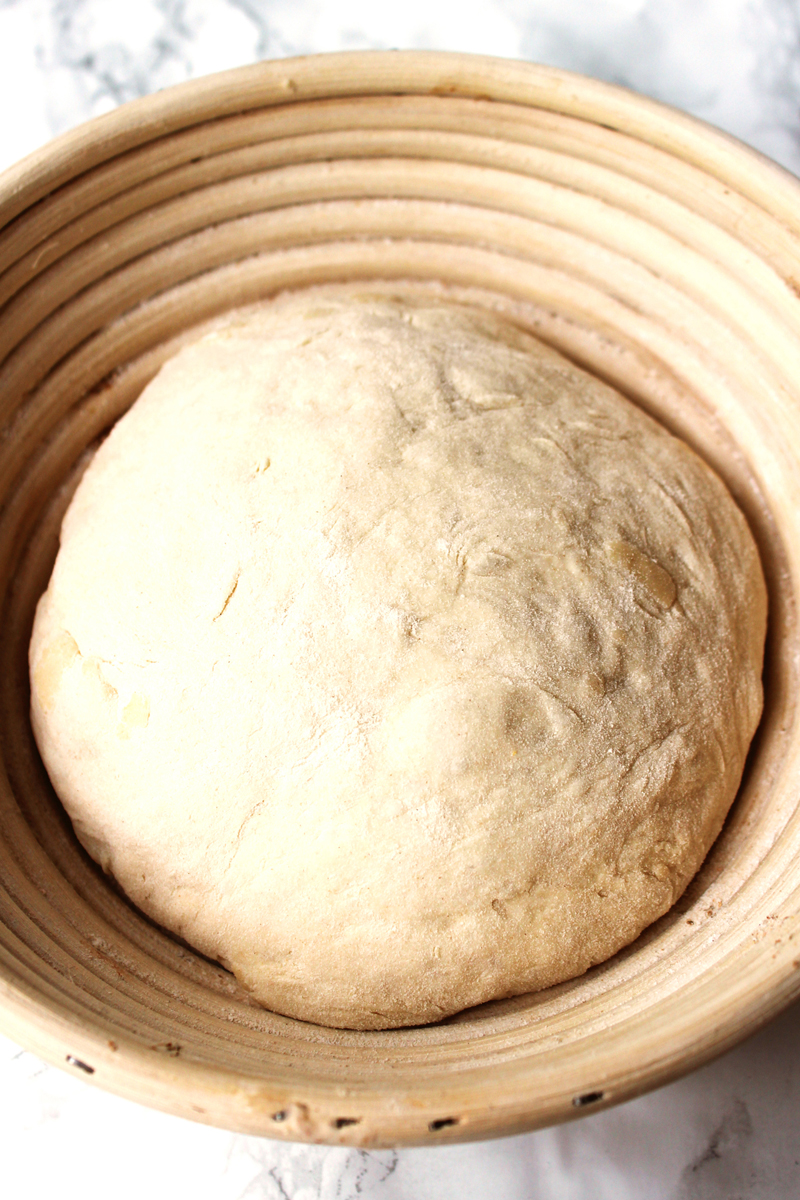
Step 5 – pre-shape
Give your dough a heads-up about what shape you want your final loaf to be by "pre-shaping". This simply means forming it into the shape you want then letting it rest for 15 - 30 minutes. It will relax and start to loose shape.
Step 6 – final shaping
After letting the dough rest, re-shape the dough. This should help create even more tension and it will now hold its shape better as it bakes.
Step 7 – final proof
Once the dough is in its final shape, place in your loaf tin and proof for the last time. This will take between 1 – 1.5hrs and the loaf should double in size. You can slow this process down and get extra flavour by proving the loaf in the fridge. Remember lower temperatures means slower proof. Keep an eye on your dough. Don't let it go beyond doubling in size and don't bake it too soon because you're bored of waiting (I've done that a few times…)
If you bake too early and under prove your loaf it will have less flavour and won't rise as well.
If you leave it too long and over prove your loaf then it is likely to be so full of gas from the yeast that the bubbles begin to burst and the gluten structure falls apart creating a load that collapses and loses its shape in the oven.
Step 8 – baking
As the loaf bakes the protein of the gluten straightens out and they begin to bond. They squeeze out water and form around gas bubbles leaving the final "crumb structure" of the bread. The outermost edge of the bread exposed to more direct heat will form a crust. A spritz of water in the oven during the early stages of cooking will ensure this crust doesn't form too quickly and will give the dough a better chance to rise.
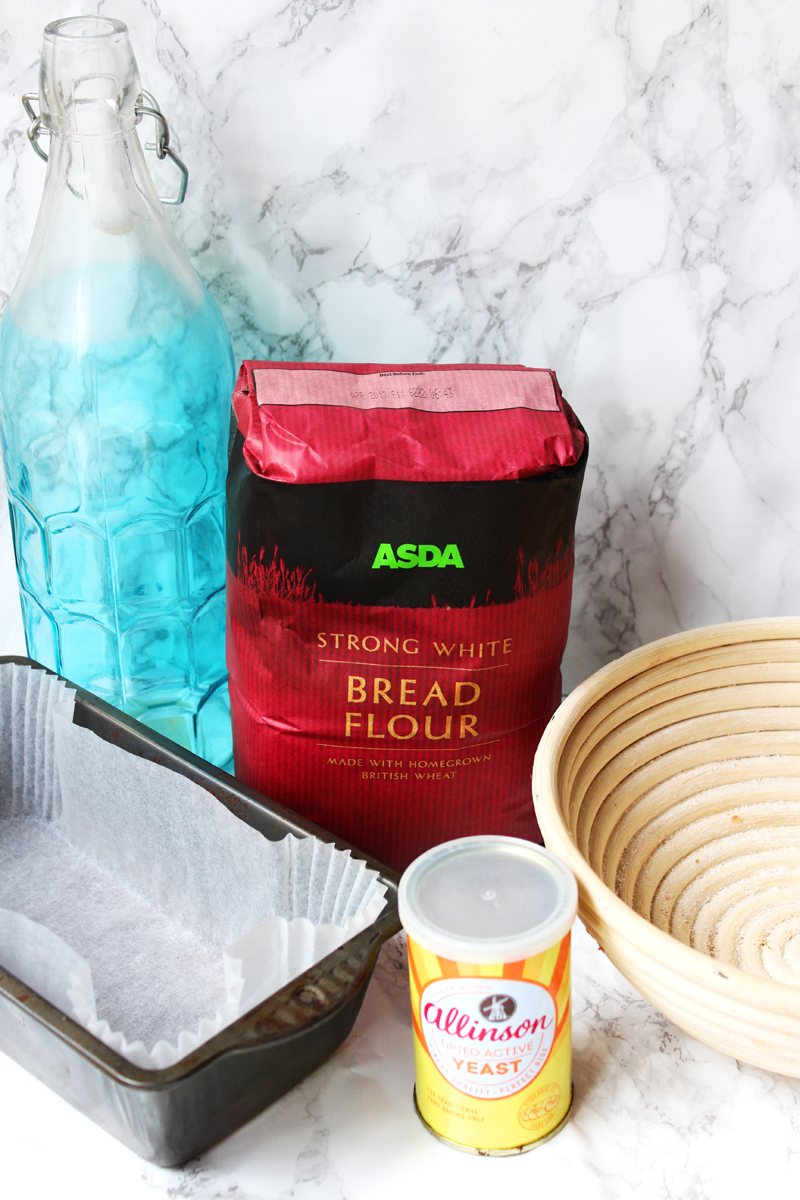
The ingredients
Very little goes into a loaf of bread which is what makes it so magical. How does water, a little yeast and flour turn into something so tasty? I've always thought the way it grows and grows it a little freaky – it's like it's alive!
Flour
Bread recipes often call for "strong" flour. But what does this really mean and is it essential? Bread flour has a high protein content. A high protein content is important as the bread rising and keeping its rise is dependant on gluten which is made up of two important proteins (see the section on kneading above). If you use a flour with a low protein content, there won’t be as much gluten to trap the gases produced by the yeast and the dough will not rise. This can result in a denser bread.
Yeast
There are three common types of yeast (1) fresh, (2) dried active yeast and (3) instant, fast action yeast.
Fresh yeast is the least common. It comes in blocks which are soft and crumbly. It's used by professional bakers rather than home bakers and has a very short shelf life.
Dried active yeast consists of tiny bead-shaped granules. It usually (not always) comes in a vacuum pack or tub. It has a long shelf-life - several months or more - and doesn't need refrigeration. Instant dried yeast - also called fast action, rapid rise, easy rise, or quick yeast - is much more fine, like a powder. It usually comes in 7 gm portions and must be used within 2 days of opening and should be kept in the fridge. This is the most popular form of yeast for home cooks. Professional bakers will argue fresh is best, producing more consistent results and a superior flavour but the dried varieties work very well.
Salt
Salt is important to flavour. Food needs seasoning and bread is no exception. But, it's important that the yeast doesn't come in to direct contact with the salt as the salt will kill it off very quickly. Make sure the yeast is already incorporated before adding.
Water
Last but not least bread requires water. This is the "glue" that holds it all together. I've seen some recipes call for "spring" or "purified" water. In my opinion this is just snobby and I see absolutely no benefit of using any form of filtered water.
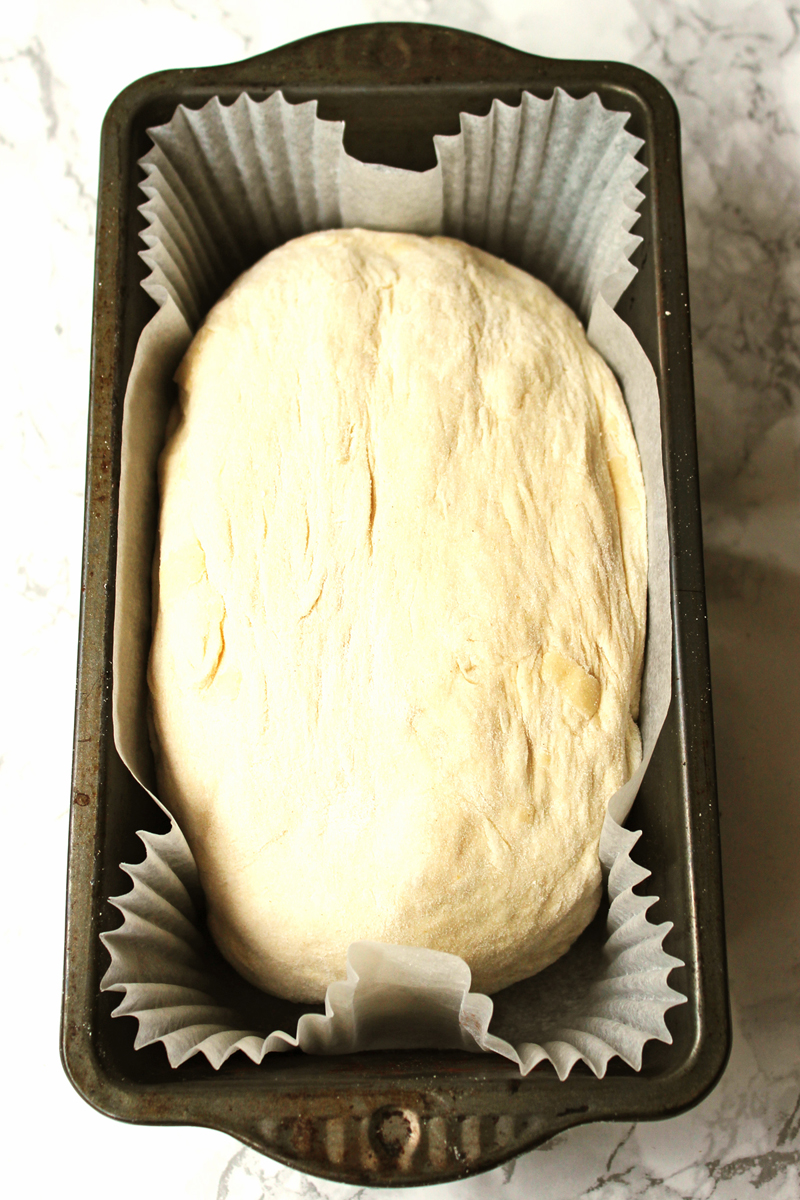
Technique
Beyond mixing, kneading and shaping your dough which are all pretty essential, there are some additional techqniues you can use to get the perfect loaf.
Scoring the dough
Almost all artisan loaves you see will have been beautifully scored. But for some loaves this performs an essential function during baking. As gas is produced when the loaf bakes, it needs to escape in a controlled manner so as to avoid the gluten structuring over-extending and then collapsing before it's had time to fully set and hold its shape. Scoring allows gas to escape in a controlled manner.
Adding steam
Steam allows the dough to get hotter quicker, it stops a crust forming too soon and allows the dough to rise for longer, it also helps the sugars created in the dough caramelise to form a more tasty crust.
The recipe
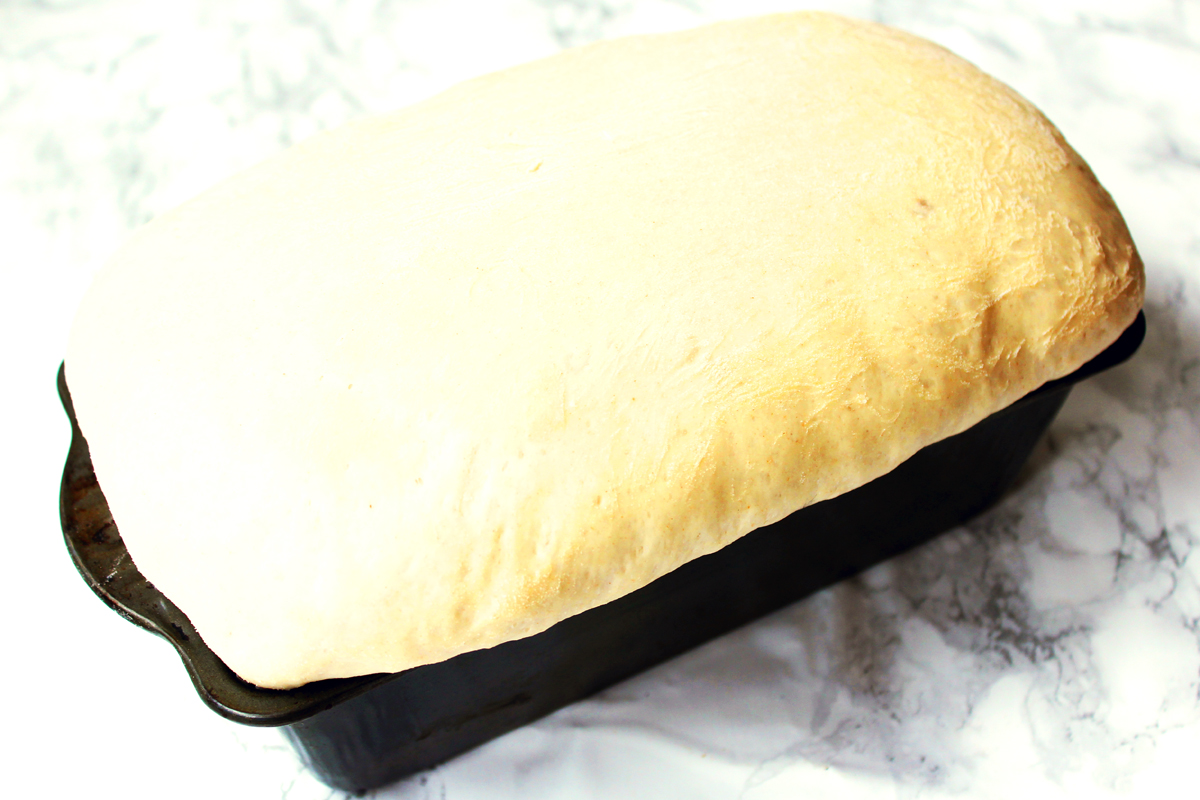
Now you know what ingredients you're working with and how they interact as the loaf comes to life you can start to bake your own! Follow my easy recipe below for the perfect white loaf every time!
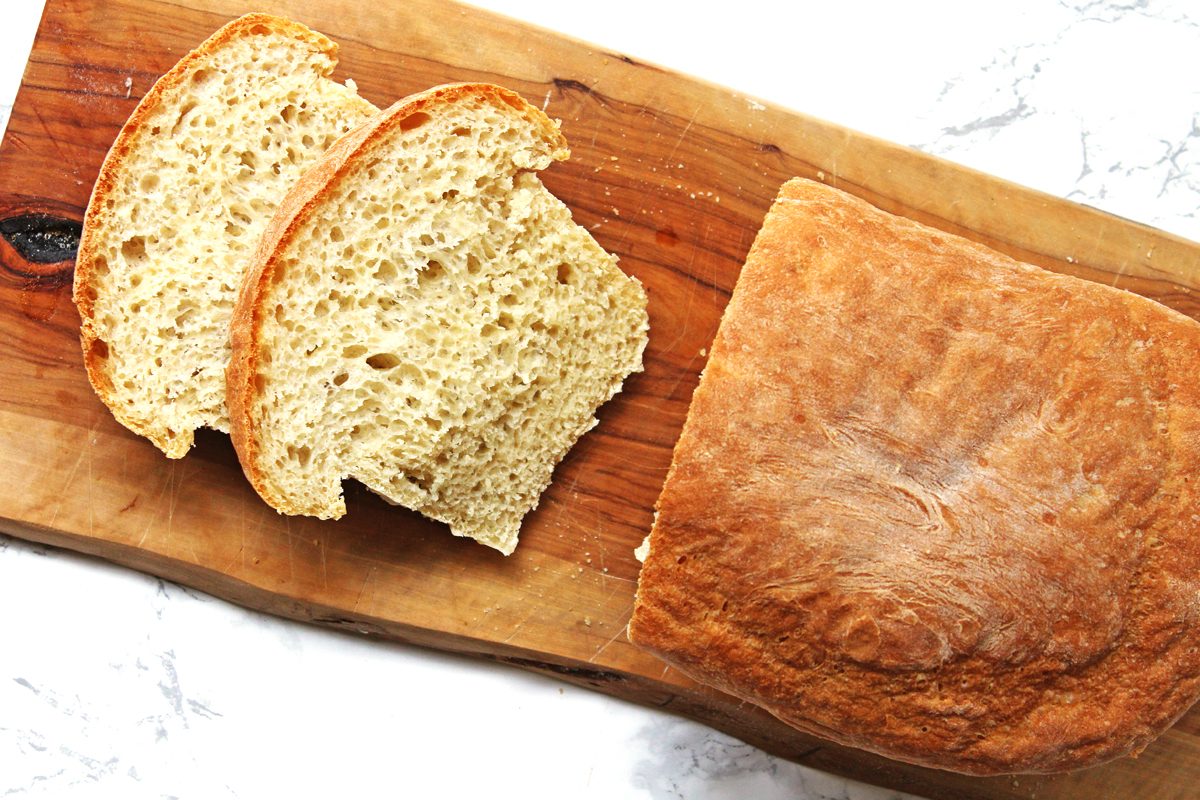
White Sandwich Loaf
Ingredients
- 500 g bread flour plus extra for dusting
- 7 g fast action dried yeast
- 1 teaspoon salt
- 350 ml water lukewarm
- 1 tablespoon oil for greasing
Instructions
- Make the dough by tipping the flour and salt into a large bowl and making a well in the middle.
- Pour in most of the water and use your fingers or a wooden spoon to mix the flour and water together until combined to a slightly wet, pillowy, workable dough - add a splash more water if necessary.
- Allow to rest.
- Bloom the yeast and add to the rested water and flour mix.
- Tip the dough onto a lightly floured surface and knead for at least 10 mins until smooth and elastic. Add a little salt to taste and knead until incorporated.
- Place the dough in a clean oiled bowl, cover with cling film and leave to rise for 1.5 – 2.5hours.
- Shape the dough to fit your loaf tin.
- Allow to rest for 15 -30mins.
- Reshape to fit the loaf tin. Grease the sides
- Heat oven to 220C/fan 200C/gas 7.
- Cover with a clean tea towel and leave to prove until doubled in size (roughly 2 hours).
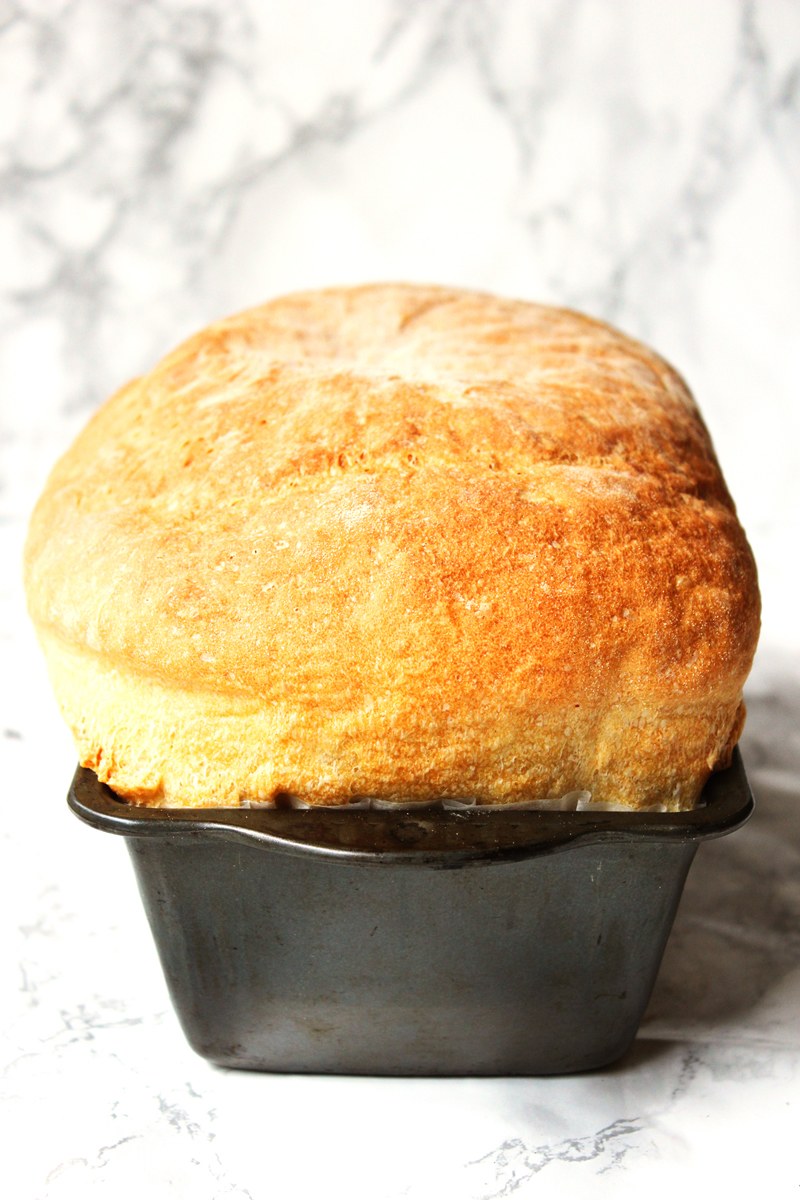
- Bake the bread for 15 mins, then reduce the heat to 190C/fan 170C/gas 5 and bake for a further 30 mins until the loaf is golden and sounds hollow when removed from the tin and tapped on the base.
- Leave the bread on a wire rack to cool completely.
Notes
Nutrition
So there we have it. The perfect white loaf of bread! Having your home filled with the aromas of a freshly baked loaf of bread is oh so satisfying. Hopefully you'll have found the process quite relaxing and enjoyable too! I know I do!
Once you've mastered this you'll be able to move on to more exotic versions – pass me the wholemeal flour! Did I hear someone say rye?!
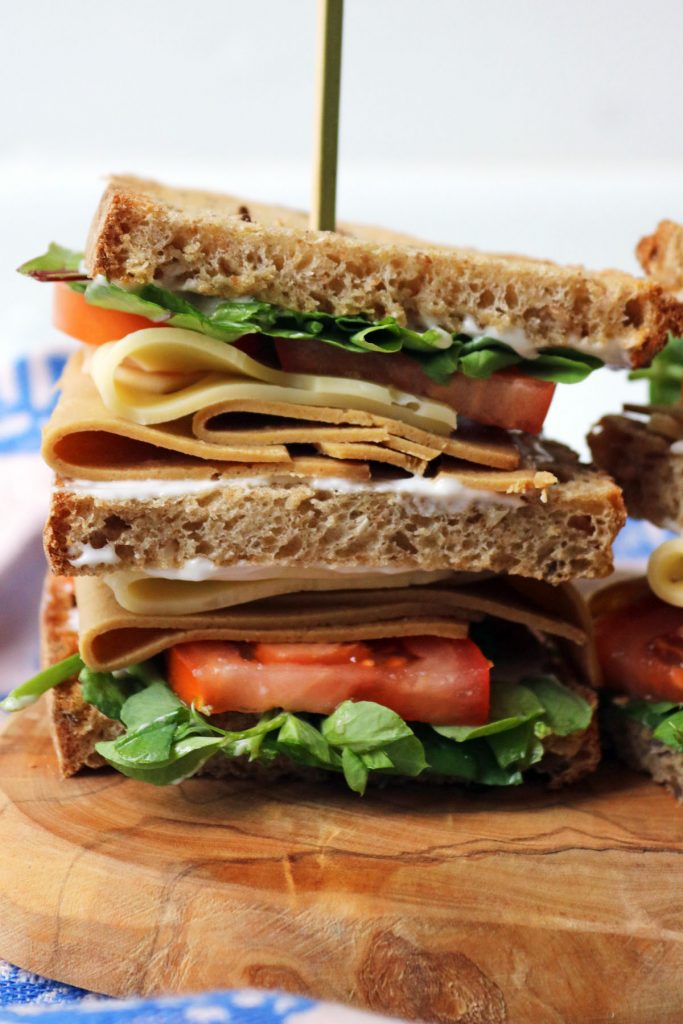
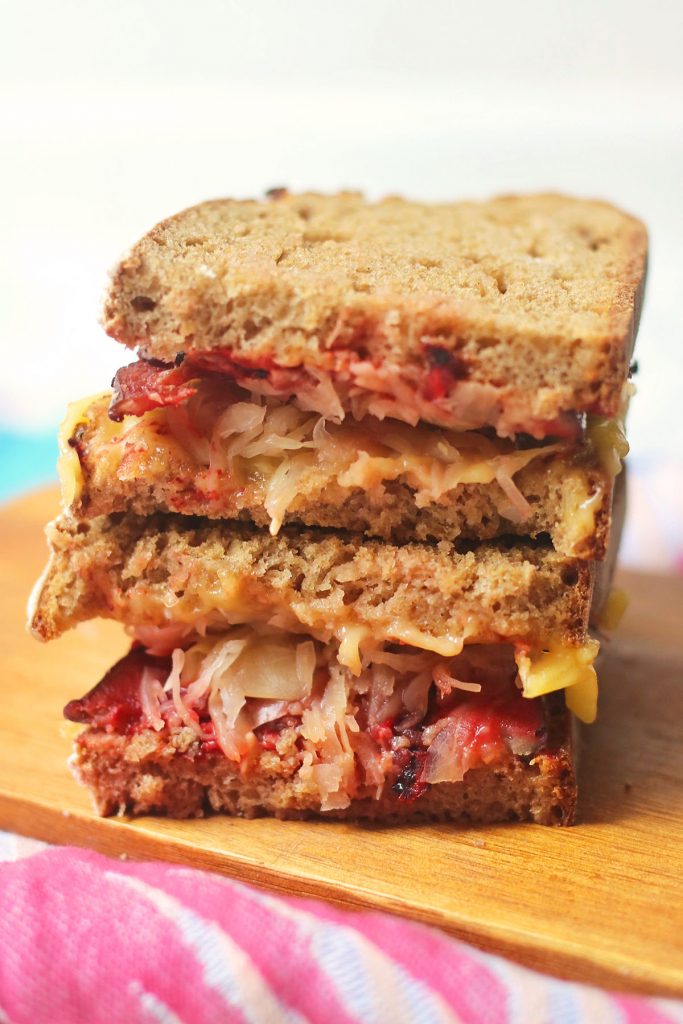
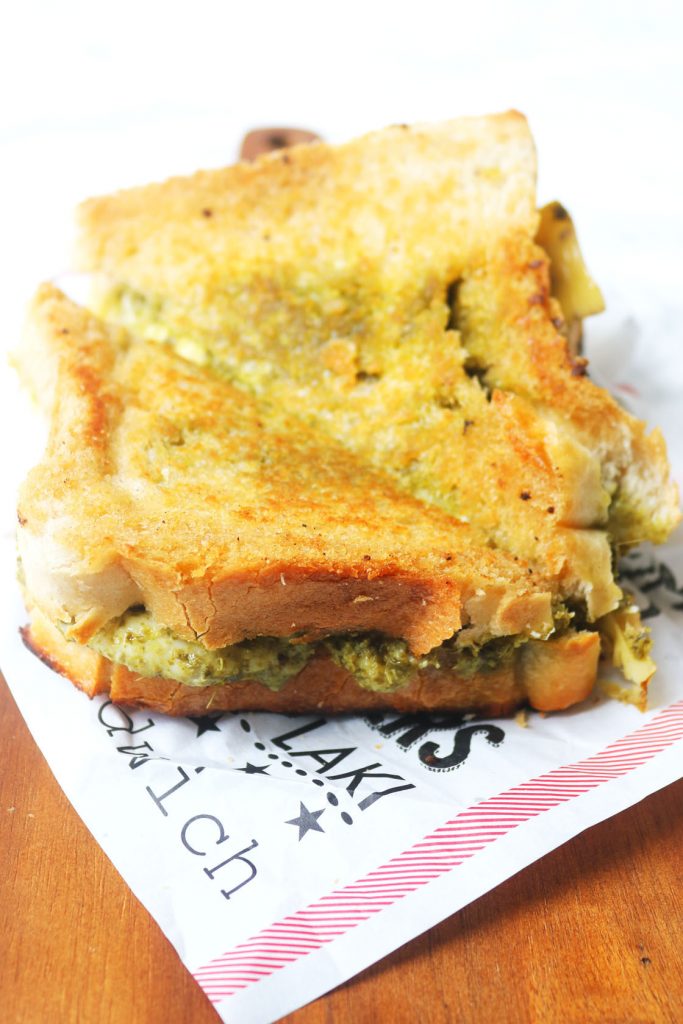
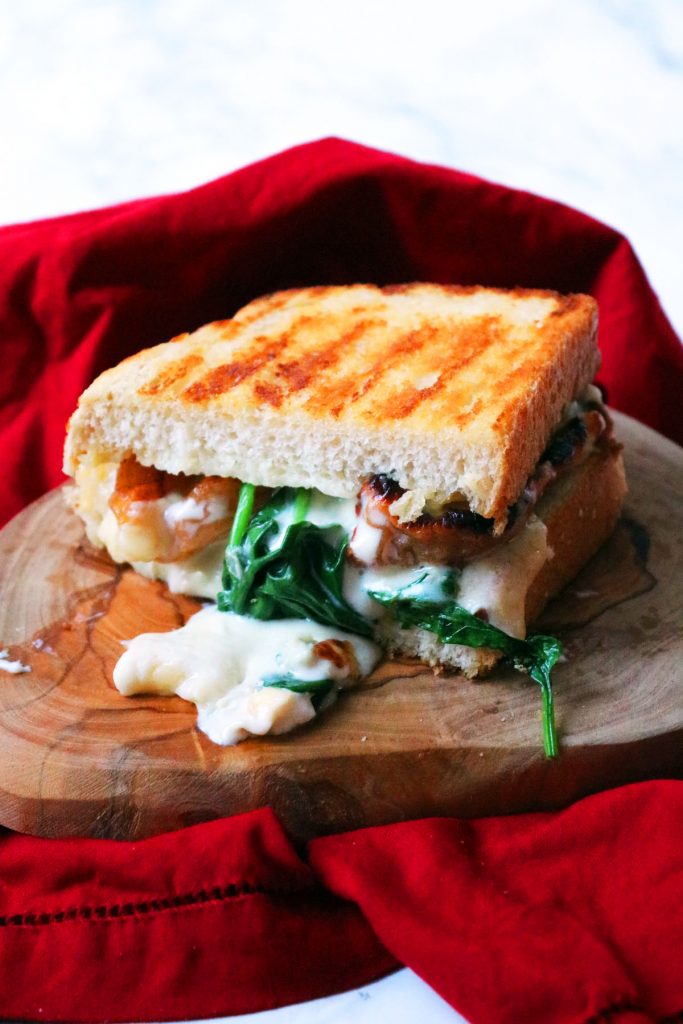
Sandwich recipes for your loaf
More bread recipes
If you want to try your hand at some of my other bread recipes then check out the bread recipe archive.

If you make this loaf of bread then let me know in the comments below! I'd love to know what you think.




Jesss says
People always give me filthy looks when I say this, but I don't really like bread.. I'm just not a carbs person! Saying that I do love making bread, and the smell of it baking..xo
Emmyw says
Haha dw I know what you mean! I probably eat bread once a month! You will never catch me eating a sandwich for lunch that's for sure! But like you say making bread is fun and smells delicious! I only eat bread which is worth eating in it's own right!You'd never just tuck into a slice of the prepackaged stuff you find in a supermarket, but warm rustic bread, I'd eat a hunk of that any day 🙂
Tina says
I love the smell of fresh baked bread! This is such a detailed post - I'll have to reference it when I'm ready to bake my next loaf of bread.
Emma Walton says
Isn't it the most comforting smell ever?! Glad this is helpful 😀
Kavey says
What an enormously helpful and informative bread making tutorial! Shall pass this on to others!
Emma Walton says
Thanks Kavey!!! I've done a loooooot of reading on the subject this has been years in the making :-p
Lucy says
This is such a helpful post, it's really interesting to read. I've never heard of adding the yeast later, or tried that when making bread but will give it a whirl,next time for sure!
Emma Walton says
Thanks Lucy. The more research I did the more it seems it's how the pros do it! Worked for me 😀
Diana says
Love this post Emma! Nothing beats a fresh home baked loaf of bread!
Emma Walton says
Thanks Diana 😀 isn't it just the best smell ever?!
Platter Talk says
Nothing like freshly baked bread's aroma wafting thru the kitchen and seeping into other rooms in the house. Thanks for the very nice directions and recipe. Very helpful.
Emma Walton says
My pleasure 😀 glad you think it's helpful!
Holly says
This bread looks perfect! I really appreciate the step-by-step guide since baking is not my forte.
Emma Walton says
Thanks Holly! I'm glad you've found it useful 😀
nadia says
This was a very interesting read. Bread is one of my favourite things in the world and I used to eat so much of it, but I realised that my digestive system didn't handle it so well so I hardly eat it anymore 🙁 I'm passionate about baking but never did so well when it came to bread!
Emma Walton says
I definitely fall in the probably shouldn't eat bread but still do camp :s oops! Will have to master gluten free bread!