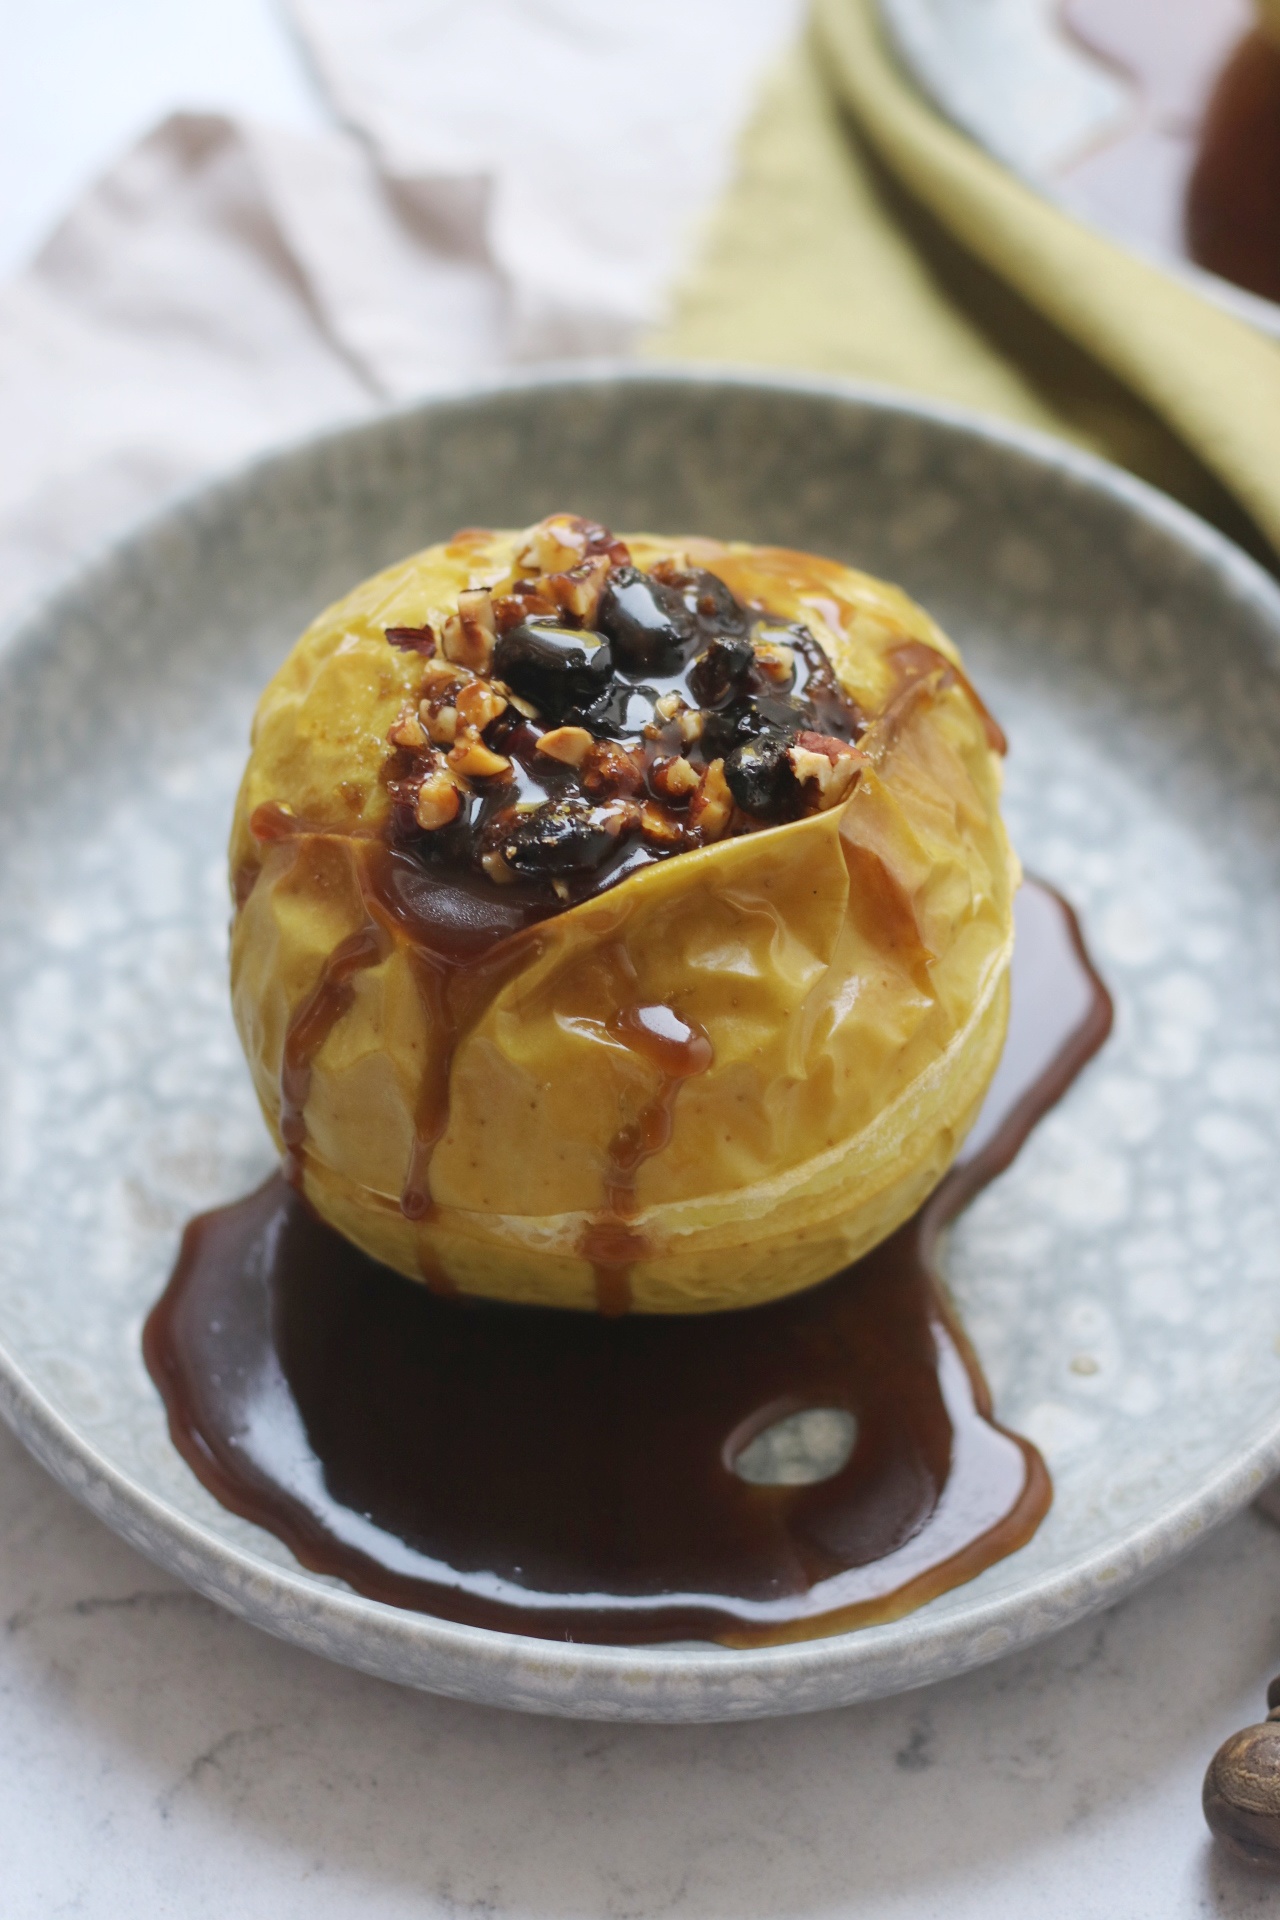
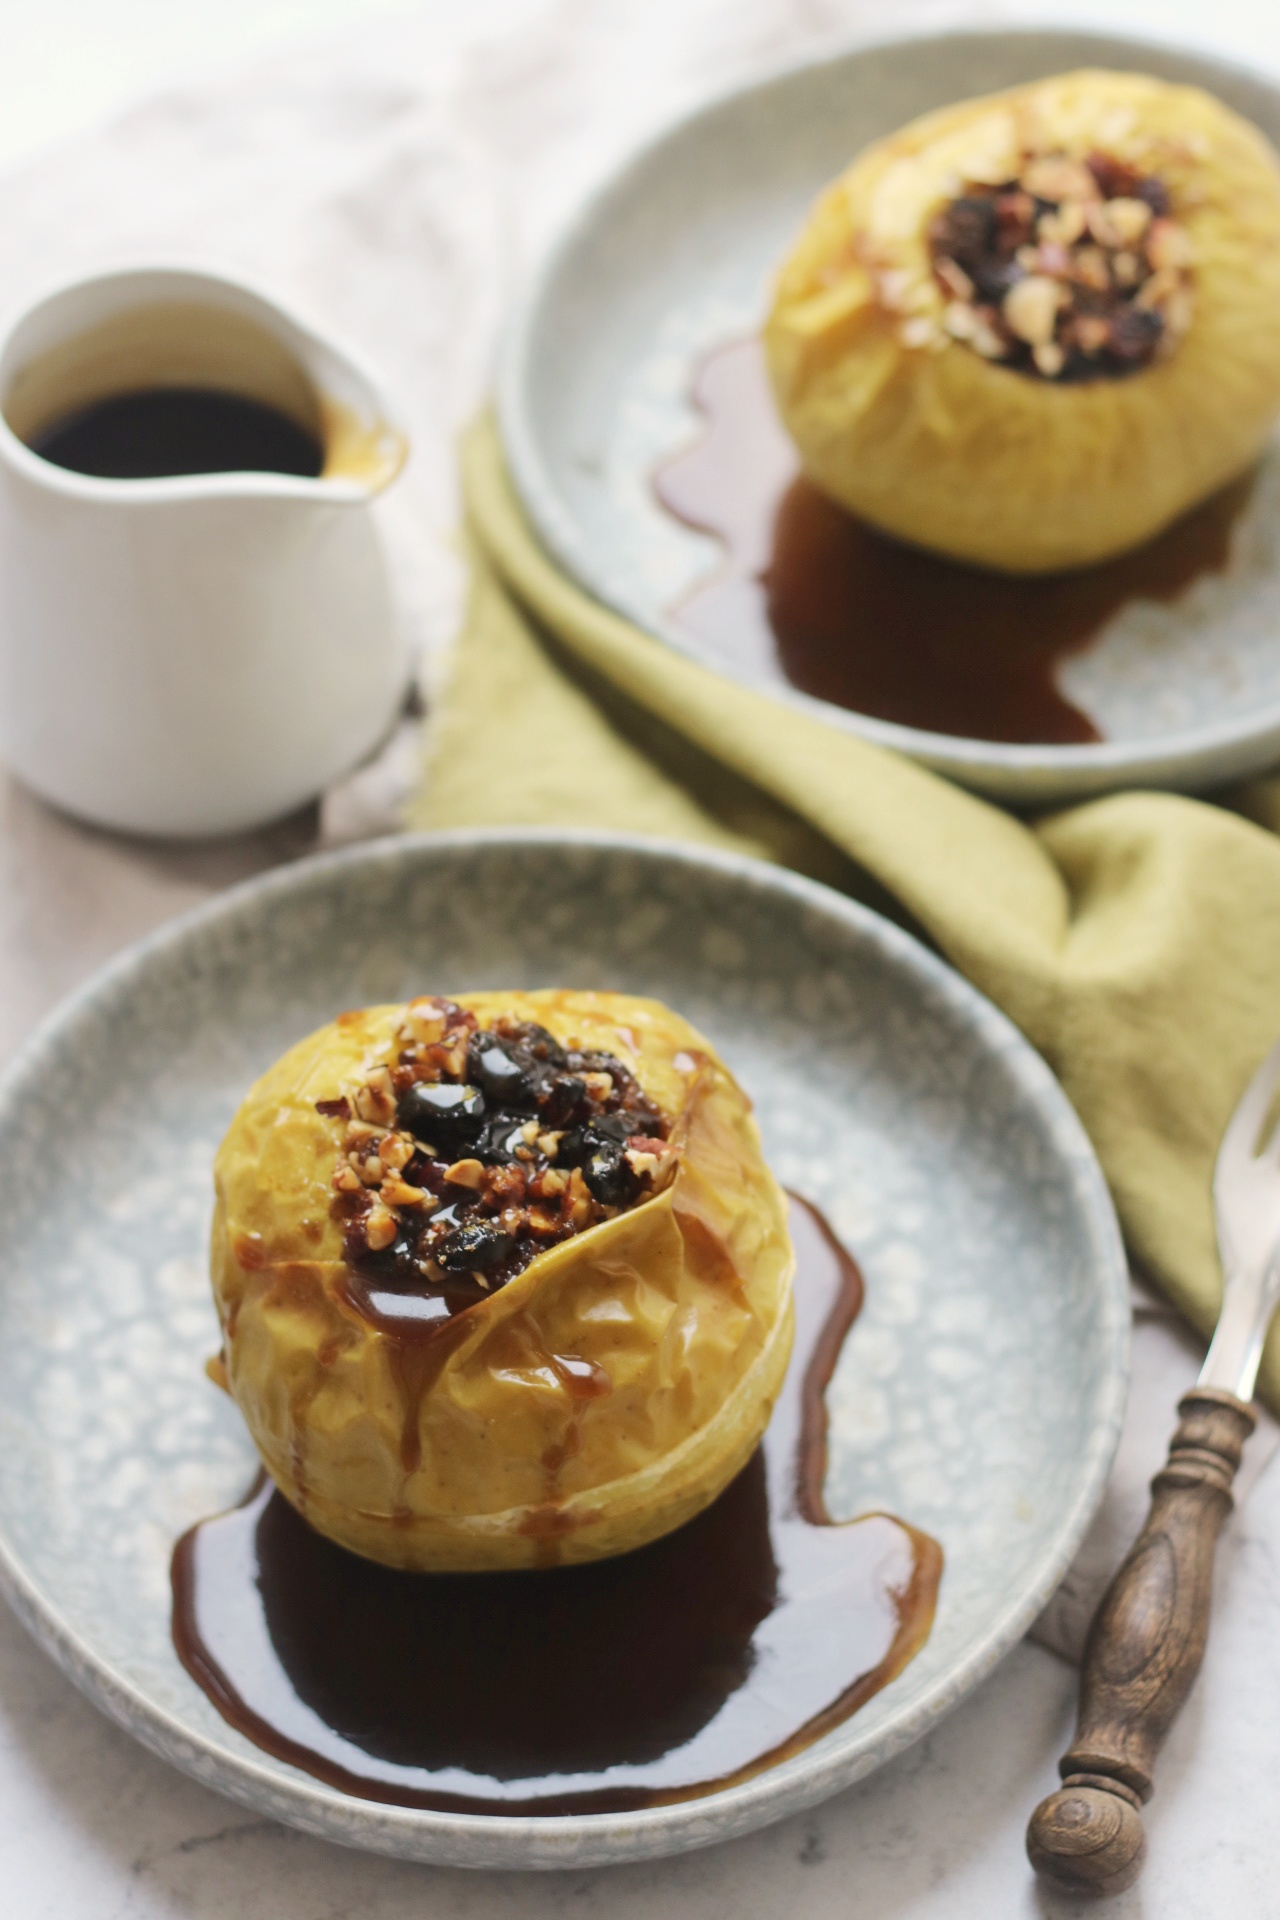
Stuffed Baked Apples are a classic British Dessert. I've filled them with a sweet and sticky fruit and nut mix then drizzled them with caramel sauce. How will you serve yours?
Classic cooking
With such easy access to cook books and food blogs, our diets are incredibly international. We are able to travel the globe, one dish at a time, without ever leaving our own kitchens! But, today I wanted to share a recipe for a pudding that originates a lot closer to home.
These Fruit & Nut Stuffed Baked Apples are a dish that my Mum used to cook for us when we are children and which I still make at home today.
Don't worry, the sentimentality ends there. But, as I try to cook more seasonally and with ingredients that I can grow in my own garden or buy at the local farmers market, the food I cook is going to be increasingly influenced by the dishes my Mum made and her Mum before that.
British cooking might not have a great reputation but I think that's because they are often understated and use the simplest of ingredients. There's nothing special in these Fruit & Nut Stuffed Baked Apples - just simple store cupboard ingredients, a little butter (plant based for me) and cooking apples that grew at the end of my garden.
Despite the lack of exotic ingredients, this recipe is delicious. But best of all you can throw it together at short notice. With a drizzle of caramel sauce or custard you have a really decadent pudding that could even work well as a dinner party dessert! It really is that good.
If you want to see more traditional British recipes, check out the British Recipe Archive.
How to cook Fruit & Nut Stuffed Baked Apples
Choosing which apple to cook with
I find it really interesting that baked apple recipes on the internet often suggest using eating apples. I have two issues with this. (1) Eating apples are naturally sweeter and this would be too sickly a dish if we used a sweet apple. (2) When they cook they retain their shape. We want a soft texture once baked that contrasts well with the crunchy nut filling.
With that in mind, I like to make these Fruit and Nut Stuffed Baked Apples with Bramley apples. Bramley apples are a large, green cooking apple. They may have a few red specks on their skin and are often quite white and flat. They taste quite sharp if you taste them raw. But, once cooked they become sweet and juicy. They are often used for apple sauce, pie fillings and other desserts because they break down into a velvety, soft consistency. The texture of the cooked Bramley apple is really what makes this recipe so special.
The good news is that Bramley apples are available all year round so you can make this pudding any time you like. But, they are at their best between December until March which is exactly when you're going to want a comforting spoonful of hot baked apples and sticky fruit and nut! Nature has a way of knowing exactly what we need.
When picking your apples (Bramley or otherwise) avoid any that have bruising or other marks on the skin. They should be firm when you squeeze them and not at all soft or mushy.
Scooping out the seeds
To be able to stuff you're apple, you first have to remove the seeds. You can use an apple corer to do this. But, I find that using a corer makes you more likely to accidentally push all the way through the apple leaving a hole in the bottom. To make sure the apples keep their shape as they bake we want to make sure the base of the apple stays in tact.
So, how do we scoop out the seeds without using an apple corer?
There are two techniques that I think work well. The first is using a paring knife. Push your knife into the top of the apple at a 45 degree angle, roughly an inch away from the stem of the apple. Run the knife around in a circle, removing the centre portion of the apple. Once you've done this you will be able to see if you've gone deep enough to scoop out all of the seeds from the core. If you haven't, don't worry, just scoop them out with a spoon. Again, being careful not to scoop out the entire bottom of the apple.
The second method uses a melon baller. This takes a little bit longer than the paring knife method but means you can be a little bit more targeted as you scoop out the centre of the apple.
Scoring the apple skin
Before we stuff the apple, there's one last piece of prep we need to do. Gently run your knife around centre of the apple, horizontally. This stops your apple exploding! That might sound extreme but as your apple bakes you will see that the flesh of the apple expands and by scoring the skin you give it room to grow.
Stuffing your apples
Once you've scooped out a hole in the centre of the apple you need to fill it. I use 1 part dried fruit (raisins, dates, figs etc) to 1 part chopped nuts (hazelnuts, walnuts, almonds etc) to 2 parts brown sugar. This is the perfect ratio for a sticky and sweet filling.
A pinch of ginger and cinnamon adds a hint of spice. These warming flavours are perfect for autumn and winter.
Adding steam
The last step before we bake our stuffed apples is to add a little water to the oven dish. We do this because it creates steam in the oven. This in turn makes sure the apples stay moist and keeps the skins of the apples from burning (though it's fine if they do go a little brown).
Time to bake
Once your apples are cored, scored, stuffed and tucked safely in their water bath, they are ready to bake. You will need to adjust the time depending on how large your apples are. I recommend checking on them after 30 minutes. For particularly large apples like mine you will need to bake them for 45 minutes +.
You will know they are ready when the sugar in the filling has melted and the apples have expanded slightly, exposing their flesh where they were scored. Give them a gentle squeeze and you will feel they have softened (but they shouldn't be too mushy).
The recipe
Fruit & Nut Stuffed Baked Apples
Ingredients
- 4 cooking apples e.g. Bramley apples
- 50 grams mixed nuts roughly chopped
- 50 grams dried fruit e.g. raisins, sultanas, figs and dates
- 50 grams dark brown sugar
- 50 grams light brown sugar
- 0.25 teaspoon cinnamon
- 0.25 teaspoon ginger
- 1 pinch nutmeg
- 2 tablespoon butter I use Flora Plant B+utter to make it vegan
Instructions
- Begin by pre-heating your oven to 200 C / 392 F / gas mark 6.
- In a mixing bowl, combine the chopped nuts, dried fruit, sugar and spices. Stir until well mixed.
- Next, core the apples by taking a sharp paring knife and a spoon (or a melon balled) and removing the core and seeds from the apple, being careful not to cut through the bottom.
- Run the knife around the centre of the apples, horizontally.
- Place the apples into an oven dish leaving a little space between them.
- Stuff the centres of the apple with the filling, pressing down slightly to make sure there's plenty of filling. Add half a table spoon of butter on top of each apple.
- Pour warm water into the base of the oven dish and then place in the centre of the oven.
- Bake for 40-45 minutes or until apples are tender soft. (Check after 30 minutes if your apples are quite small).
- Once cooked, take the oven dish out of the oven and leave to cool slightly.
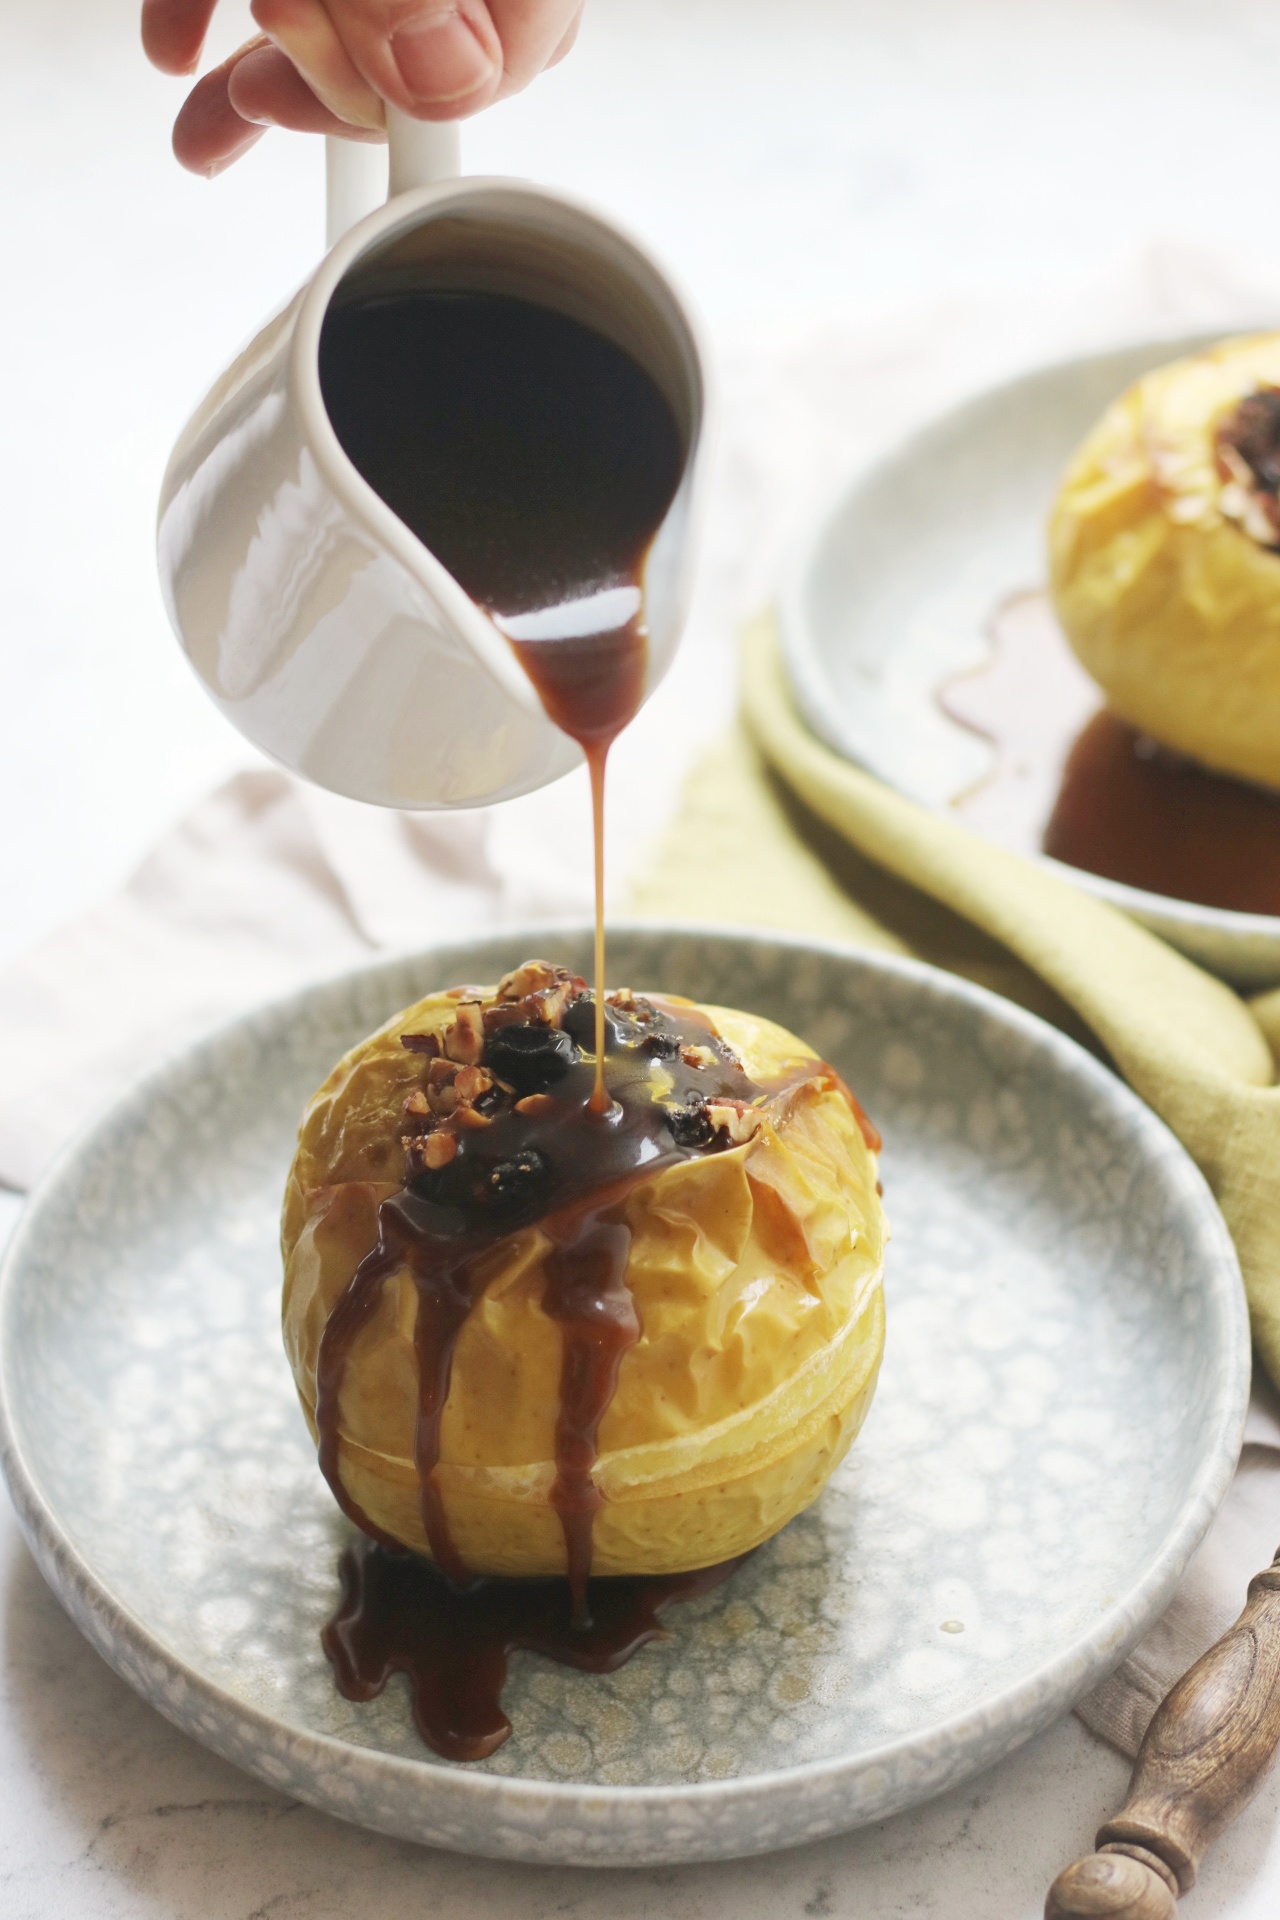
- Serve warm with caramel sauce, custard or ice cream.
Nutrition
Variations
There are lots of ways that you can customise this recipe.
You can use any combination of dried fruit and nuts that you like.
For an American twist on this dish, why not use maple syrup instead of brown sugar and pecans instead of mixed nuts.
You can also play around with the spices used in the filling or add a splash of booze!
If you want to be really decadent, why not use apple juice or apple cider in the base of your oven dish to add even more flavour to the dish.
Serving suggestions
I love serving these Fruit & Nut Stuffed Baked Apples with a vegan caramel sauce but custard works well too.
If something cool is more your thing then serve with a scoop of a good quality vanilla ice cream. Creme fraiche is nice for those who want to avoid too much sugar.
During the festive season I love adding a dollop of brandy butter to make this pudding really rich and decadent.
Can you make these ahead?
If you're planning on cooking these for a special occasion you might want to make your life easier by prepping these in advance. If you want to do this, assemble them and then put them in the oven dish (without the water). Cover them and keep them somewhere cool until you want to cook them.
You can reheat them if you have leftovers but they do go mushy the second time you cook them. For that reason, I wouldn't cook them ahead of time if you're planning to serve them to guests.
More British puddings
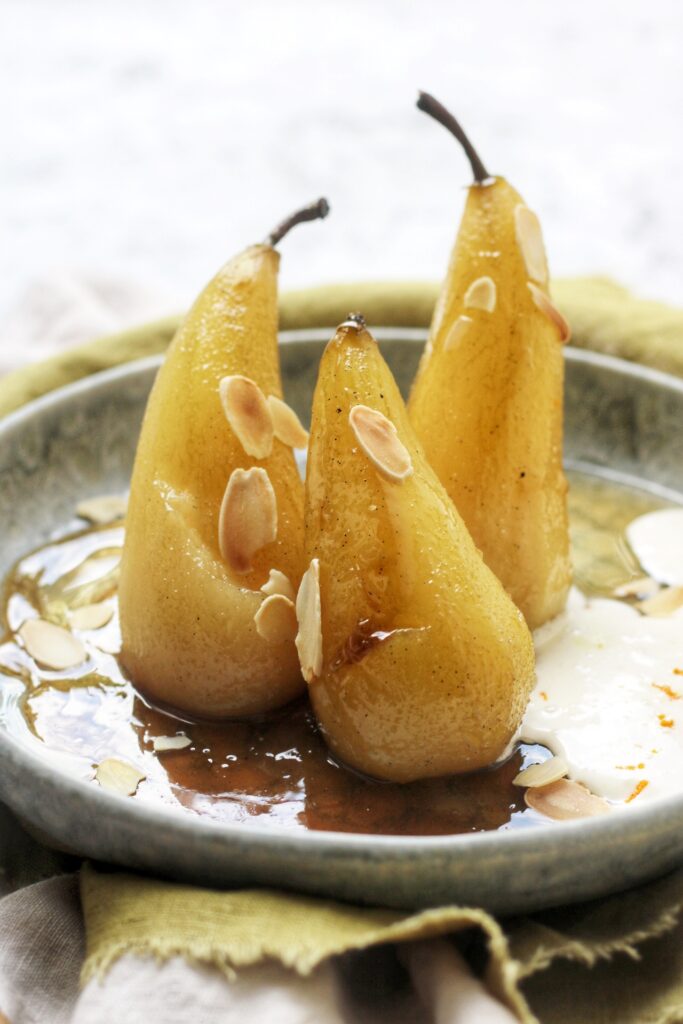
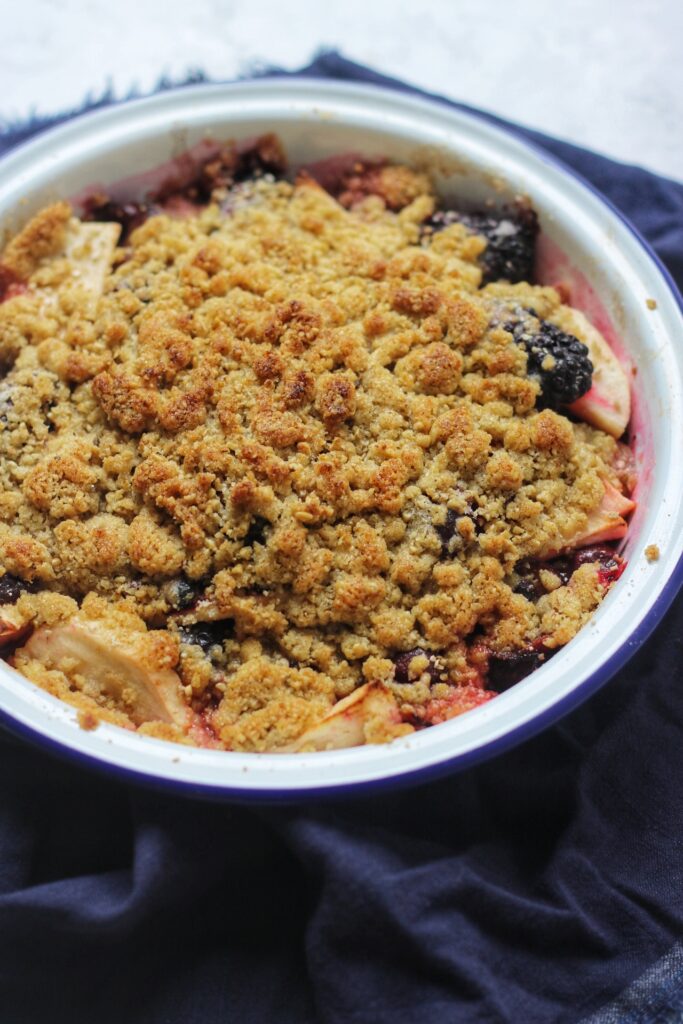
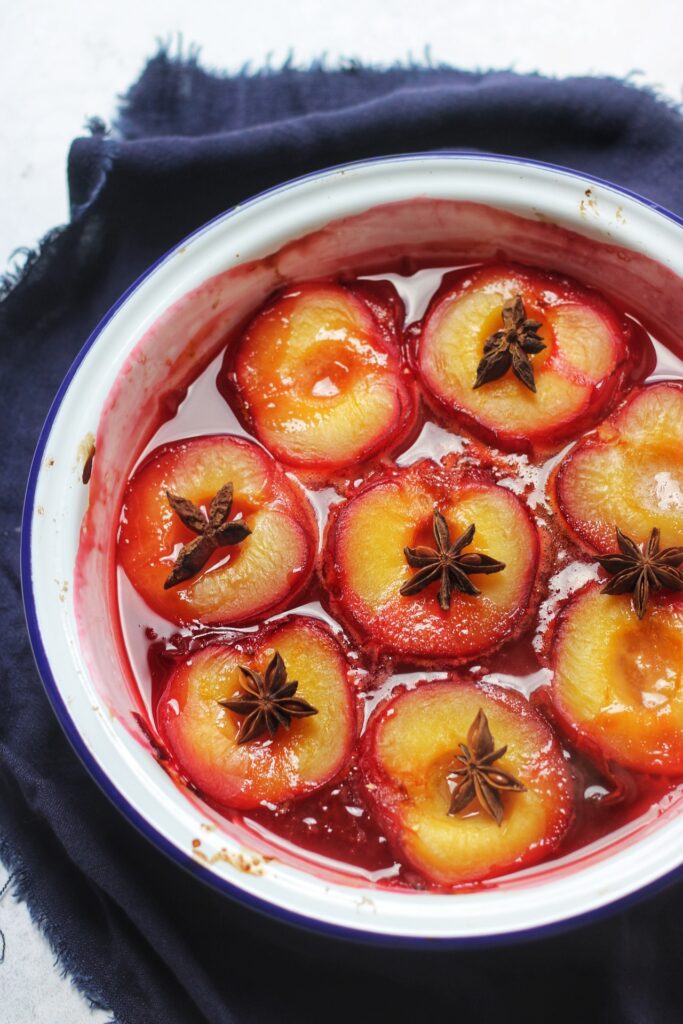
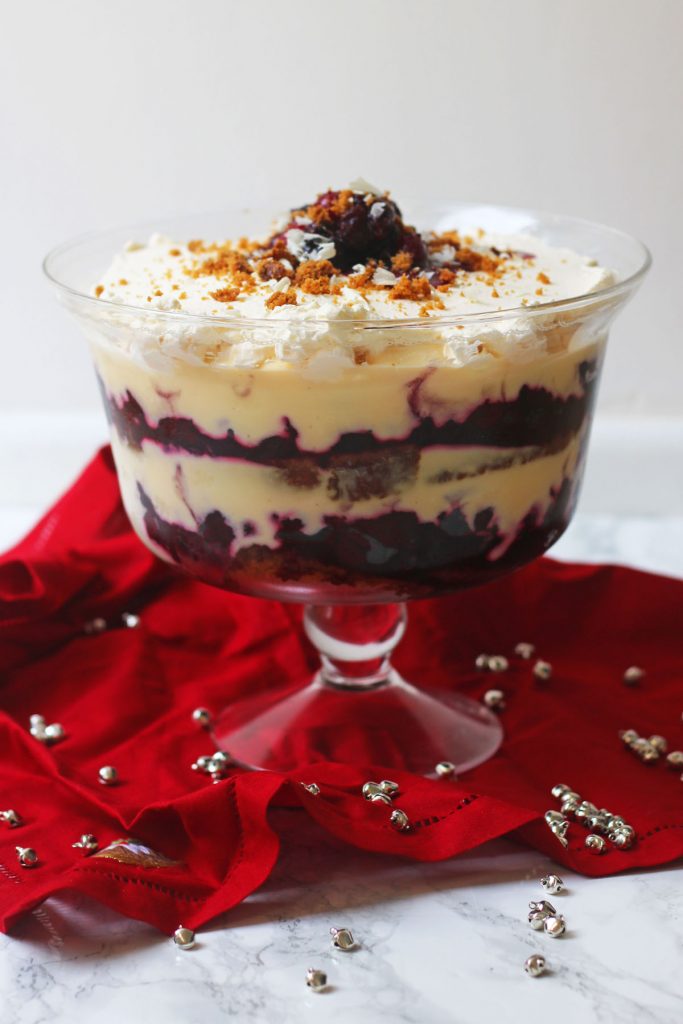
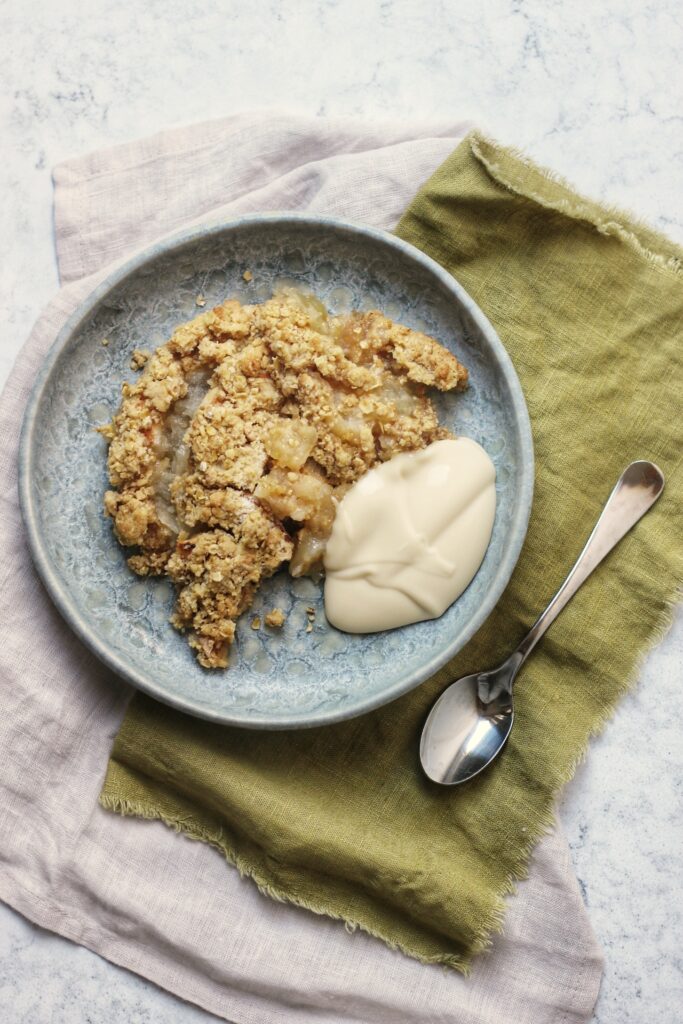
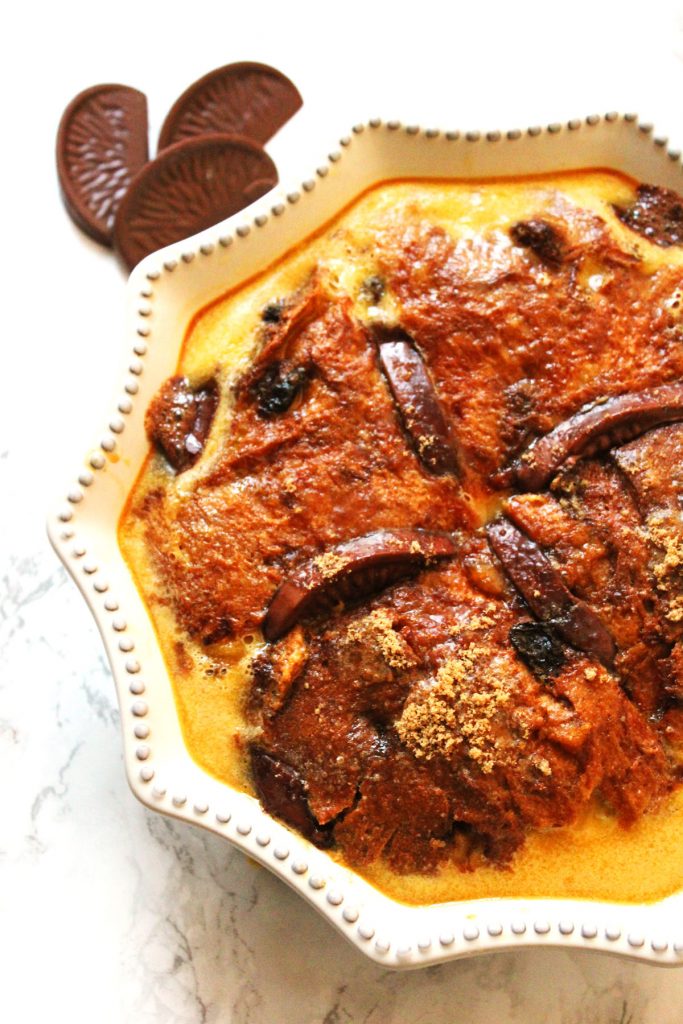
Apples and pears, blackberries and plums, British puddings often involve cooking fruit to bring out their natural sweetness then serving them with something sweet and cakey. From crumbles to pies, trifles and more. Why not try some of my British dessert recipes listed below.
The dessert recipe archive
There are plenty more recipes where this one came from! To check out all of the pudding recipes on the blog, check out the dessert recipe archive.


Leave a Reply