Bring your table to life with this simple tutorial which shows you how to make a Pumpkin Flower Display for your fall table.
Decorating for autumn
I think there is a lot of pressure these days to have a house that looks like it came straight off of the front page of Pinterest. I love pouring over decor posts but you'd need an absolute fortune and a giant house to be able to try out all of the different "looks" that Pinterest wants you to believe is possible. For a start, who actually decorates with the seasons?! I've seen hundreds of posts telling me how to cosy up my lounge for autumn but almost all of them involve decorating the walls, buying faux fur rugs, investing in woollen throws, and don't get me started on all of the "stag" themed knick-knack I apparently need to make sure my flat is properly aligned with the seasons.
Instead of suggesting you decorate your whole home this autumn, I have a much simpler suggestion for bringing fall into your home and all it involves is a pumpkin, a bunch of flowers and some sparkly acorns (optional but fun!) I'm talking about my Pumpkin Flower Display, perfect for decorating your dining room table this autumn.
Tutorial - how to make this stunning Pumpkin Flower Display
Step 1
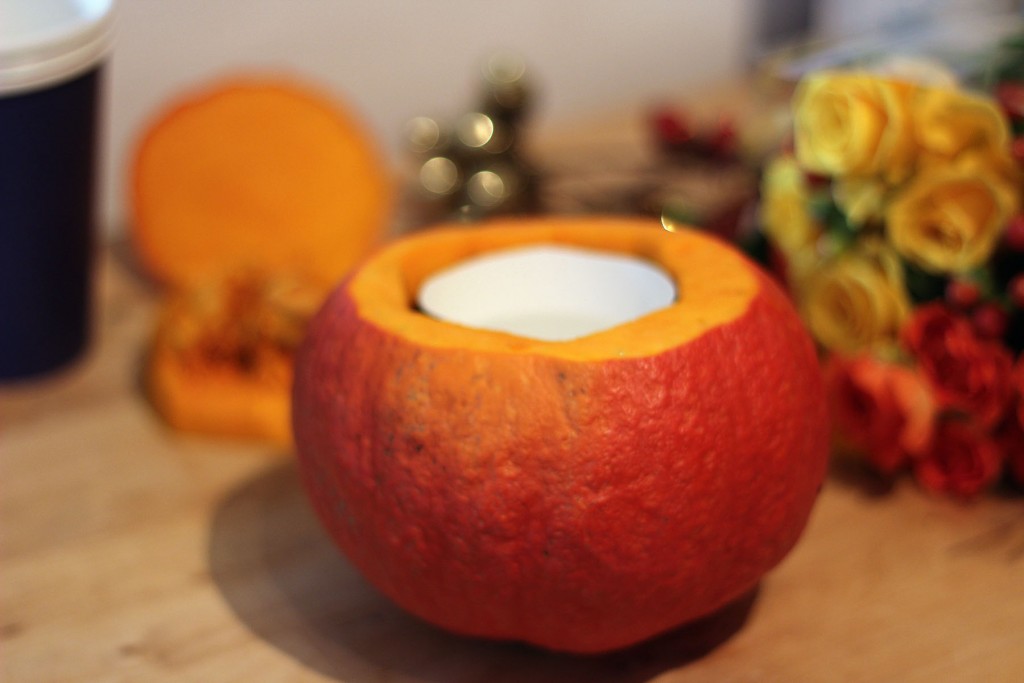
First things first, you need to turn your pumpkin into a vase. Begin by taking a sharp paring knife and, tilting your knife at an angle towards the centre of the pumpkin, cut a large circle into the top. Lift the lid you've just created and scoop out the innards of the pumpkin (don't throw this away the pumpkin seeds taste great roasted with some sea salt!). Take a small cup or bowl and sit it in the pumpkin. Fill with water and hey presto - you have a pumpkin vase.
Step 2
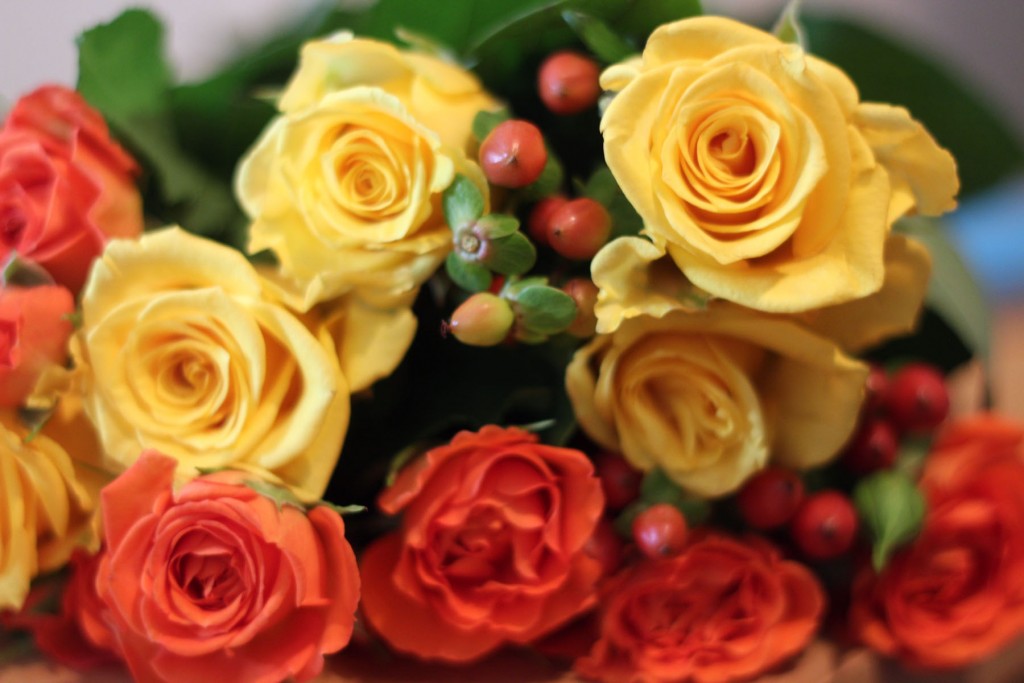
Take your bunch of flowers and cut them down to size making a diagonal cut in the stem using a sharp pair of scissors of garden shears.
You don't want them all the same size. Those you want to stand in the middle of the display need to stand roughly 4 inches proud of the pumpkins edge. Those that are to be out the edge of the display only want to be poking their heads out from the pumpkin. cut the rest so that they sit in the middle creating a dome shape.
Step 3
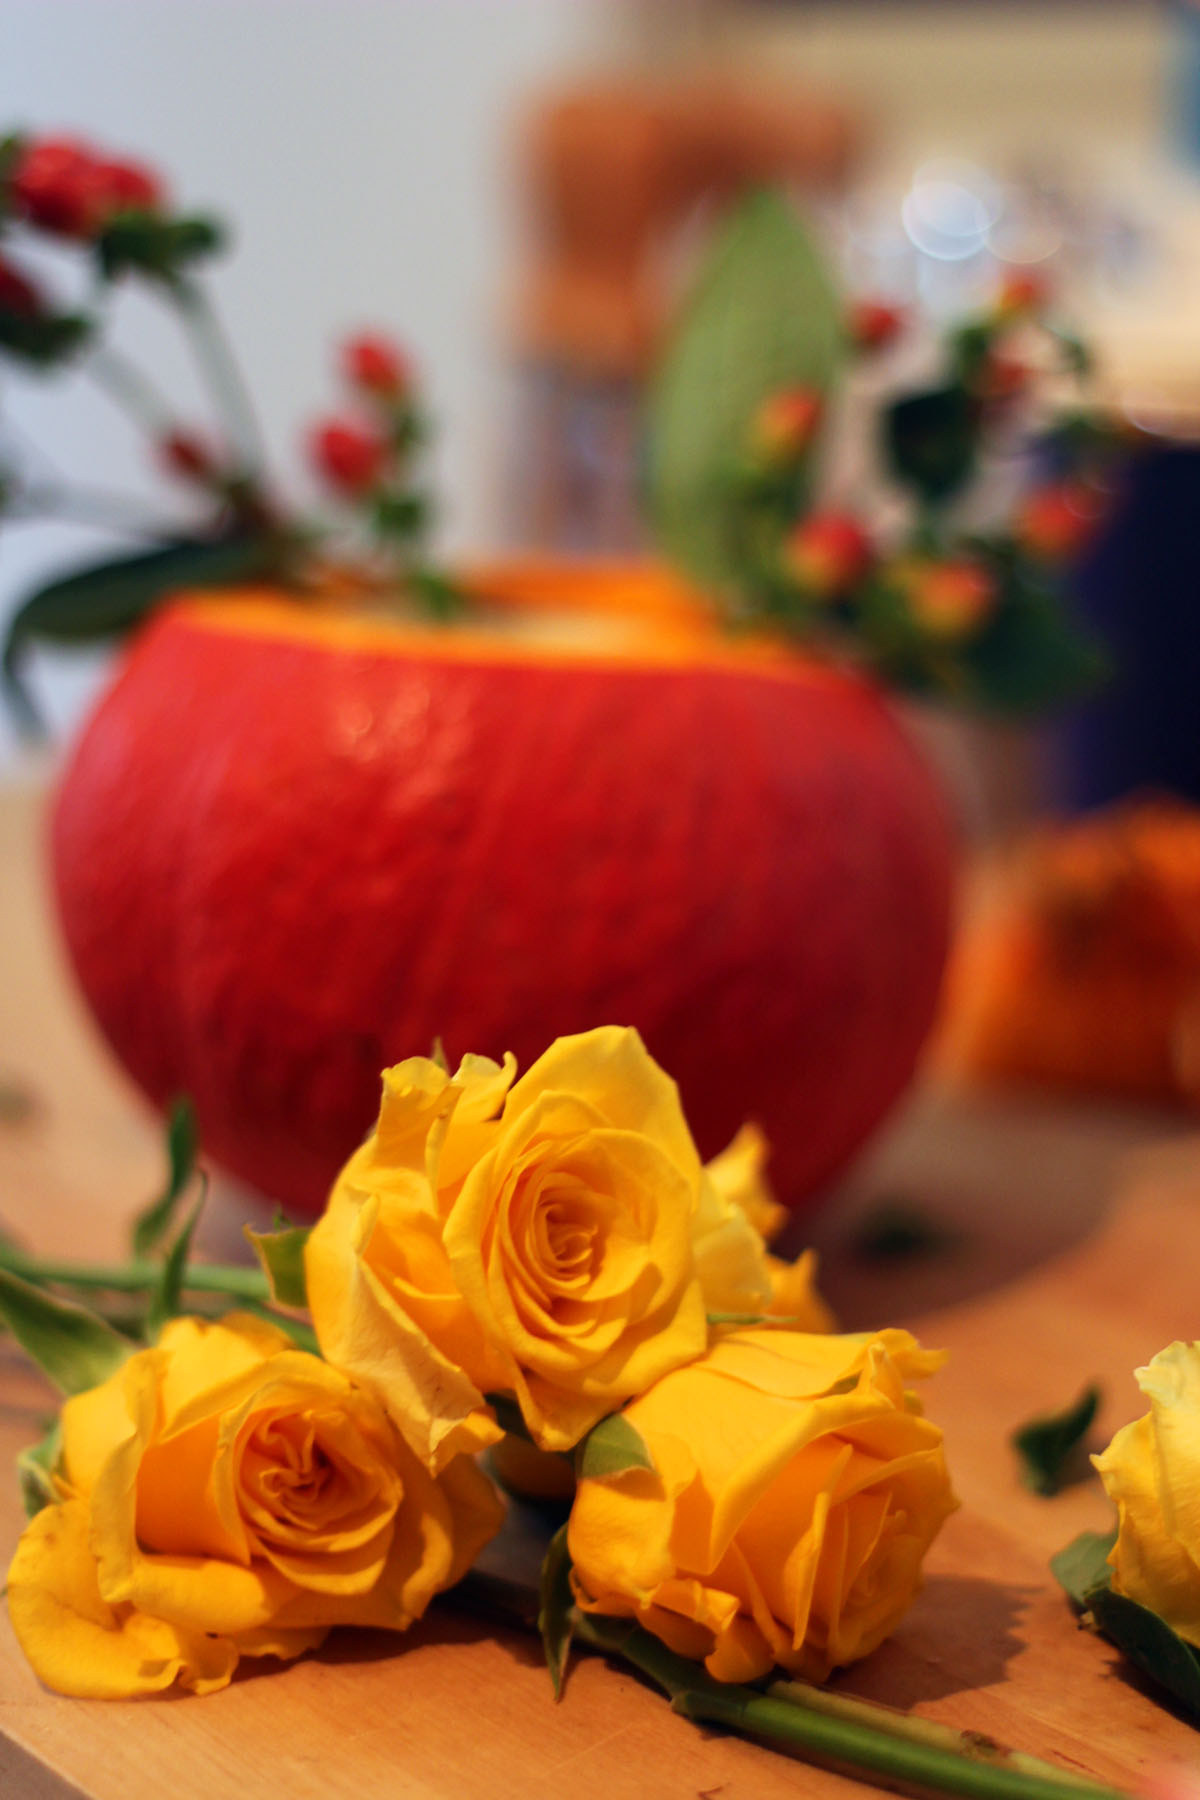
Begin to arrange the newly trimmed flowers - tallest in the centre and shortest at the edges. Make sure you have a good mix of colours running throughout the display. Buds and berries that come in the bunch should also be evenly distributed to give an extra level of interest. If you wish, finish by adding decorative embellishments like glittery acorns for a bit of pizzaz!
Step 4
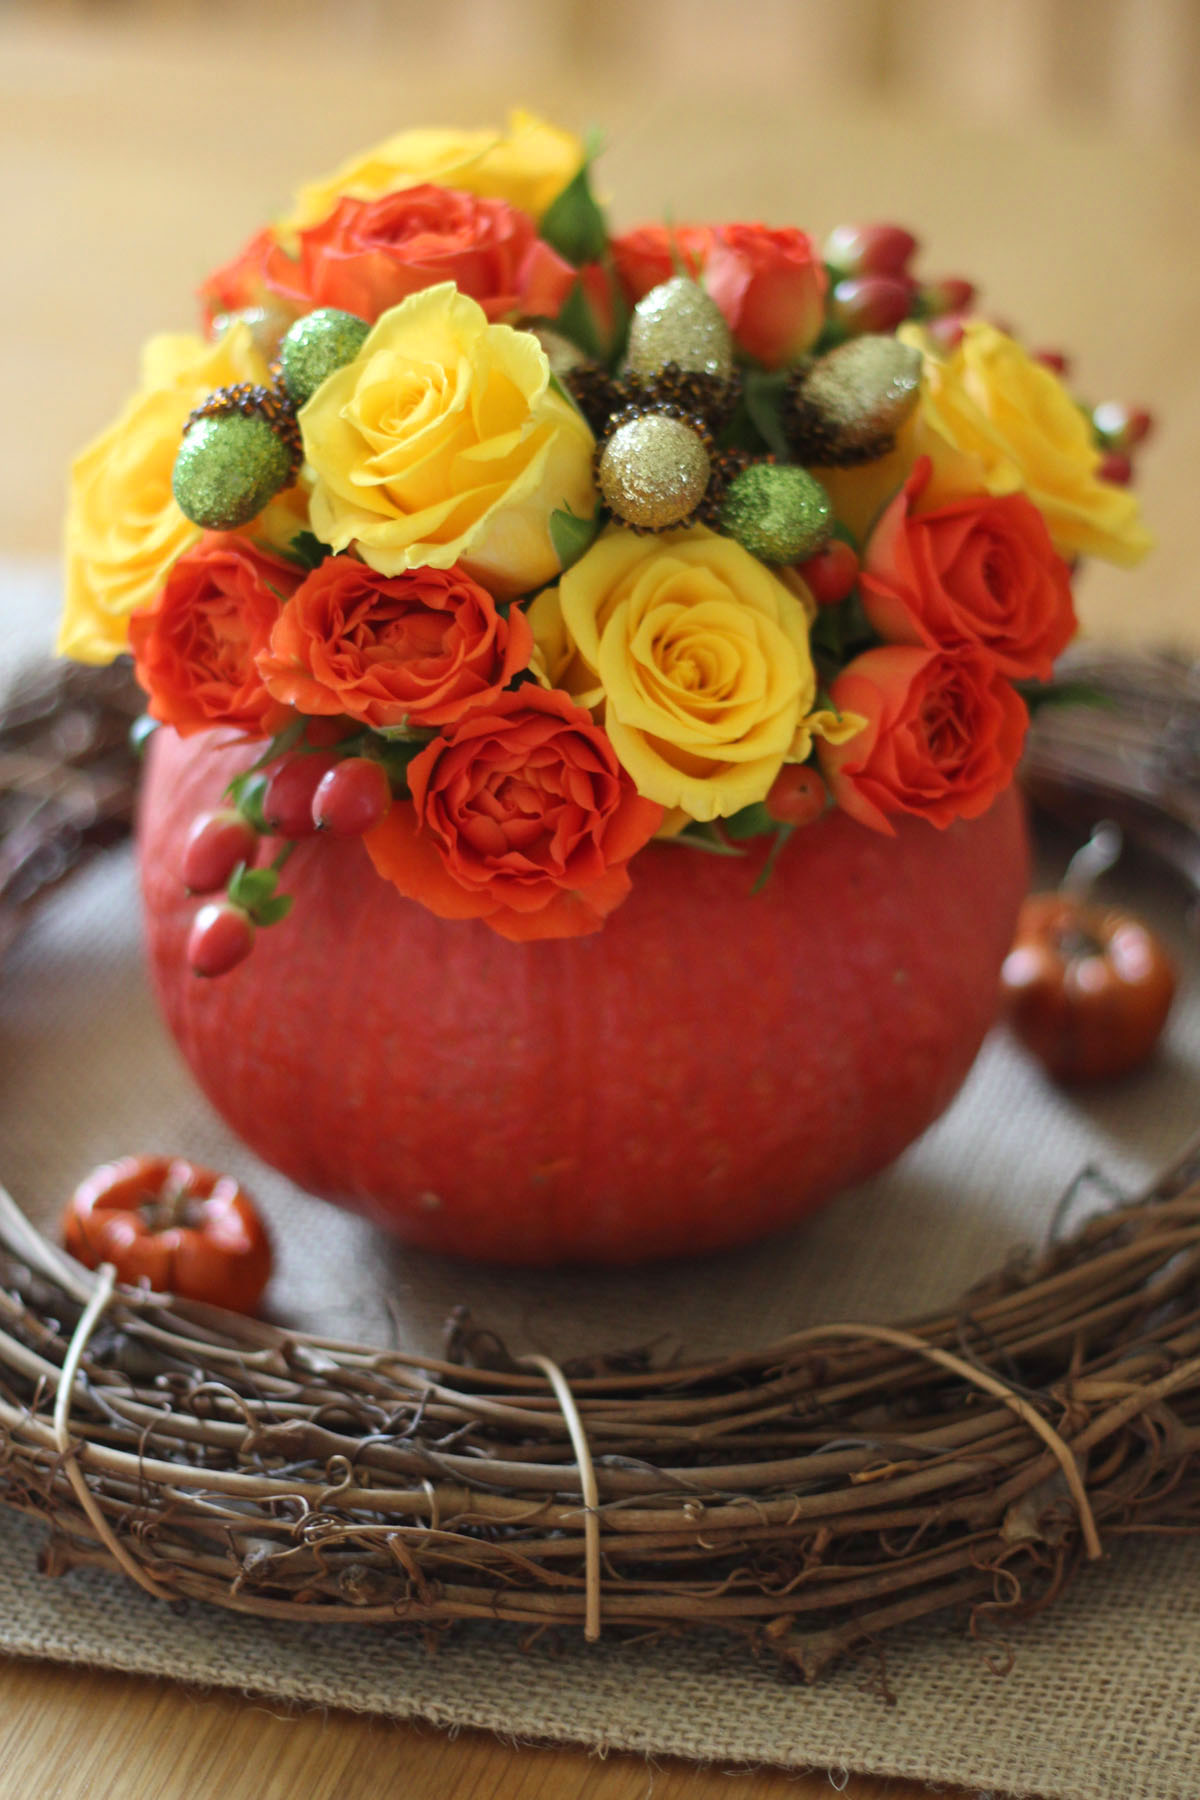
Place your display proudly in the centre of your table, making sure it has something to rest on and sits evenly. An autumnal wreath, miniature pumpkins and candles can all be used to compliment your display.
------
So there you have it! It really is that easy to create a professional looking flower display in less than half an hour.
This is a great way of giving a carved Halloween pumpkin a new lease of life. Why not poke some of the flowers out of the pumpkin carvings as well as the top of the pumpkin? This is just one way of reusing you pumpkin so it doesn't go straight in the bin post-Halloween. For more information about using pumpkins in new and interesting ways, visit Hubbub, the hosts of the big #PumpkinRescue.


Choclette says
Quite stunning Emma and perfect for Thanksgiving. I'm terrible at crafty type things and flower arranging too, but I could possibly manage this.
Emma Walton says
Thanks Choclette! This really is fool proof! If I can do it anyone can 🙂
Camilla says
So gorgeous, just love this flower display, perfect for a Halloween party:-)
Emma Walton says
Thanks Camilla! I think it's a lot prettier than most of the black / purple / spider covered displays I've seen 🙂
Margot @ Coffee & Vanilla says
Amazing, I'm going to mention this in our newsletter 😉
Emma Walton says
Aww thank you! That means a lot. I'll keep an eye out for it 🙂