Whether you're a seasoned baker or just starting out, this simple birthday cake recipe is ideal for any design or decoration. Get the recipe, in UK weights and measurements, below.
A classic birthday cake
In my many years of blogging I've seen birthday cakes go from a humble sponge cake to elaborate 3D affairs, sometimes even with multiple tiers. Don't get me wrong, I love to create show stopping cakes when I can but sometimes the occasion calls for something a little more understated.
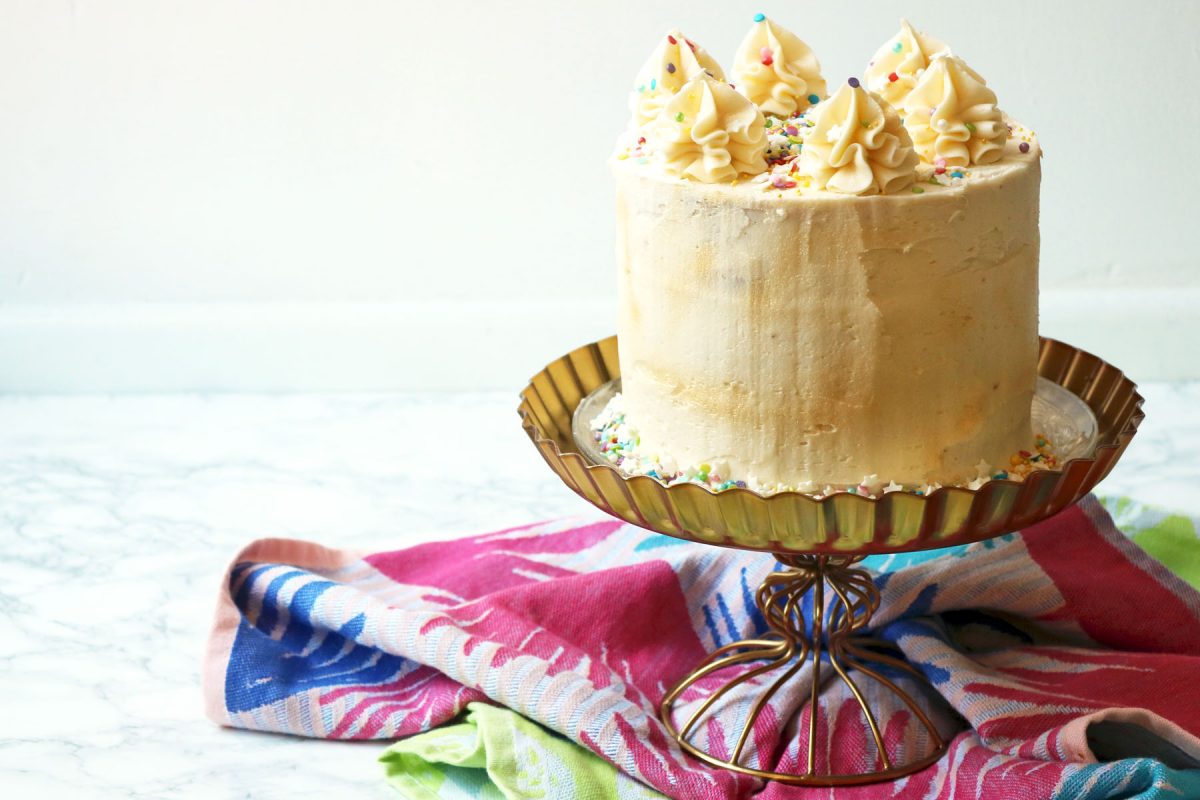
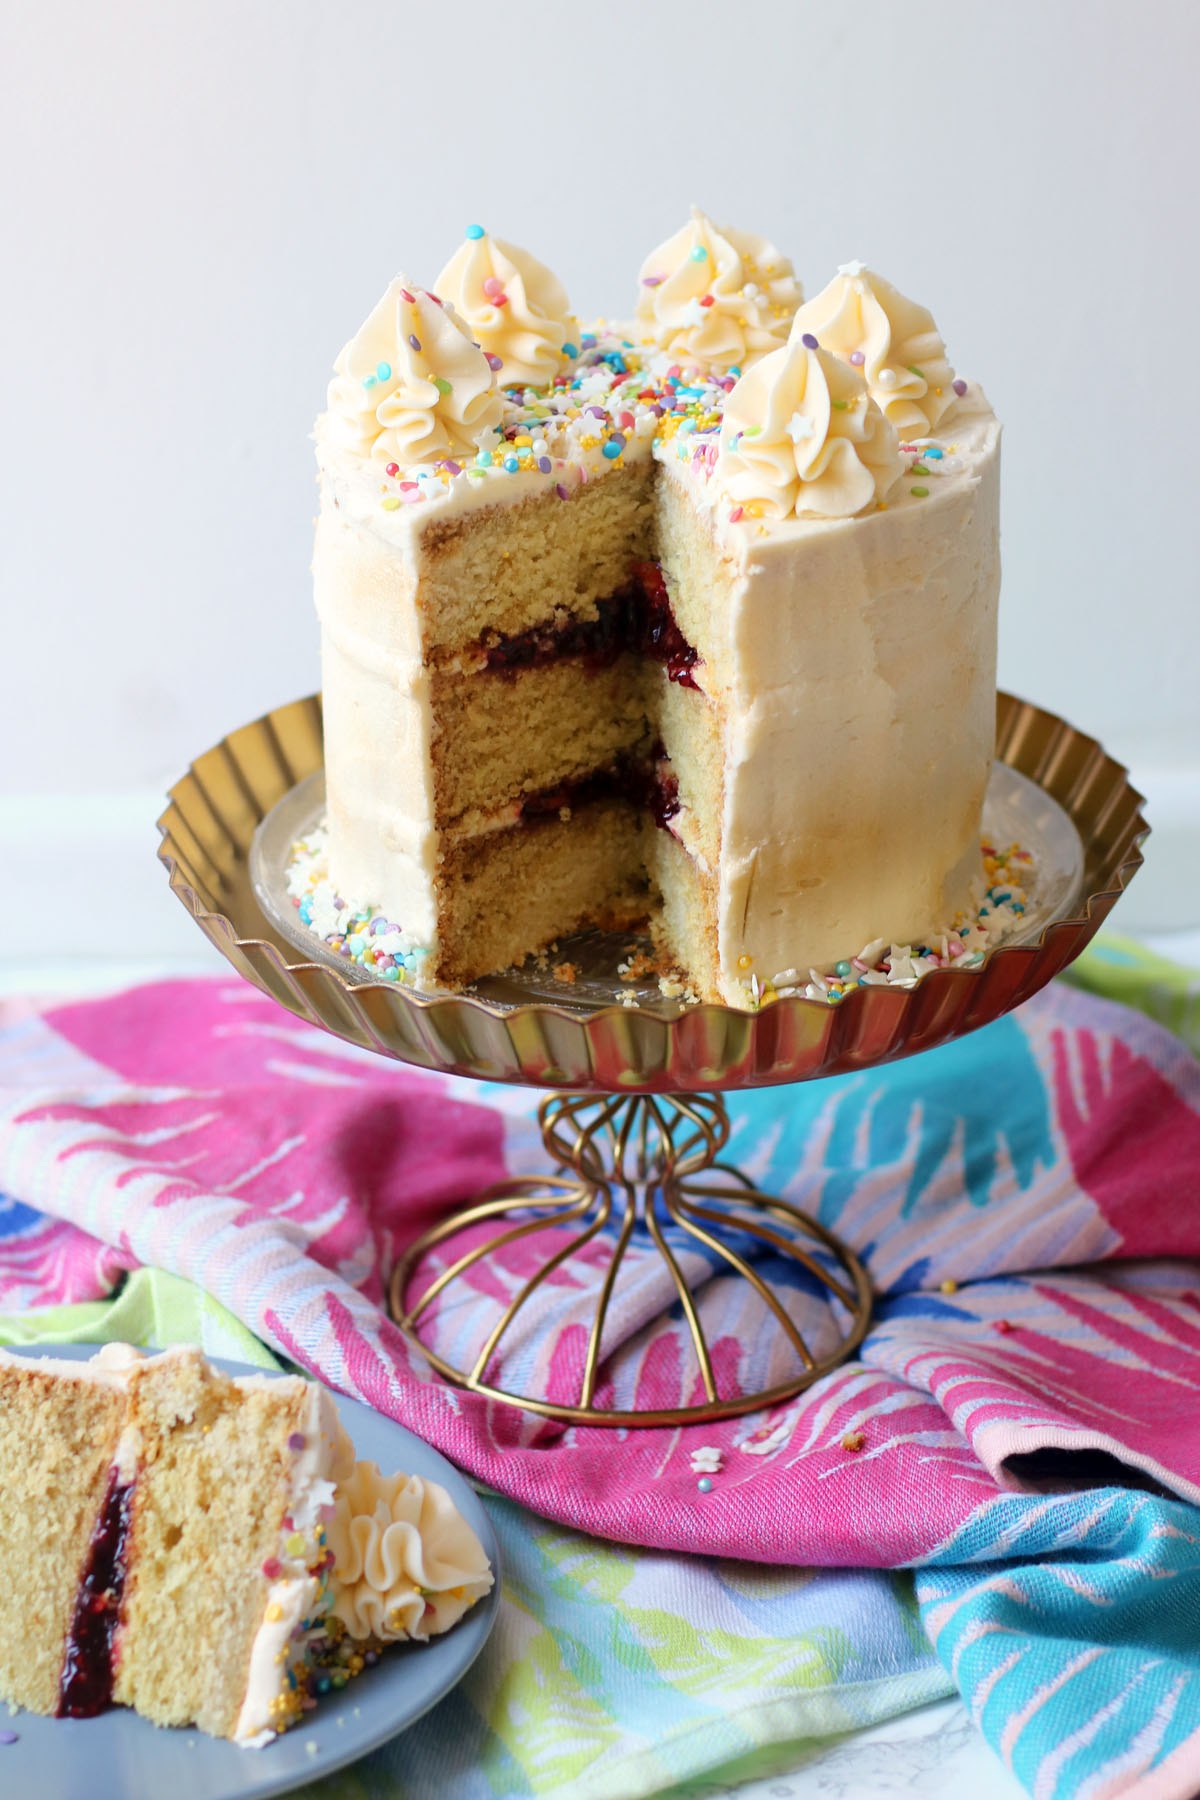
The recipe below is the perfect recipe for a classic birthday cake. The sponge is light, fluffy and moist. There is vanilla flecked throughout which, when combined with the butter in the cake batter, gives a lovely rich flavour.
Jump to:
How to make a classic birthday cake
Ingredients
A simple, birthday cake can be made with just 5 ingredients.
- 150 grams self-raising flour
- 150 grams caster sugar
- 150 grams butter
- 3 eggs
- 1 pinch salt
You'll also need buttercream and jam to fill the sponge layers.
See recipe card for quantities.
Instructions
I use the "creaming method" to make this cake.
The creaming method is a technique used in baking to create light and fluffy cakes. It involves beating butter and sugar together until the mixture becomes pale, creamy, and airy. This process incorporates air into the batter, which helps the cake rise and gives it a soft texture.
Step-by-Step Guide to the Creaming Method
- Beat butter and sugar together
- Use a hand mixer, stand mixer, or a wooden spoon.
- Beat on medium speed until the mixture turns pale, light, and fluffy.
- Scrape down the sides of the bowl occasionally to ensure everything is mixed evenly.
- Add eggs slowly
- Pour the eggs into the mix slowly, beating until the first amount is fully combined before adding any more.
- If the mixture looks curdled, add a tablespoon of flour to help bring it back together.
- Gently fold in dry ingredients
- Sift in flour (and baking powder if needed).
- Use a spatula or spoon to fold (not beat) the flour in gently to keep the air in the batter.
Equipment
You'll need two 18cm sandwich tins to bake the cakes in.
In terms of making the cake batter, you can make the whole process easier by using an electric whisk or stand mixer but this is optional.
Variations
You can tweak this recipe really easily. Why not try one of these variations?
- Chocolate lovers dream - add cocoa powder to turn it into a delicious chocolate cake
- When life gives you lemons - make a lemon cake by adding lemon juice and zest
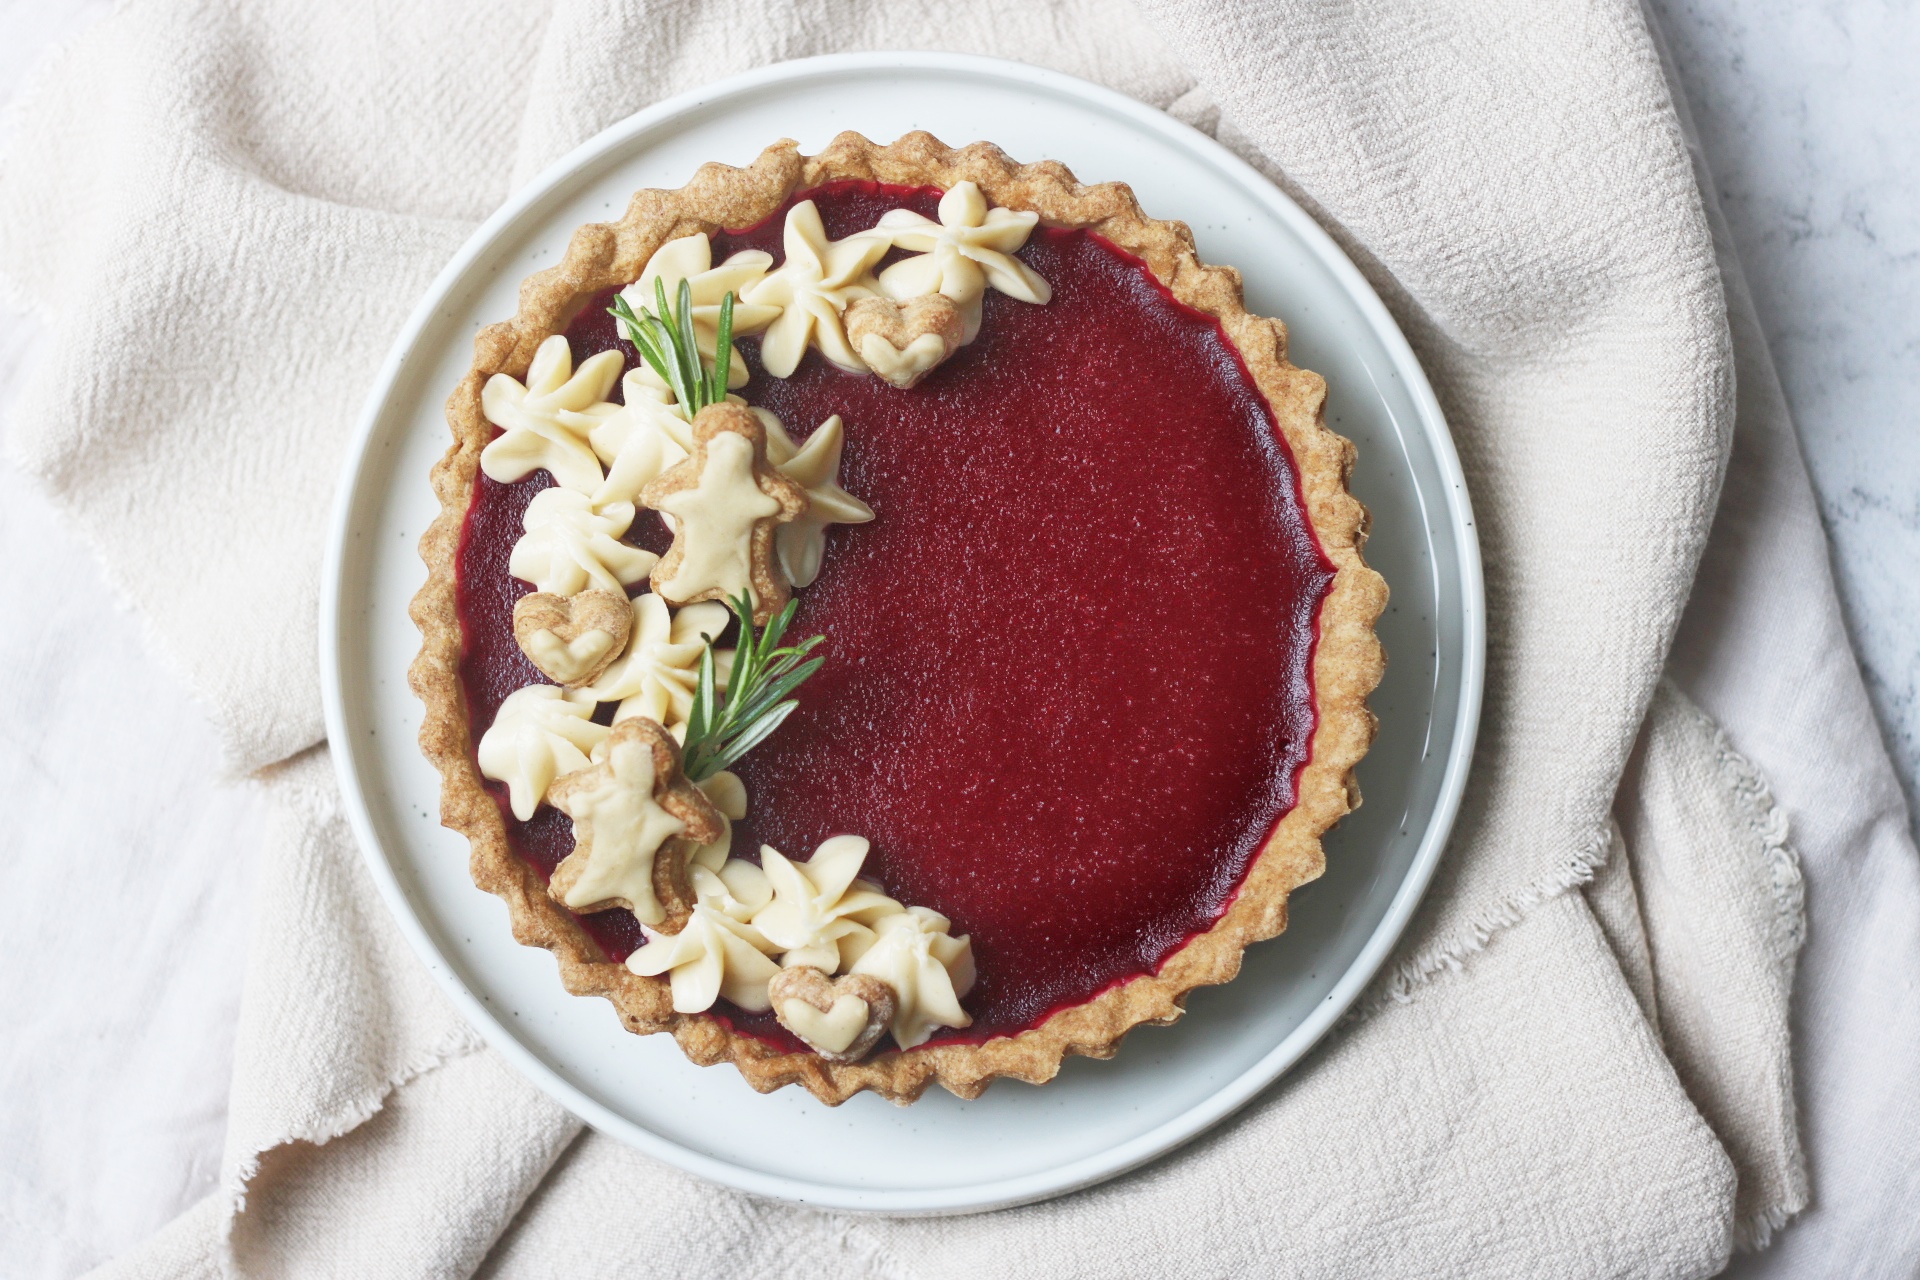
- Feeling fruity? - why not try a different fruit preserve in the filling. You could choose apricot jam, blueberry preserve and more.
Storage
Your cake will last up to a week kept covered and in a cool place.
Top tips for baking a birthday cake
In my many, many years of baking I've experienced almost every issue you can imagine when baking. This recipe is tried and tested and I've got some top tips to help you make the perfect sponge cake every time.
- Follow the recipe!
- Baking is a science. Make sure you follow the recipe exactly as it is written. Although you can convert the recipe to cups, measuring your ingredients by weight is much more accurate.
- Keep your ingredients at room temperature
- Believe it or not, the temperature of your ingredients can effect how they behave. Take the butter and eggs out of the fridge and bring them up to room temperature before you start to bake.
- Don't over mix
- If you beat your cake batter too much you build up gluten in the flour and end up with a tough, chewy cake. No one wants that. Mix the ingredients until they are just combined. No longer!
- Don't under mix
- The only time you can get away with a lumpy, bump batter is with muffins. This isn't a muffin recipe so don't under mix!
- Don't open the oven to have a peek!
- Opening the oven is a big no-no. When you do this you let hot air out and the temperature of the oven significantly drops. This can cause issues with your cake rising and we don't want a flat, dense cake. So no peeking, keep the oven door shut.
- Use an oven thermometer
- How do you really know your oven is at the right temperature? You don't unless you use an oven thermometer!
- Let it cool
- When cakes are warm they are much more fragile. Don't be tempted to try and handle the cake until it is completely cool. You will also find it much easier to assemble and decorate once it is cool. If you attempt to decorate the cake too soon the icing will just slide right off.
FAQ
Self-raising flour is ideal, but if you don’t have it, you can use plain flour and add 1.5 teaspoon of baking powder per 150g of flour.
Avoid opening the oven door too soon.
Make sure your oven is properly preheated.
Don't overmix the batter.
Over baking is the most common reason. Make sure to check your cake a few minutes before the end of the baking time. Adding a little milk to the batter can also help keep it moist.
How to fill a birthday cake
The biggest issue I hear from readers is that their cakes are not stable and the layers slip and slide over each other. More often than not the issue is that they have used too much filling. Whether you're using jam, curd, cream, or buttercream, you only need a thin layer (only a couple of tablespoons at most). This will still keep the cake moist but will avoid any issues with stability when the layers are stacked.
Bonus tip: if you are decorating your cake with buttercream, pipe a ring of buttercream around the top edge of your first layer. Fill the ring with jam or whatever you are using to fill the cake. The ring of buttercream will act as a barrier so that the filling doesn't leak out.
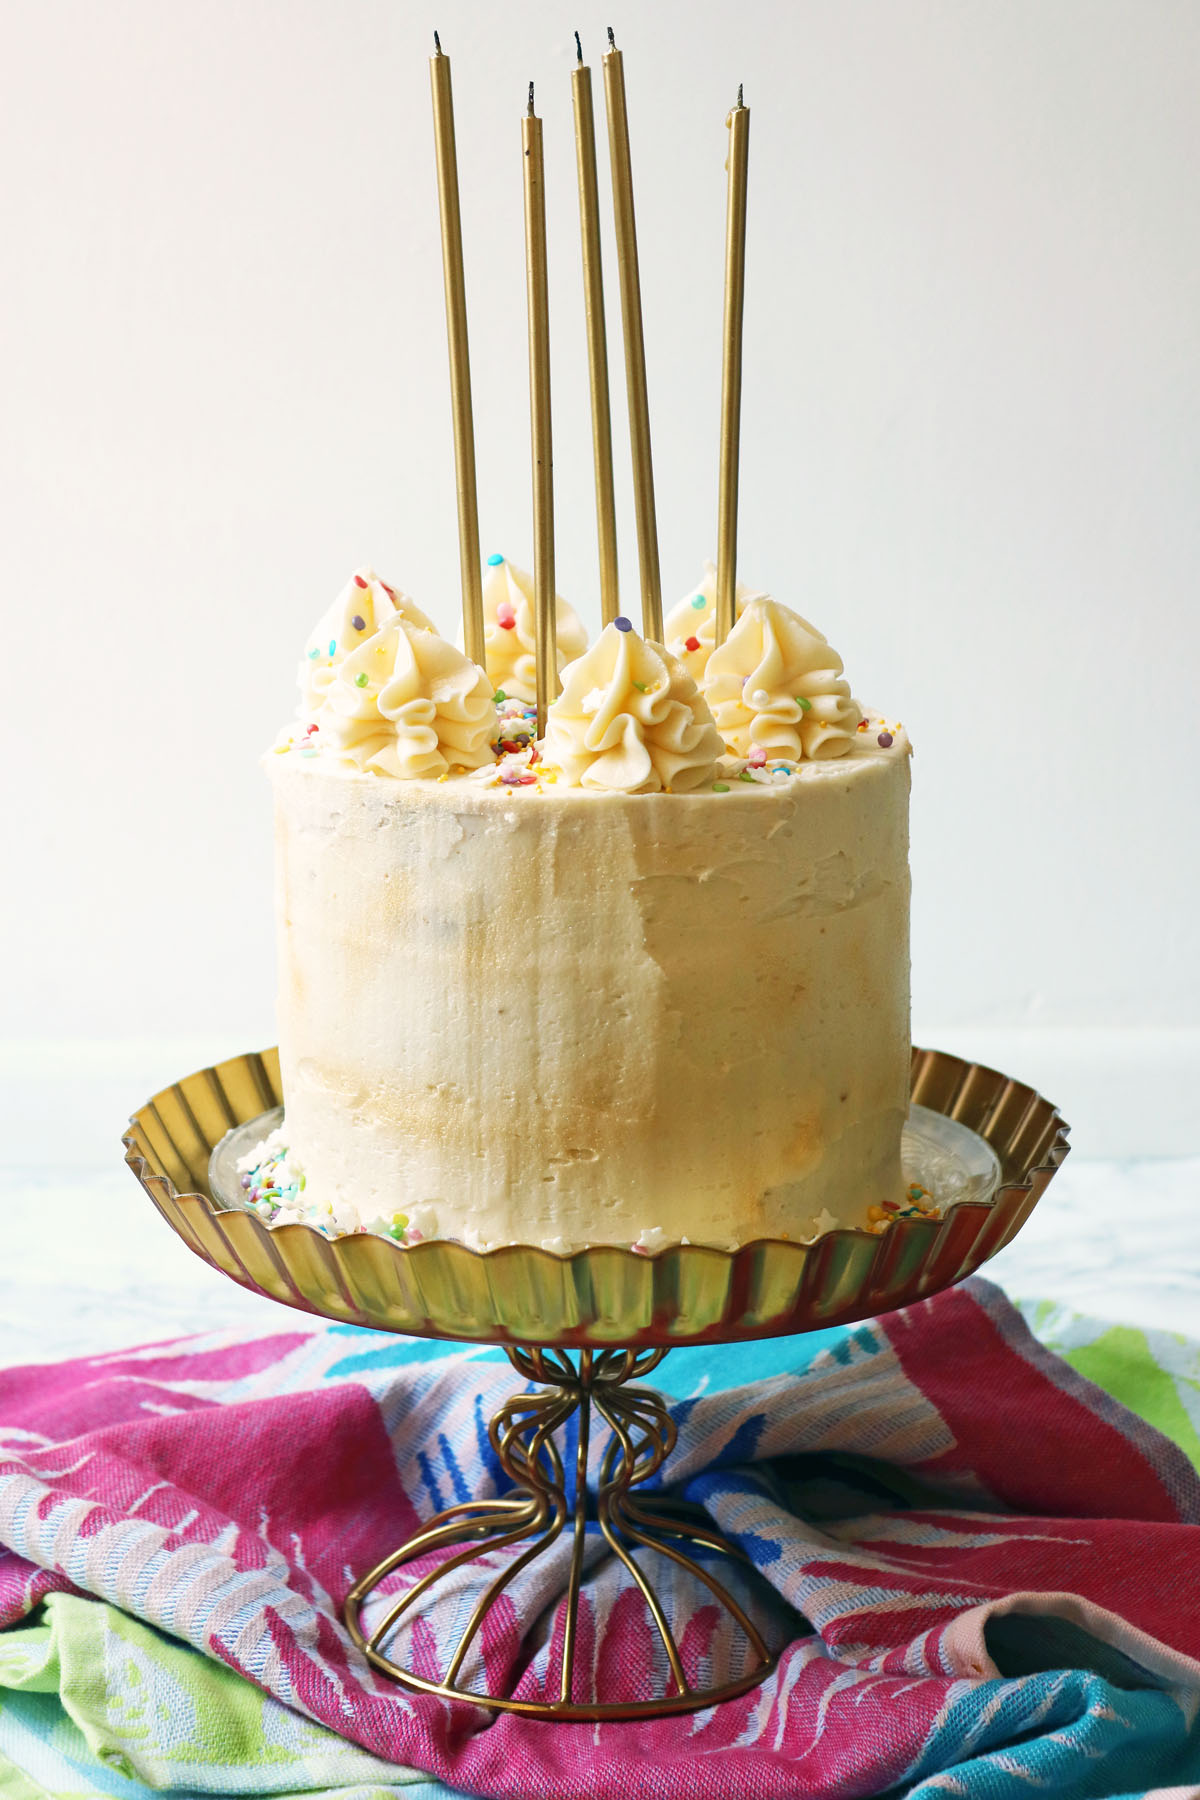
How to decorate a birthday cake
There are a couple of different options for decorating a birthday cake. The two main types of icing used to decorate a birthday cake are buttercream and fondant icing.
How to decorate a cake with buttercream icing
Covering a cake with buttercream is a delicious way to decorate a cake. To get the smoothest of finishes, follow these simple steps.
- Once your cake has been filled and stacked, cover the cake in a very thin layer of the buttercream. This is your "crumb coat" and is used to trap any crumbs in the icing so it doesn't spoil the outside of the cake.
- Once you have applied your crumb coat place the cake in your fridge to chill for 15 minutes or until it feels set.
- Once the crumb coat has set, apply the final layer of buttercream. Start by placing a large dollop of buttercream on to the top of the cake. Carefully smooth the buttercream out over the top of the cake in circular motions until it is even. The icing should go right to the edge and overhang slightly.
- Next we need to add buttercream to the sides of the cake. The easiest way to do this is to fill a piping bag with the remaining buttercream. Pipe circles around the cake until all the sides are covered. This will make sure we have an even layer around the whole cake.
- Using your spatula smooth the sides of the icing. For a really smooth finish dip your spatula in hot water and dry it before smoothing. The heat will gently warm the buttercream to make it super smooth.
- To get sharp edges where the top of the cake and the edges meet, carefully drag any overhang in towards the top centre of the cake.
- Any extra buttercream can be used to decorate the cake.
How to cover a cake with fondant icing
Covering a cake with fondant icing is not as hard as you think. Just follow these simple steps.
- Cover the cake in a thin layer of buttercream before you begin. This will help the fondant icing stick.
- Make sure your work surface is completely clean and free of any crumbs or dirt.
- Dust your work surface and rolling pin with a mixture of cornflour and icing sugar. This will stop it sticking.
- Knead the fondant icing until it is soft and pliable.
- Roll out the fondant icing on your work surface. Keep rotating the icing regularly so that it rolls out in an even circle and doesn’t stick.
- Once it has been rolled out large enough, drape it over your rolling pin.
- Carefully lift the fondant and place it on to your cake.
- With one hand, carefully life up any pleats or folds , with the other hand smooth the fondant so that it sits flat against the cake top and sides.
- You can use your hands or icing smoothers to make sure the icing is really flat and any edges are crisp.
- Once you are happy, use a sharp knife to trim any excess
The recipe

Birthday Cake
Ingredients
- 150 grams self-raising flour
- 150 grams caster sugar
- 150 grams butter
- 3 eggs
- 1 pinch salt
- 750 grams buttercream to fill and decorate
Instructions
- Pre-heat the oven to gas mark 4 (160 C), and get out two 18cm sandwich tins and grease them thoroughly (or alternatively line with grease proof paper.
- Next cream together the butter and the sugar.
- Make sure you do this thoroughly and wait for the mixture to turn a much paler, creamier yellow.
- It will then be really soft to the touch.
- Beat the eggs up and slowly add them to the butter and sugar mix, only a little bit at a time.
- Whisking the mixture together thoroughly in between each addition.
- If you add too much too quickly the mixture may curdle but don't panic! Keep whisking, if that doesn't help a pinch of flour should do the trick!
- Next sift the flour and the salt into your bowl! All at once! And gently combine the mixture folding lots of big air bubbles in. Make sure there are no hidden clumps of flour and that the mix is thoroughly combined.
- Divide between the two, and gently push the mixture to the edges to get a nice flat surface, perfect for decorating!
- Cook in the centre of the oven for 30mins.
- Once they are a nice golden brown colour you know they are done! But just to be safe poke with a knife or metal skewer - if it comes away dry you know they are ready!
- Pop on a cooling rack to cool before decorating.
Nutrition
More cake inspiration
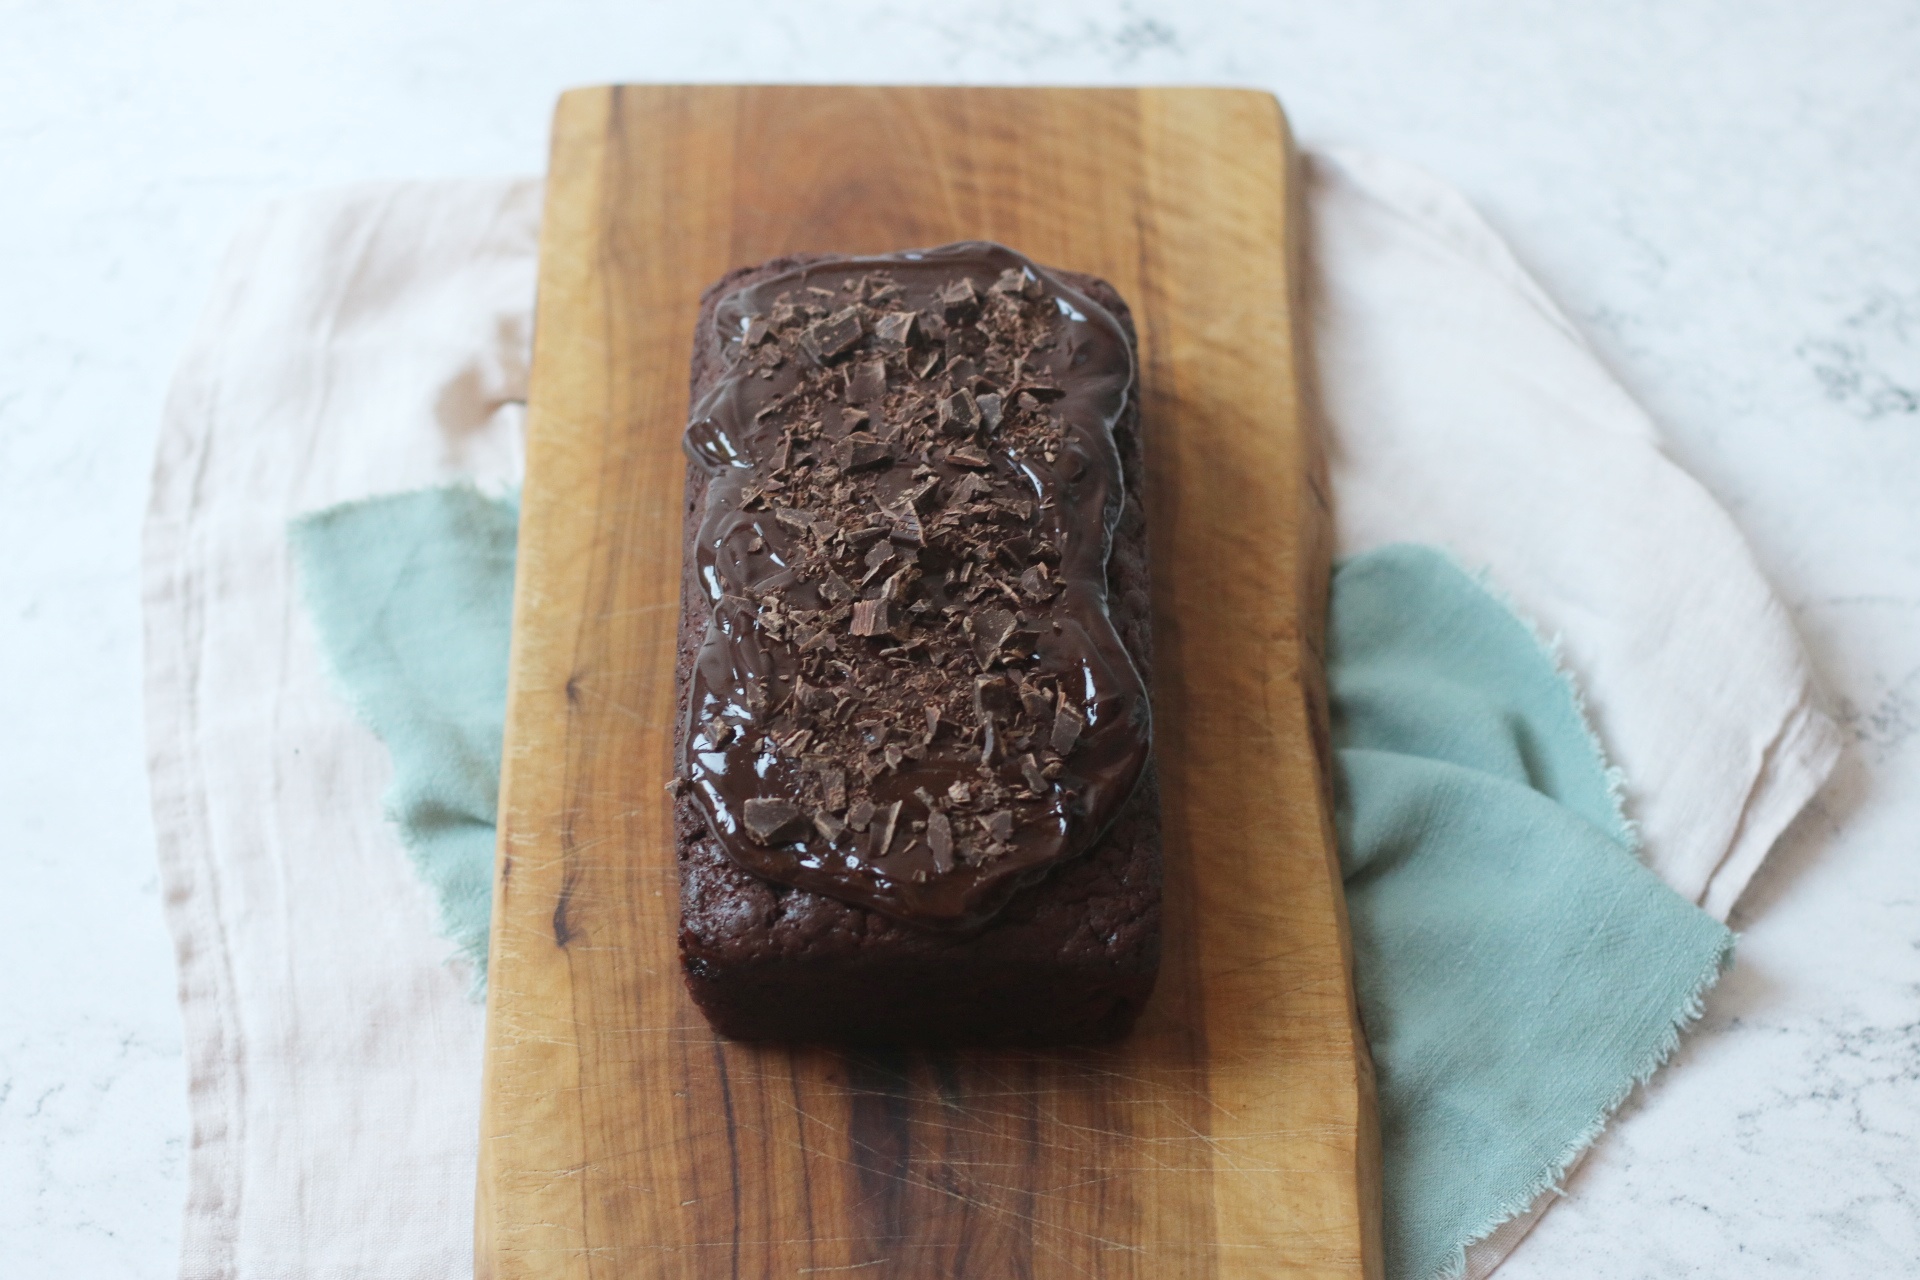
- Vegan Tunis Cake
- Vegan Toffee Apple Cake
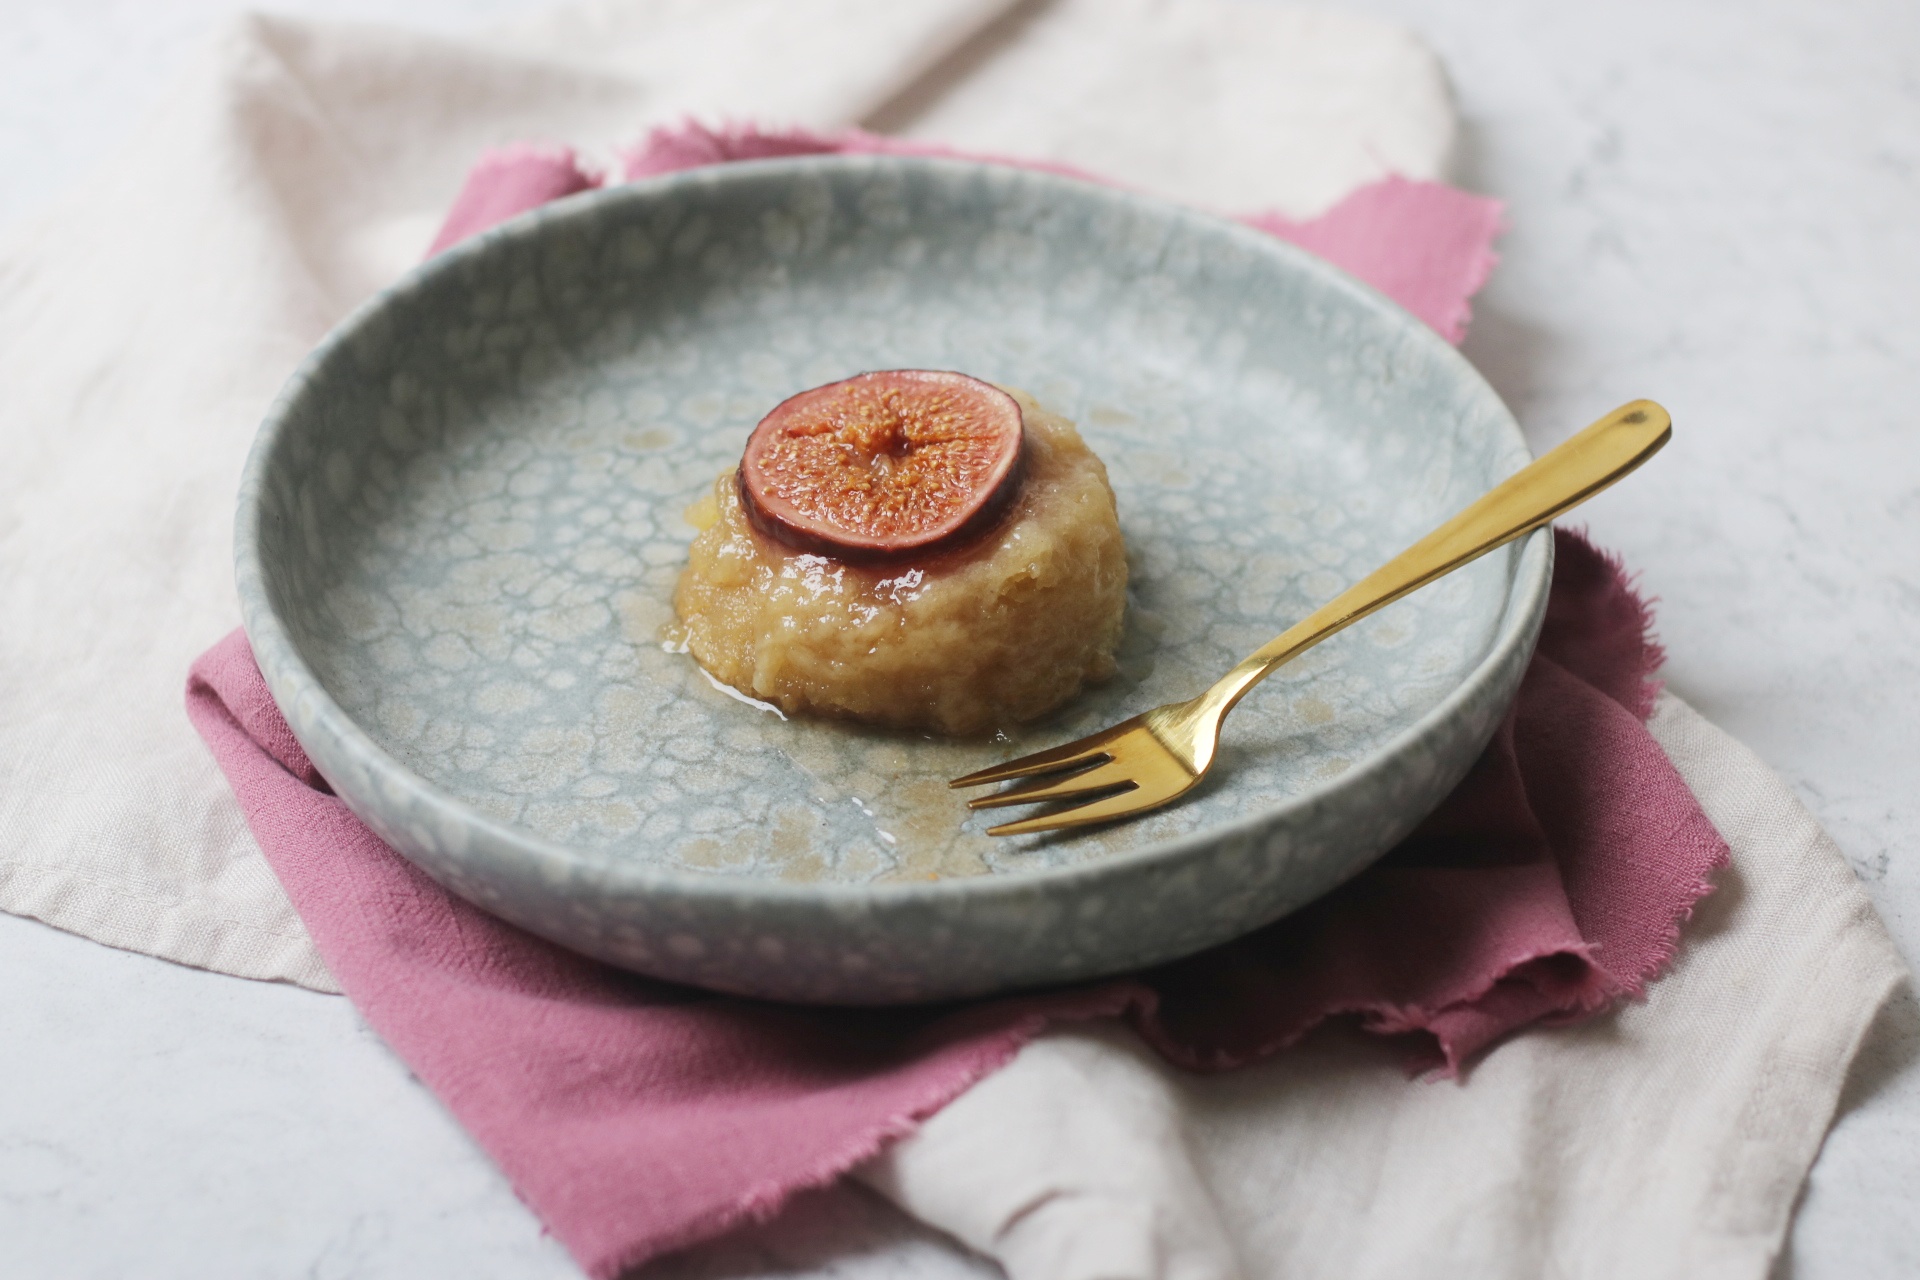
- Individual Vegan Steamed Fig Puddings
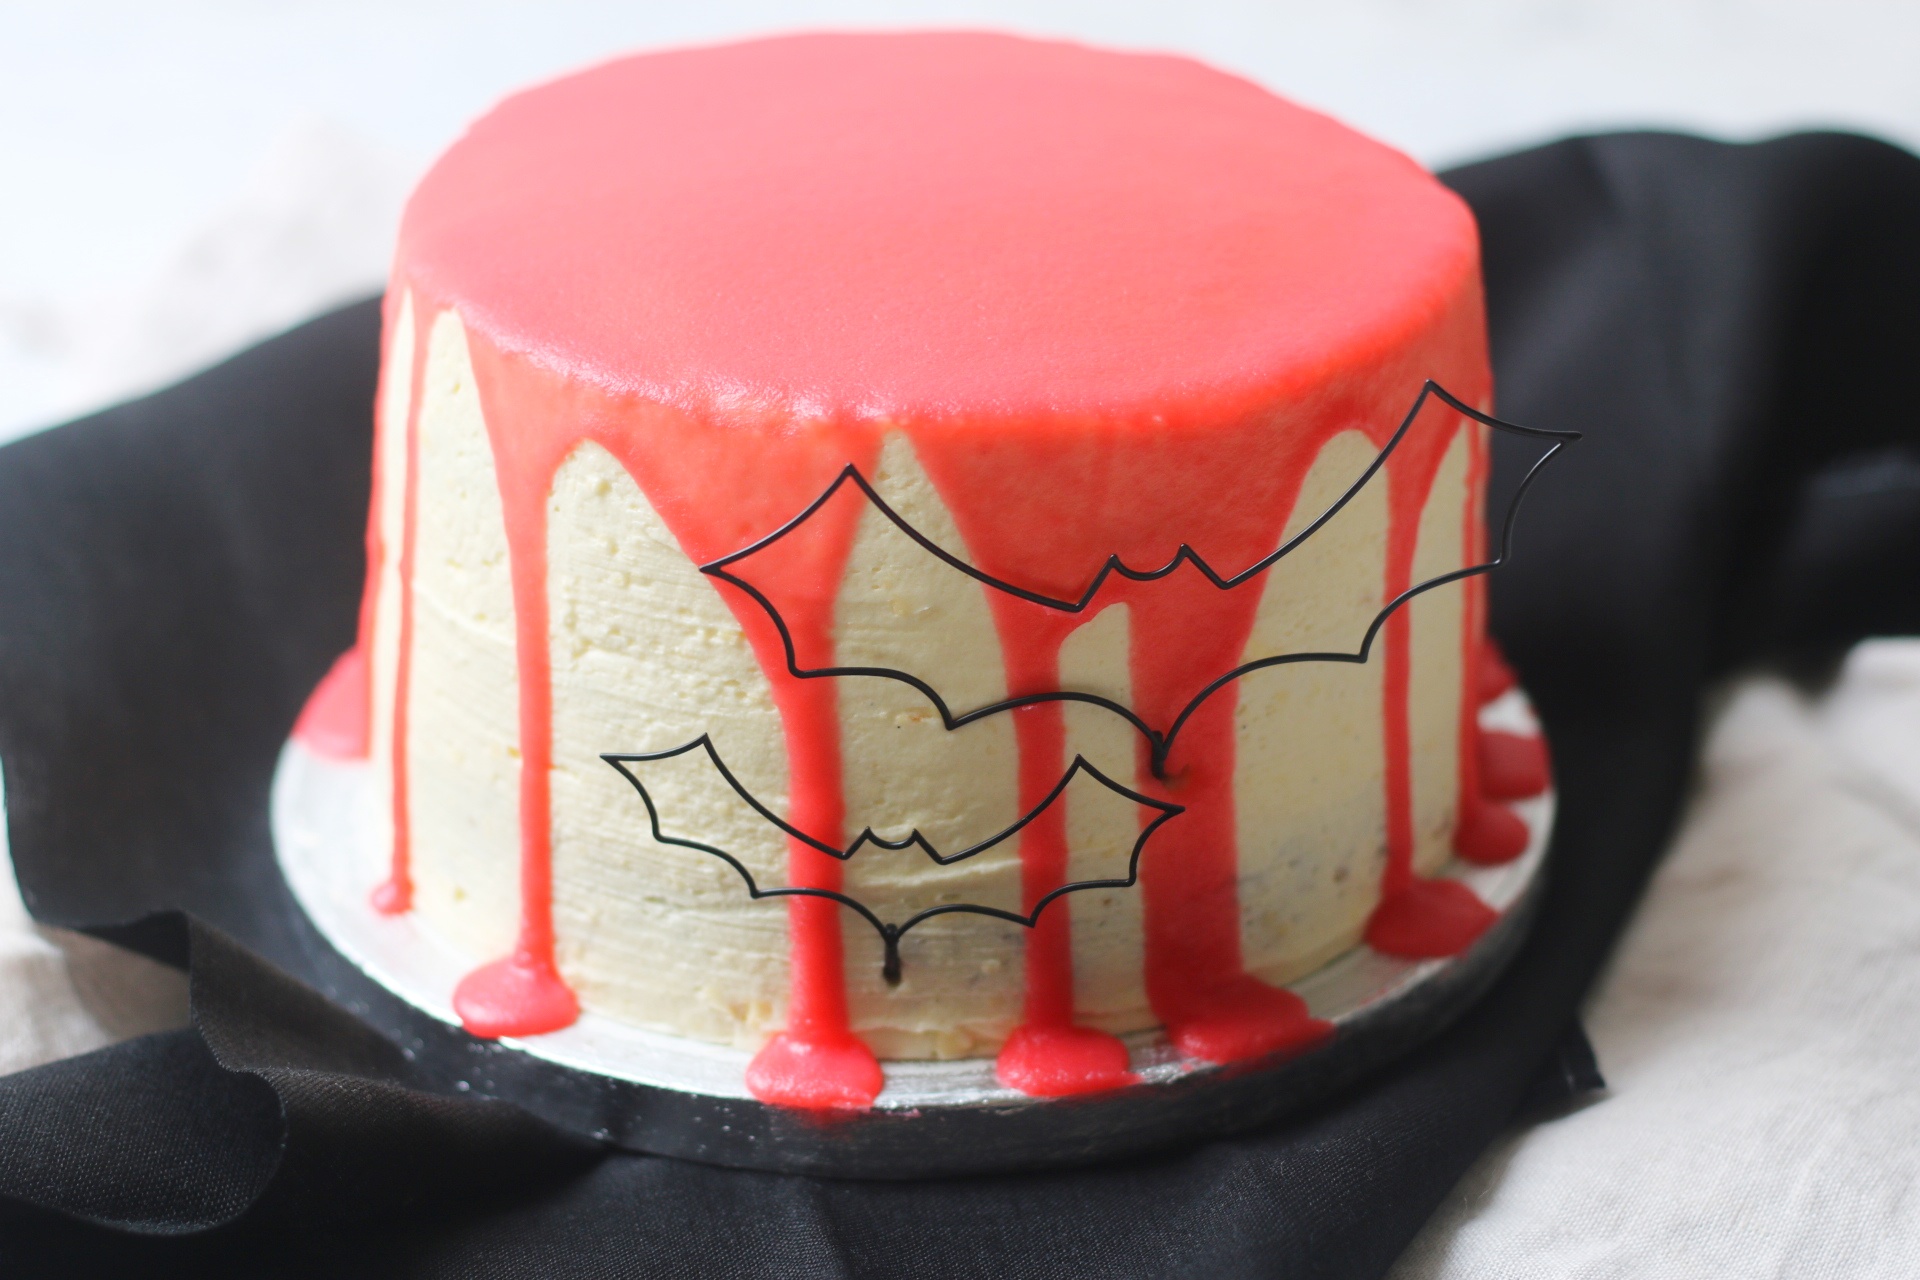
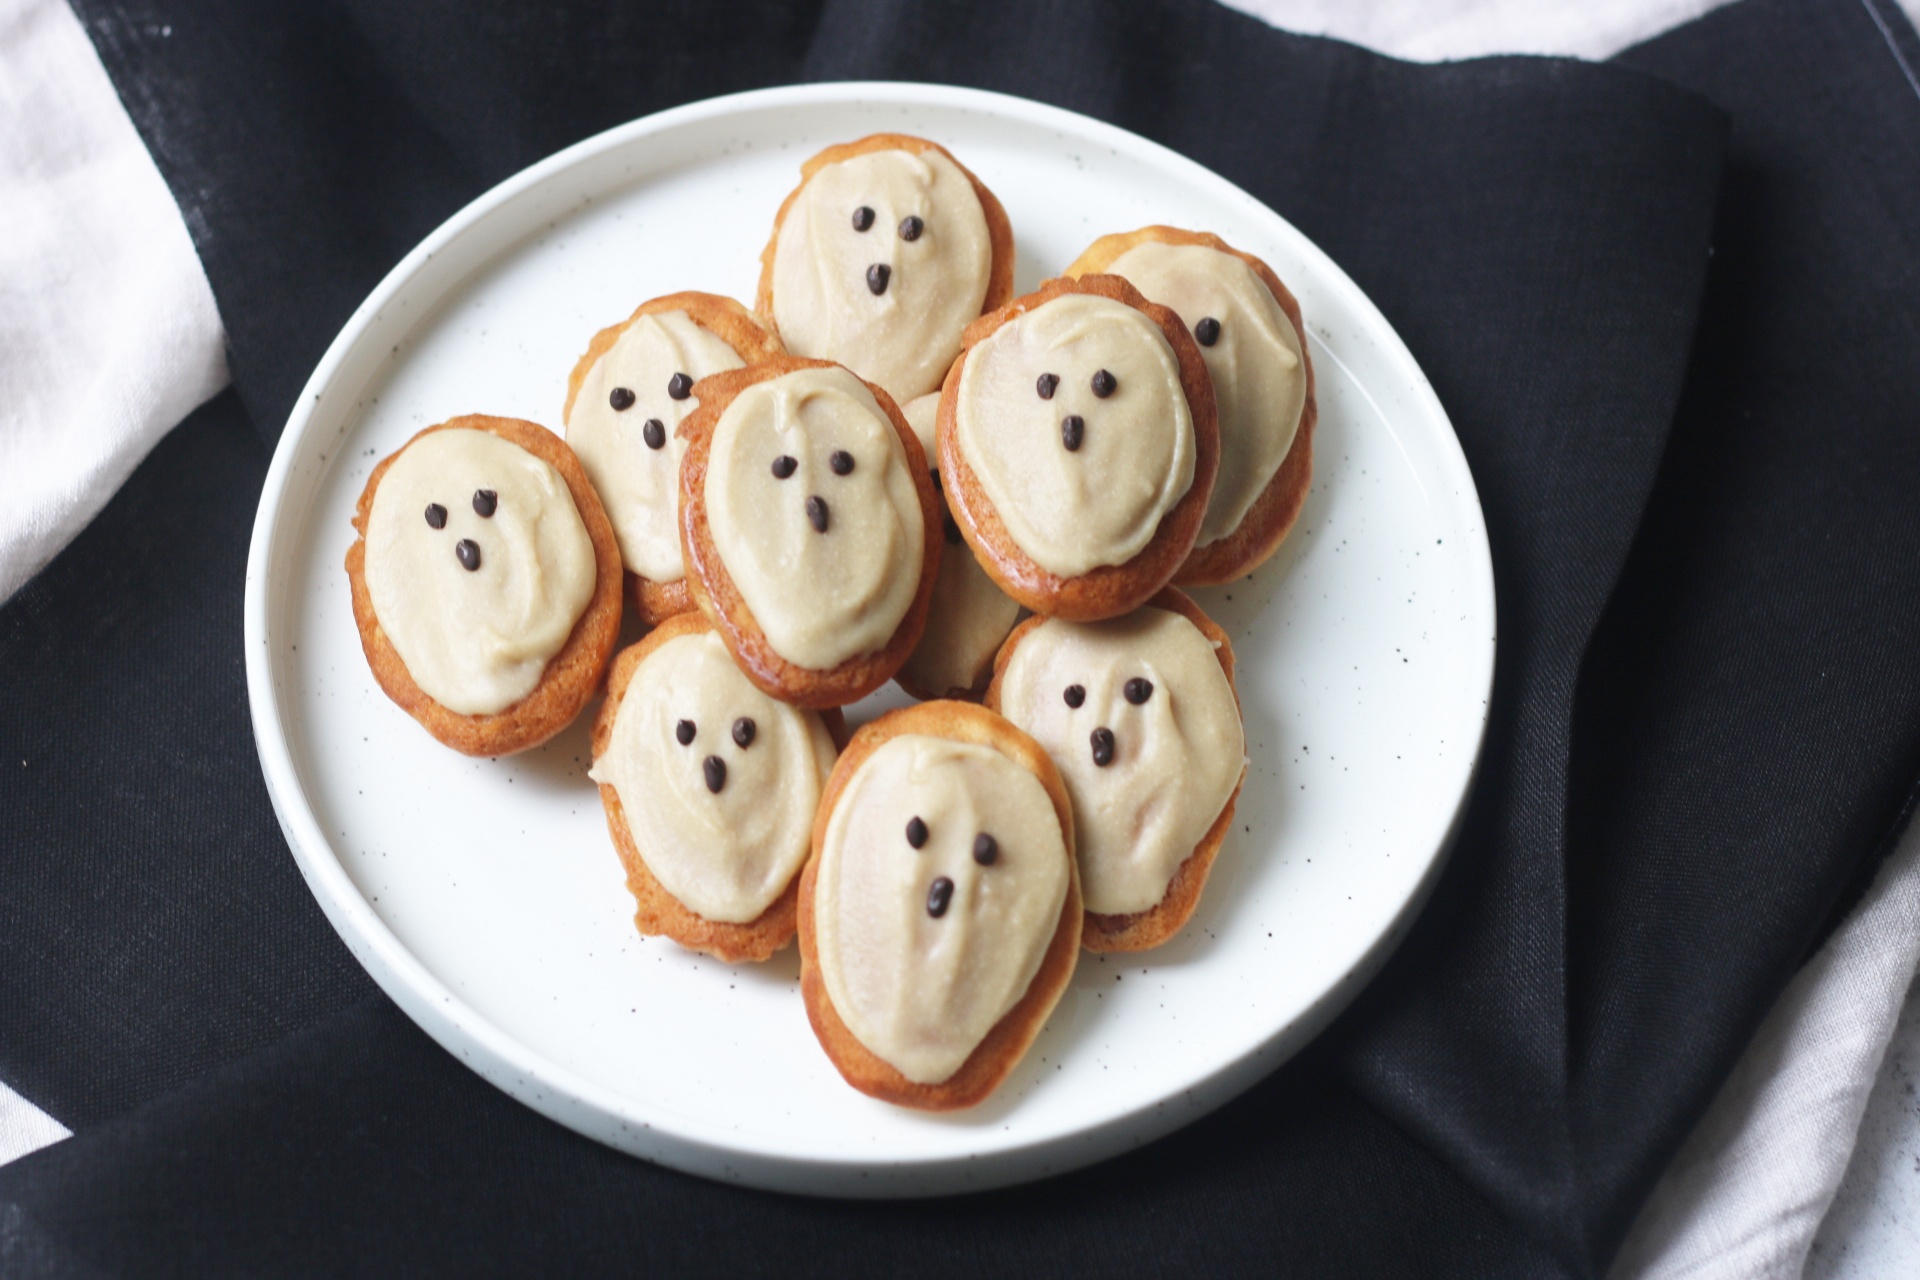
- Vegan Madeleines Ghosts
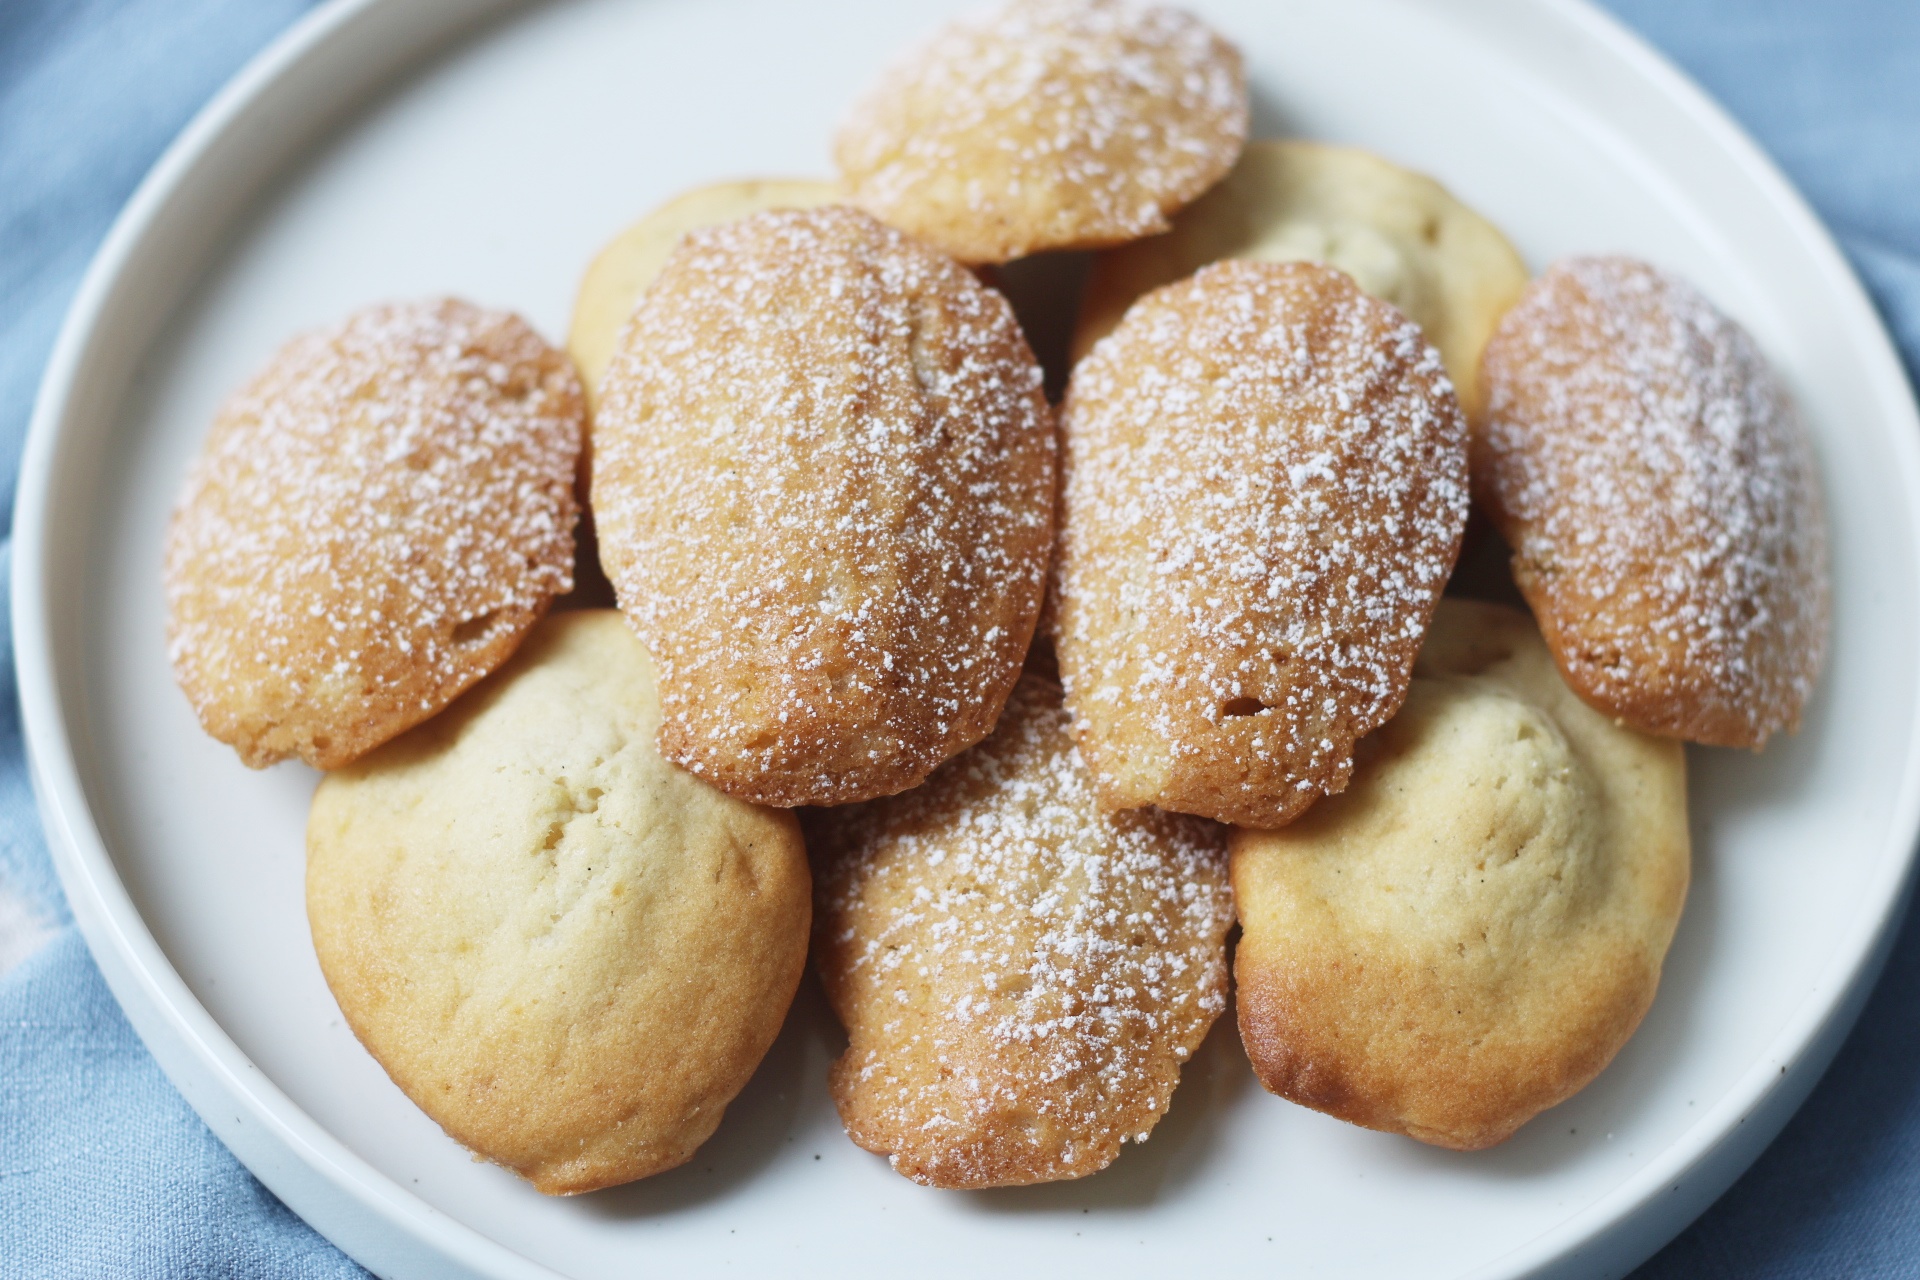
- Vegan Madeleines
- Vegan Chocolate Loaf Cake
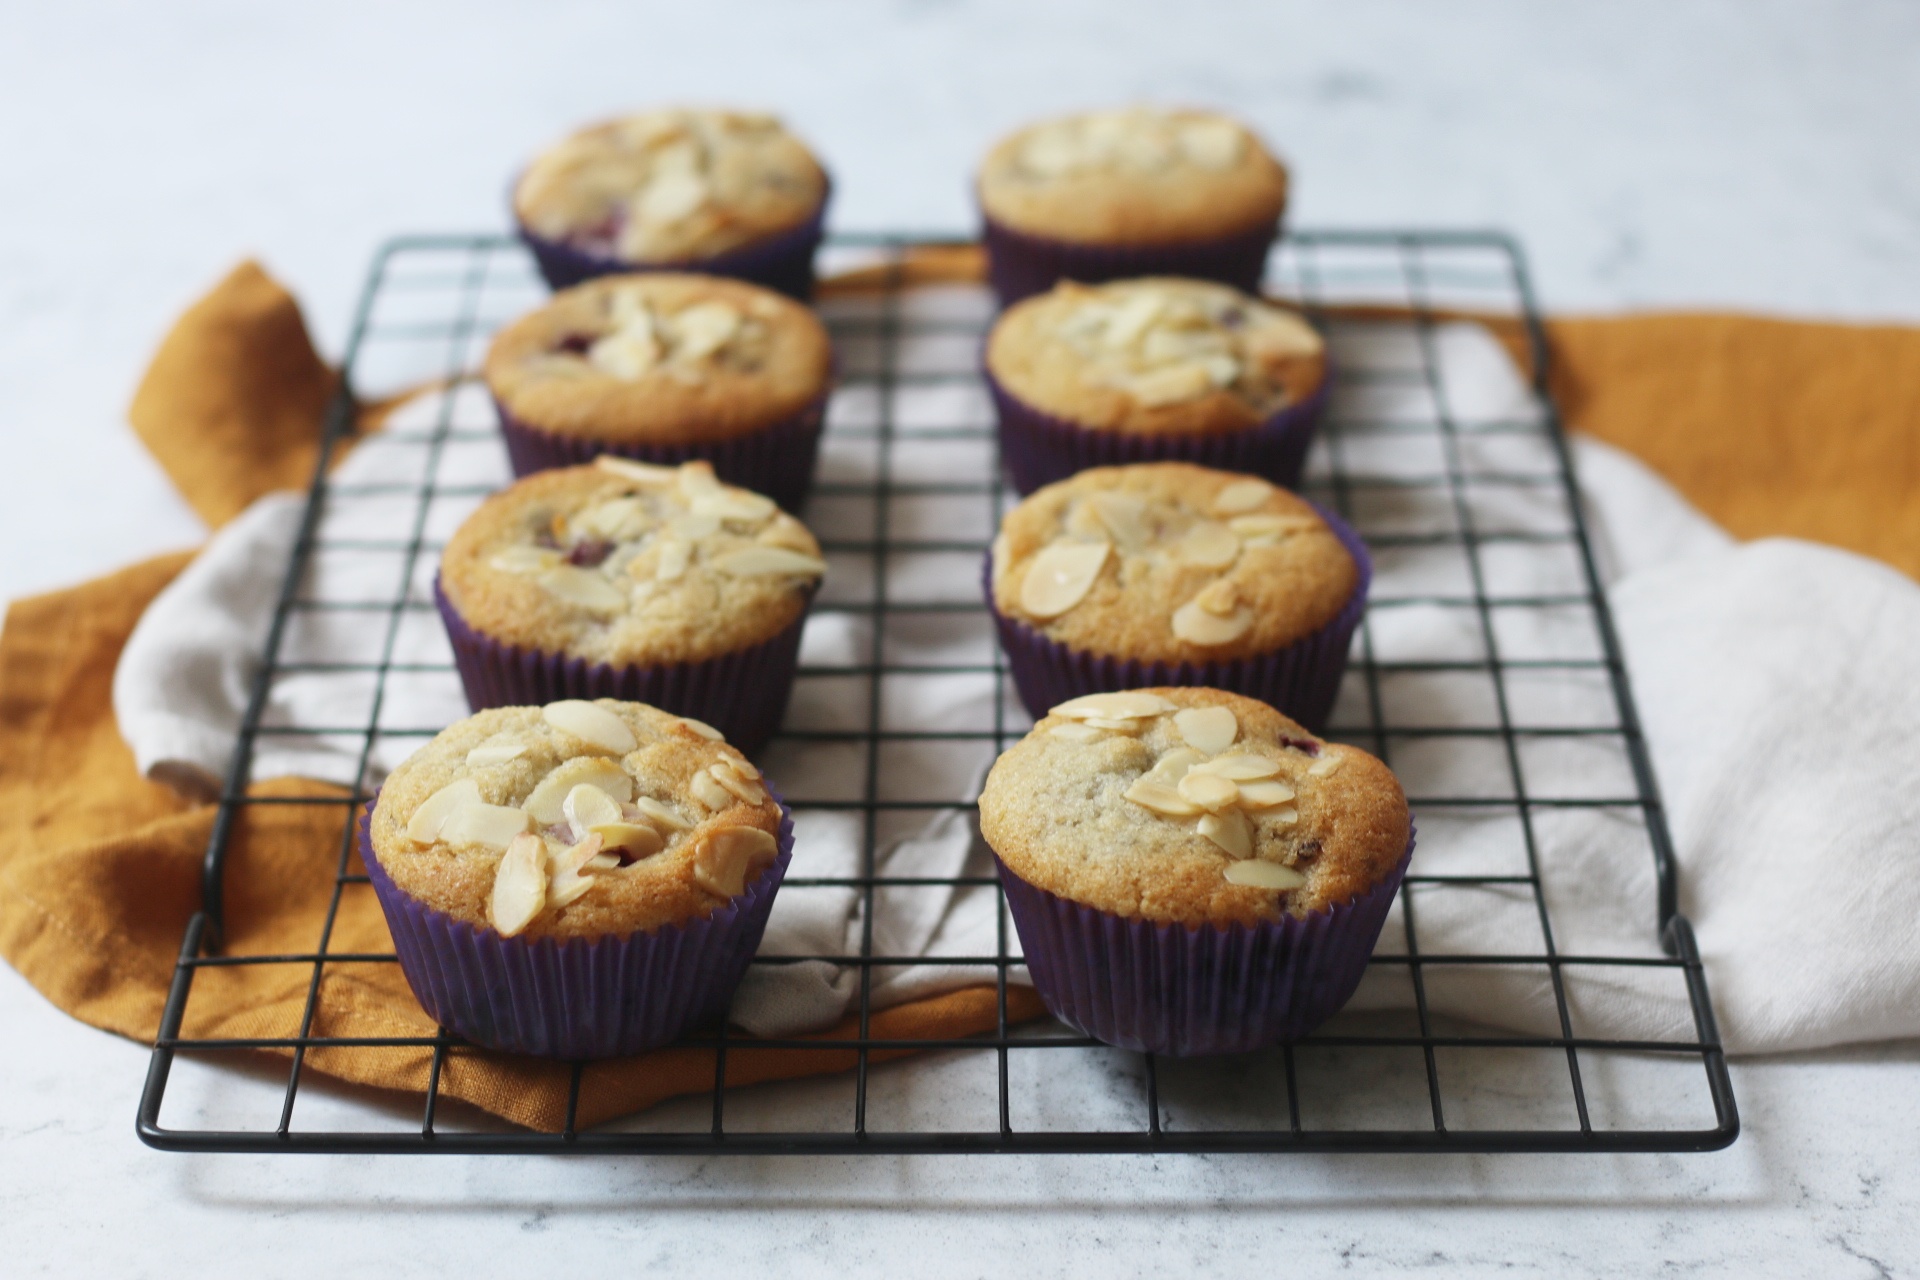
- Vegan Blackberry and Almond Muffins
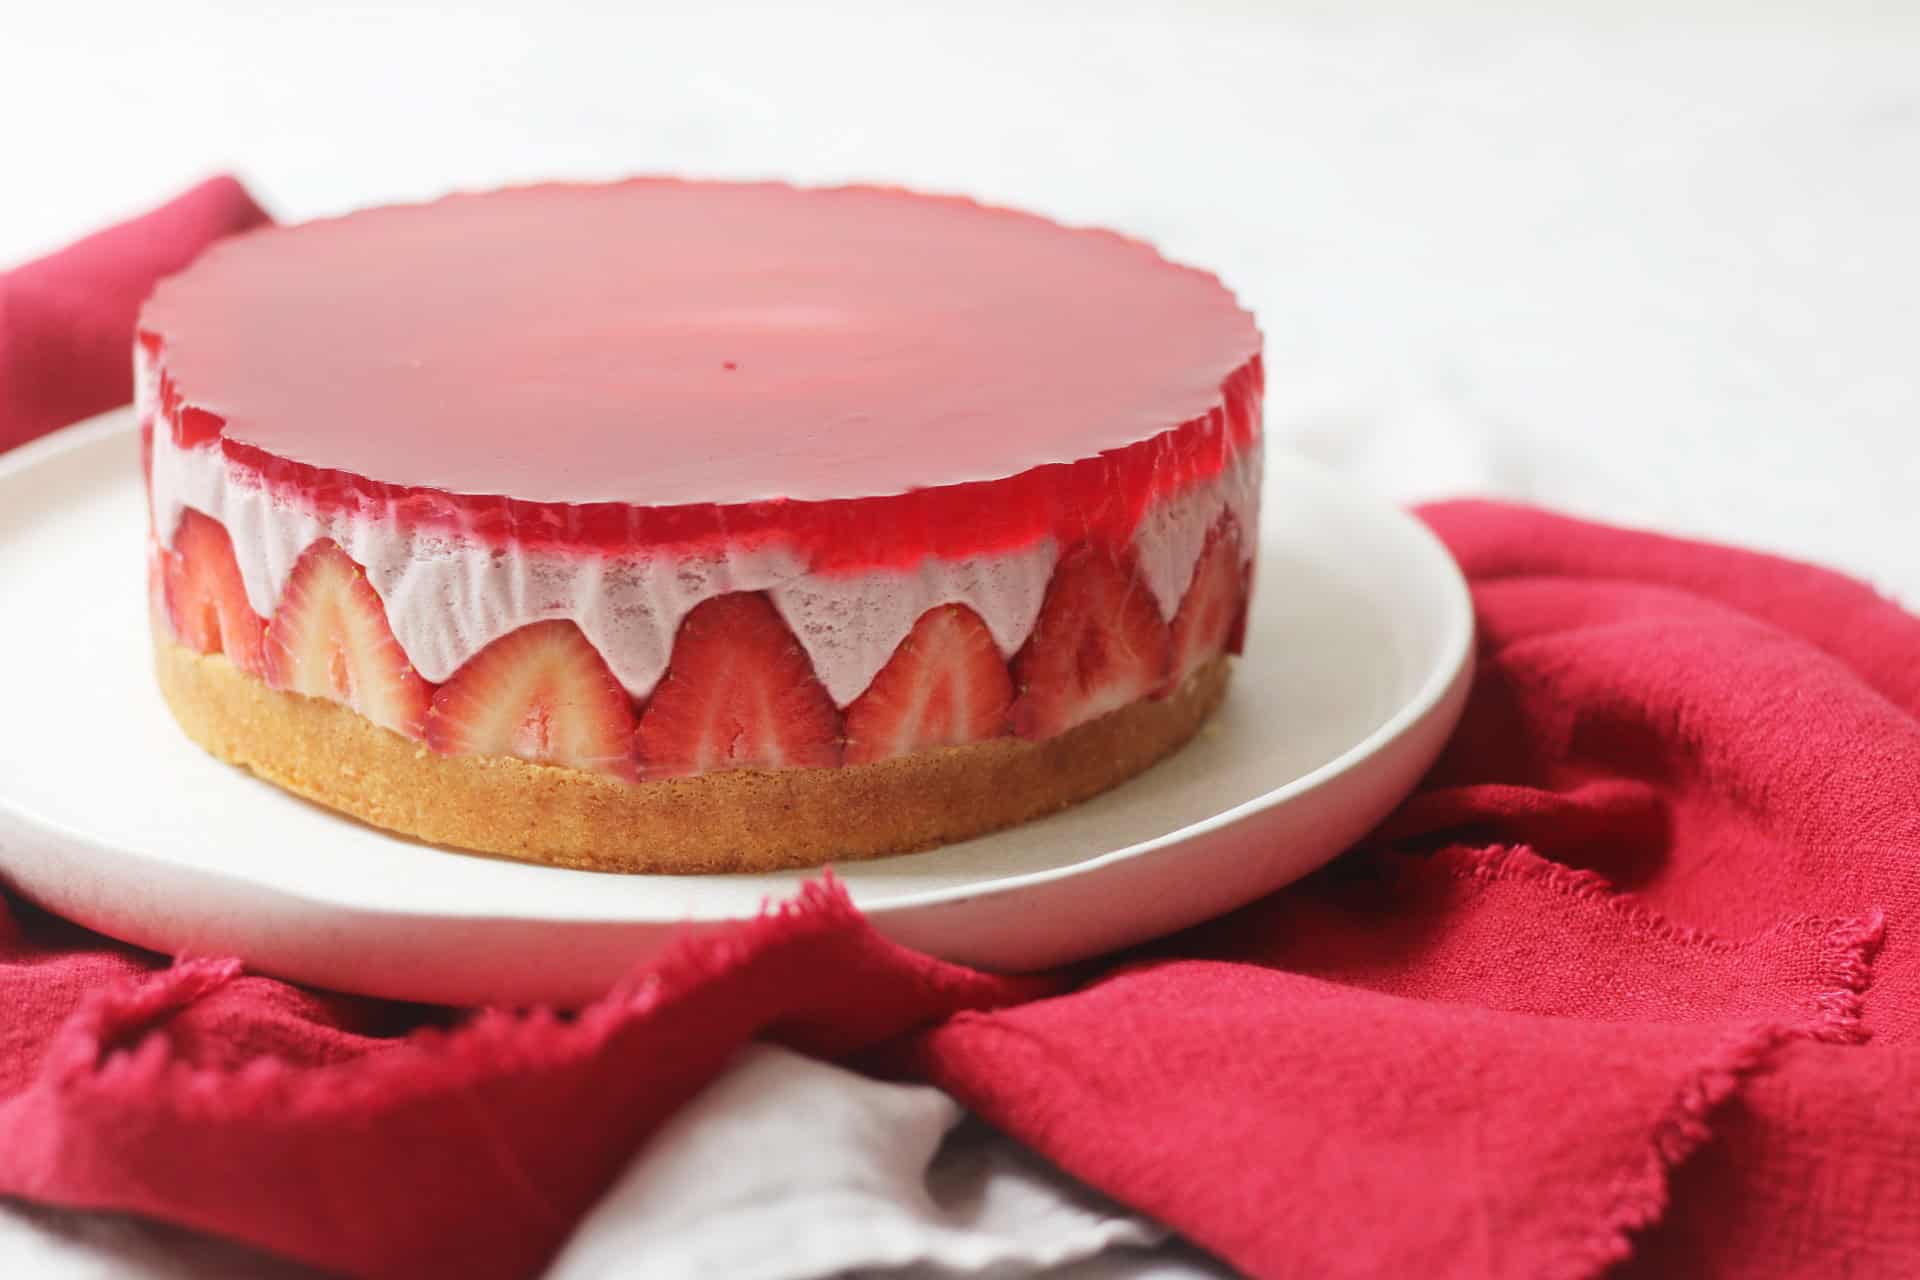
- Vegan Strawberry Mousse Cake
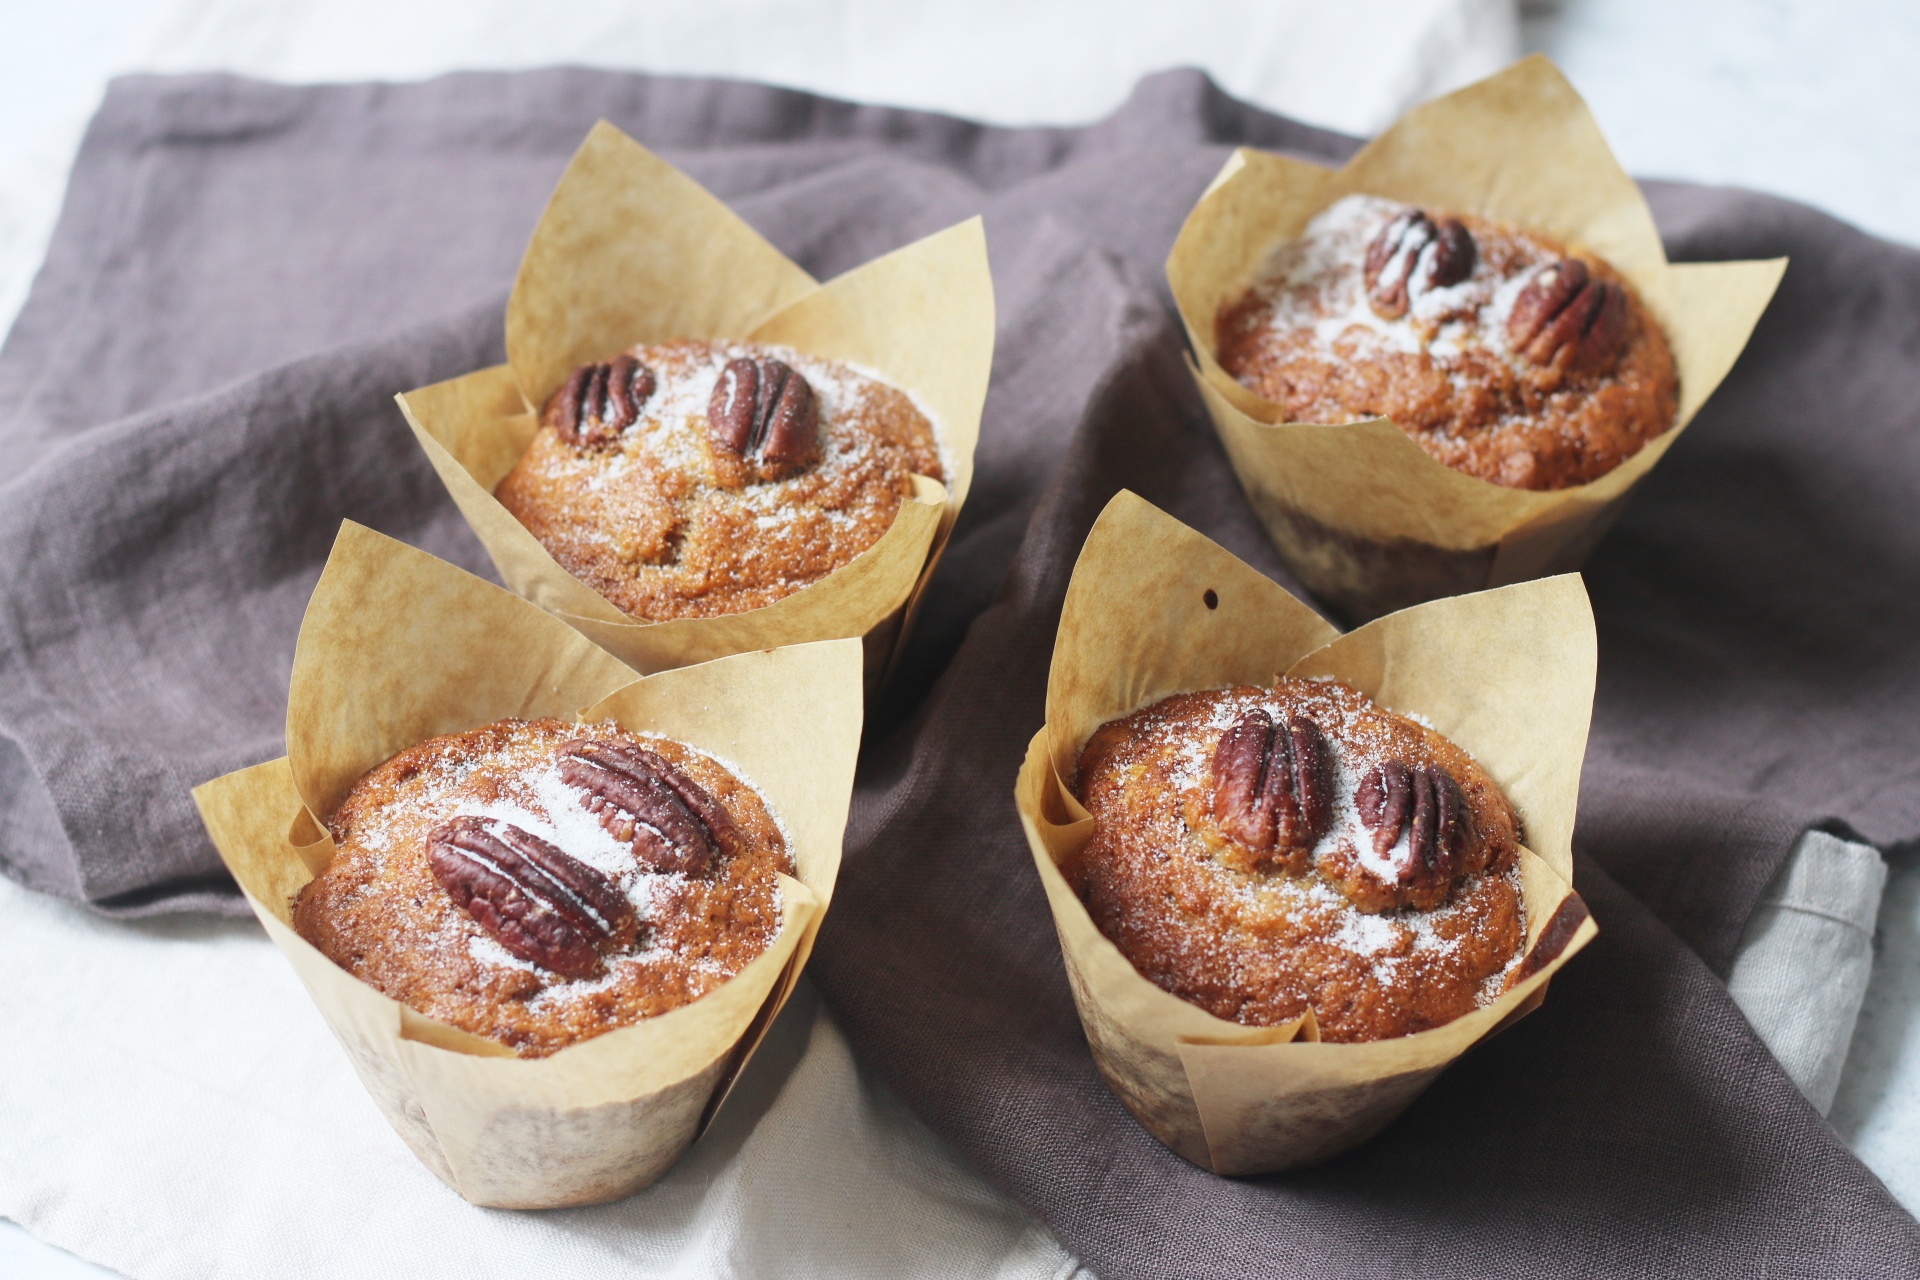
- Vegan Banana and Pecan Muffins
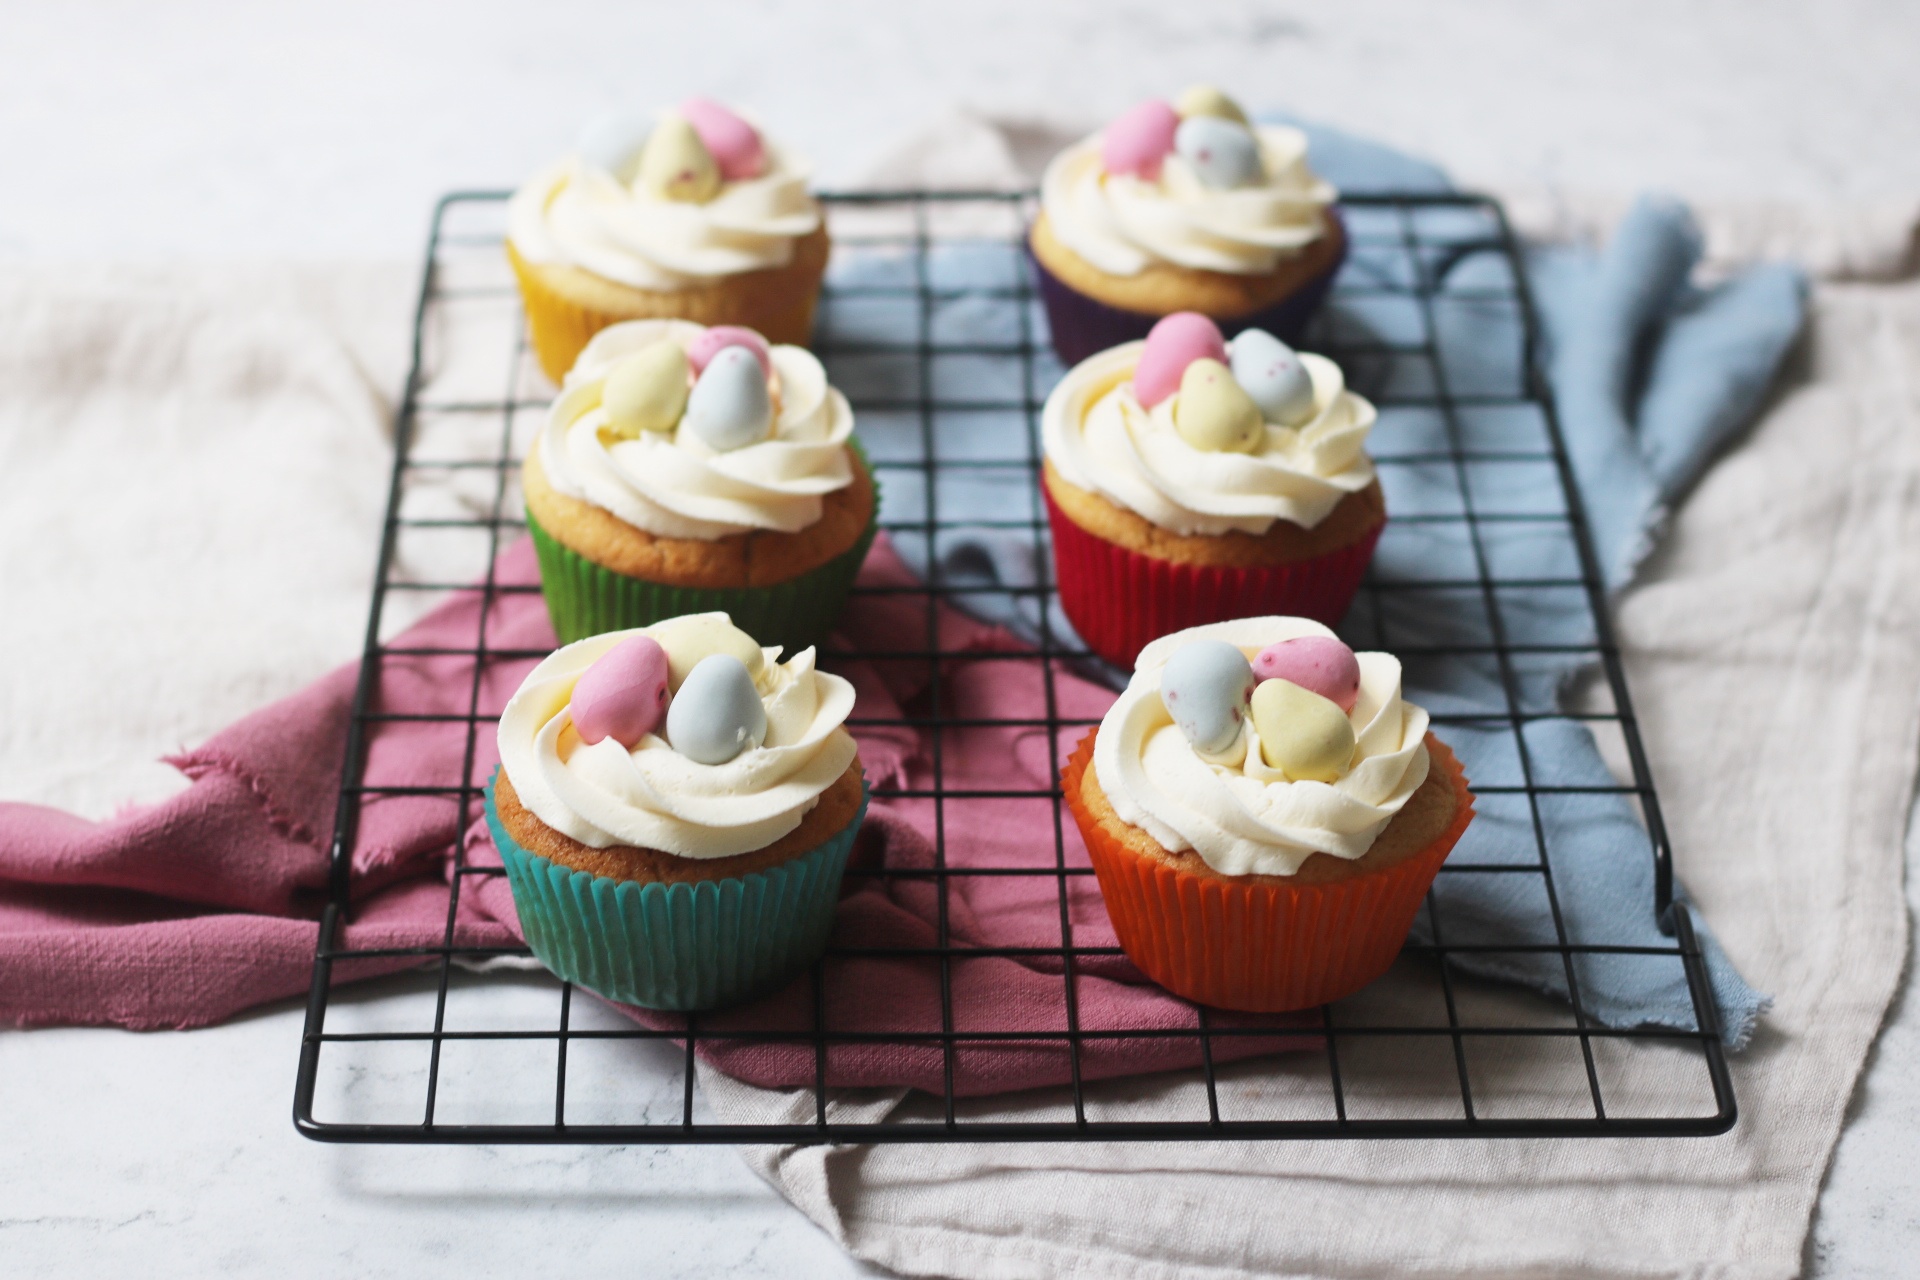
- Vegan Mini Egg Cupcakes
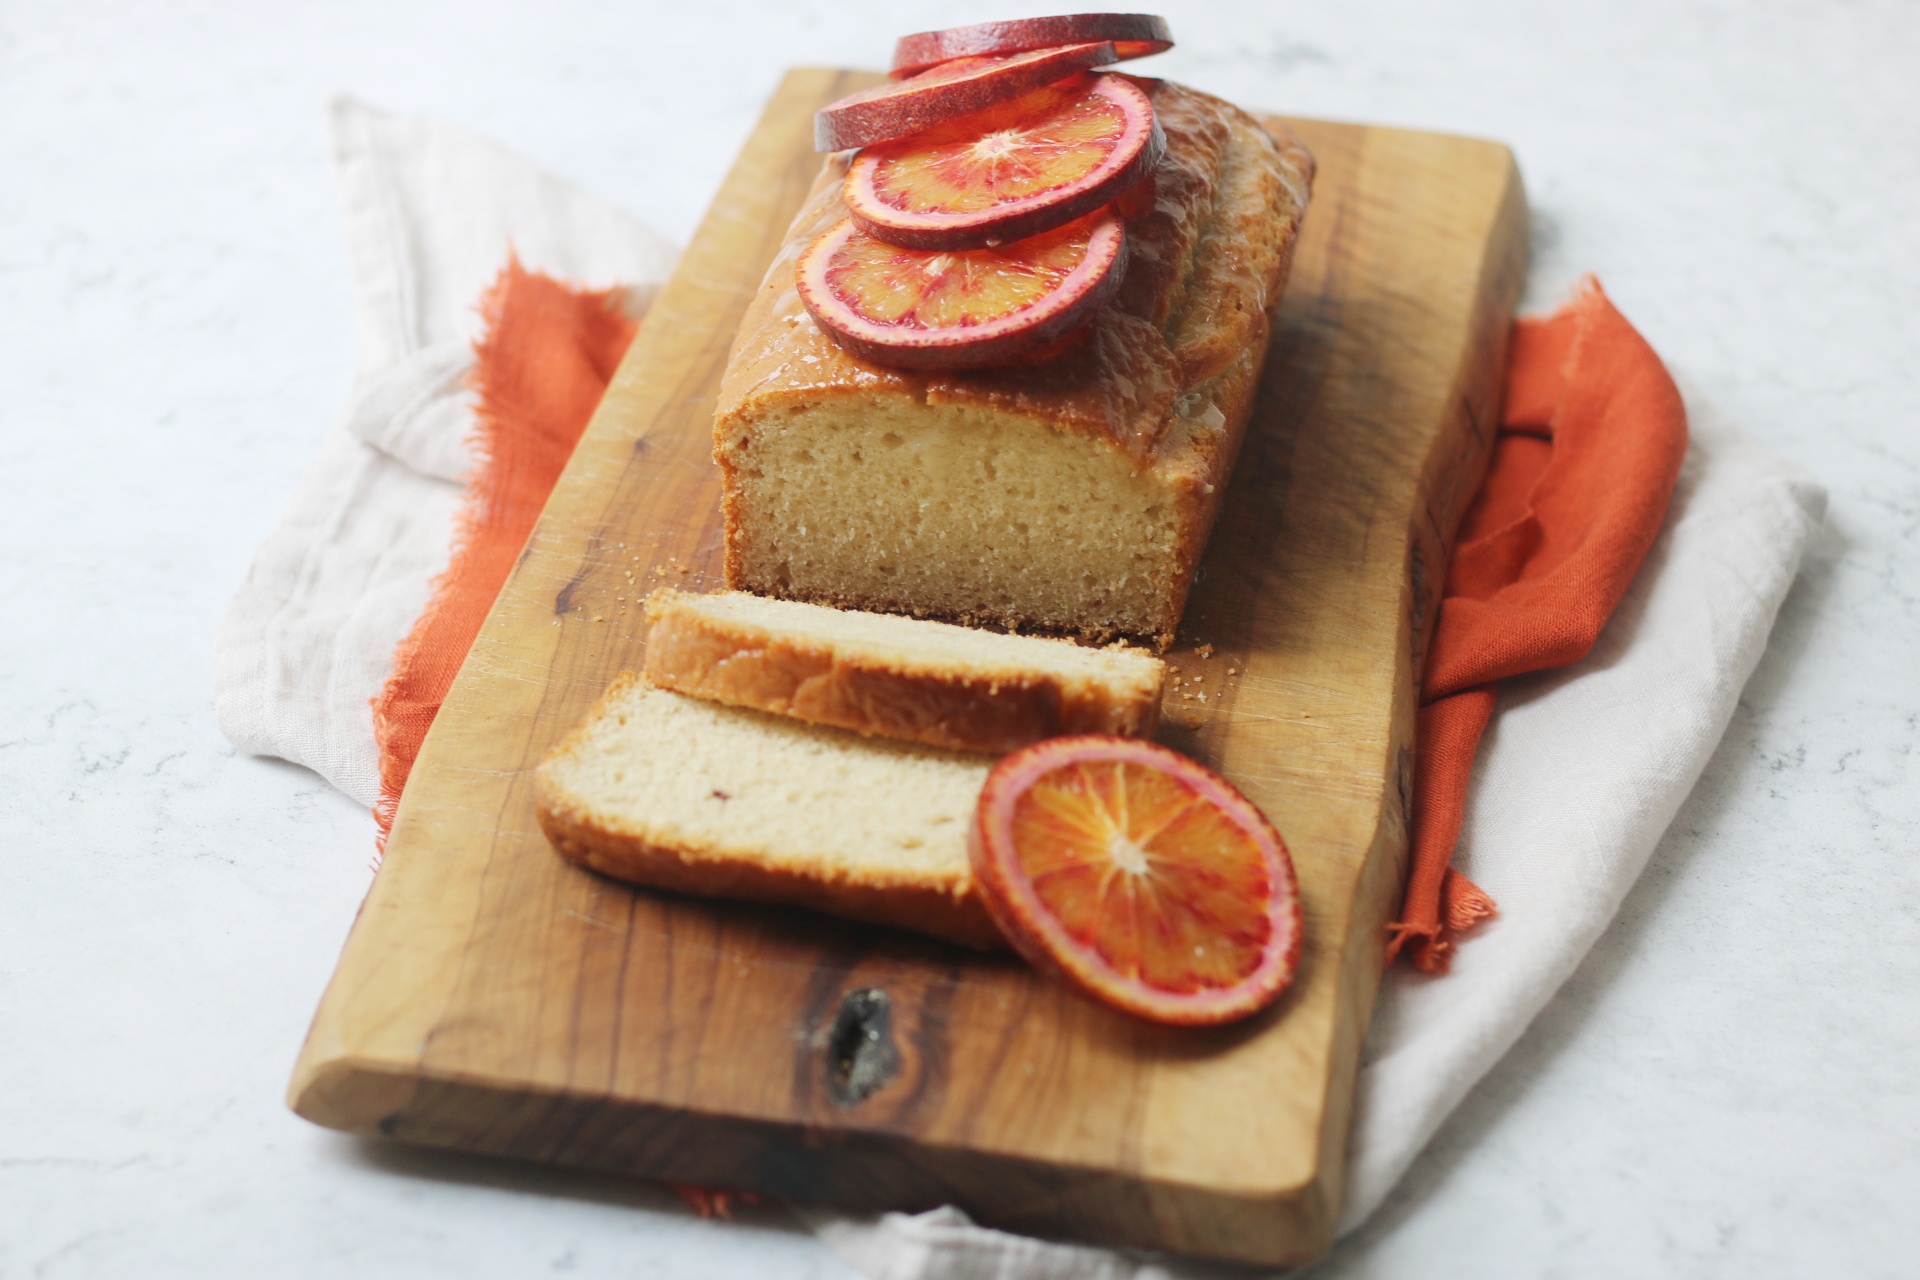
- Vegan Blood Orange Loaf Cake
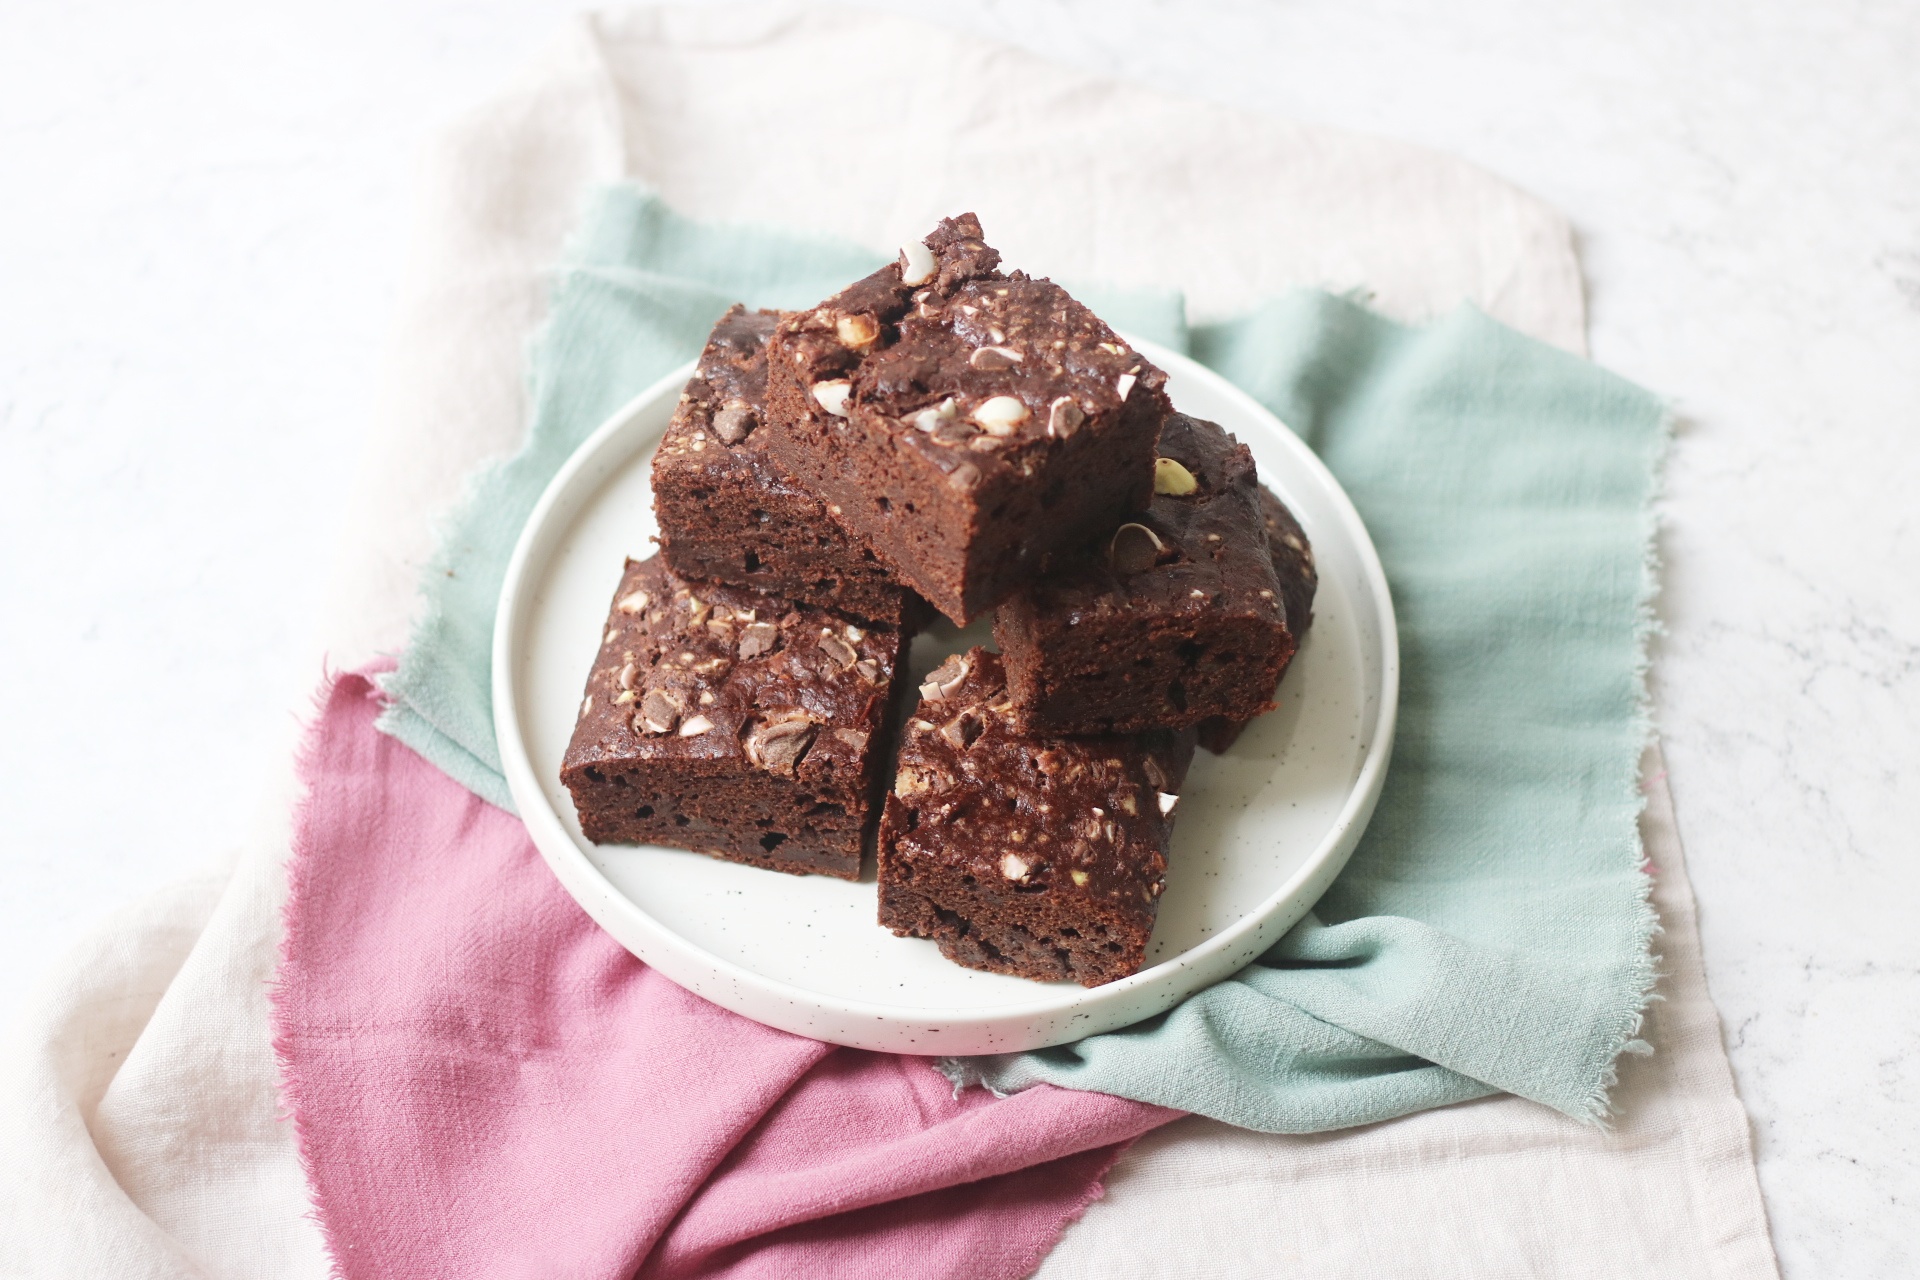
- Vegan Mini Egg Brownies
If you're interested in baking egg-free and dairy-free cakes then check out my big vegan baking guide! I've also got tonnes of vegan cake recipes including this delicious vegan birthday cake.


ilikeyoursundress says
What a lovely icing job 🙂 The top looks especially smooth - it also looks delish!
Emmyw says
Thanks ilikeyoursundress! I use the rather unorthodox approach of using a MEAT CLEAVER to smooth it out lol! The rents don't have any fancy baking supplies so no spatula for me :PEm x
Xinmei @ Pudding Pie Lane says
Hey 🙂 Your blog looks great, I'm glad you found mine through the student room - what would be students do without it? Really like how you've done the pricing on the baking - that's a really good idea and I think it makes your blog unique from the others (and it's very handy too!) Sadly Cambridge Uni only has a Sainsbury's but I shall base pricing loosely on yours, it is pretty hard to keep track of spending on baking ingredients!Good job on the icing on the cake too - looks yummy! 🙂
Emmyw says
Hi Xinemei! Glad you like the pricing idea!! Baking can be the most expensive part of cooking 😛 thats another reason to make it an occasional treat haha! Hopefully I can show it is still possible on a student budget :)I must try your fish cake next!!!
Nit Nat Noo says
Hi could you tell me how big are your cake tins? mine are 9'' and the cakes seems to be quite flat! help!!thanks natalie
Emmyw says
Hi Nit Nat Noo! I also use 9" tins sorry for not clarifying! Are you really whisking the mix well when you've added the eggs? The mix should really double in size! Are you also using self raising flour? I hope you find the solution!!!