Terrifying Teacakes
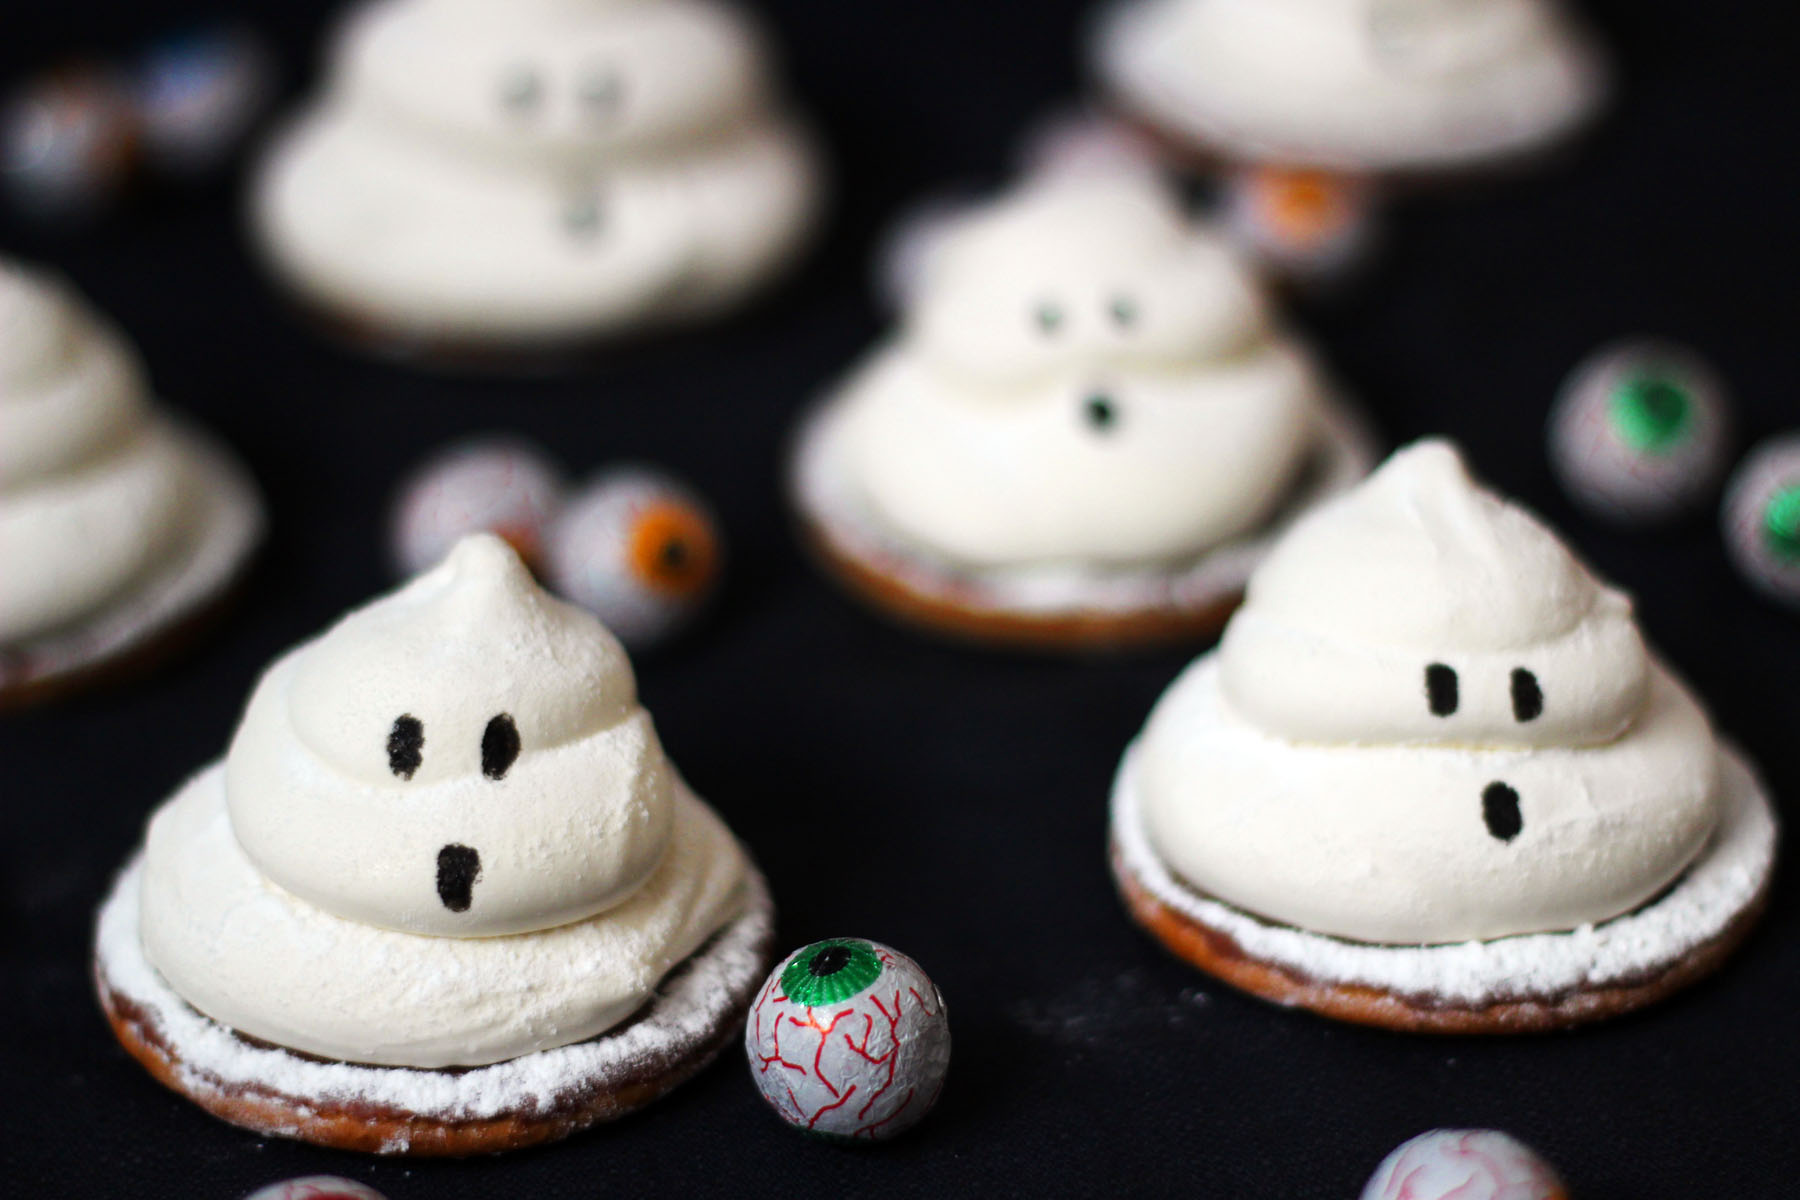
These Terrifying Teacakes are spooktacular – simply take a chocolate digestive, a blob of jam and pillowy marshmallow to create these fantastic marshmallow ghosts.
Page Contents
Trick or treat?
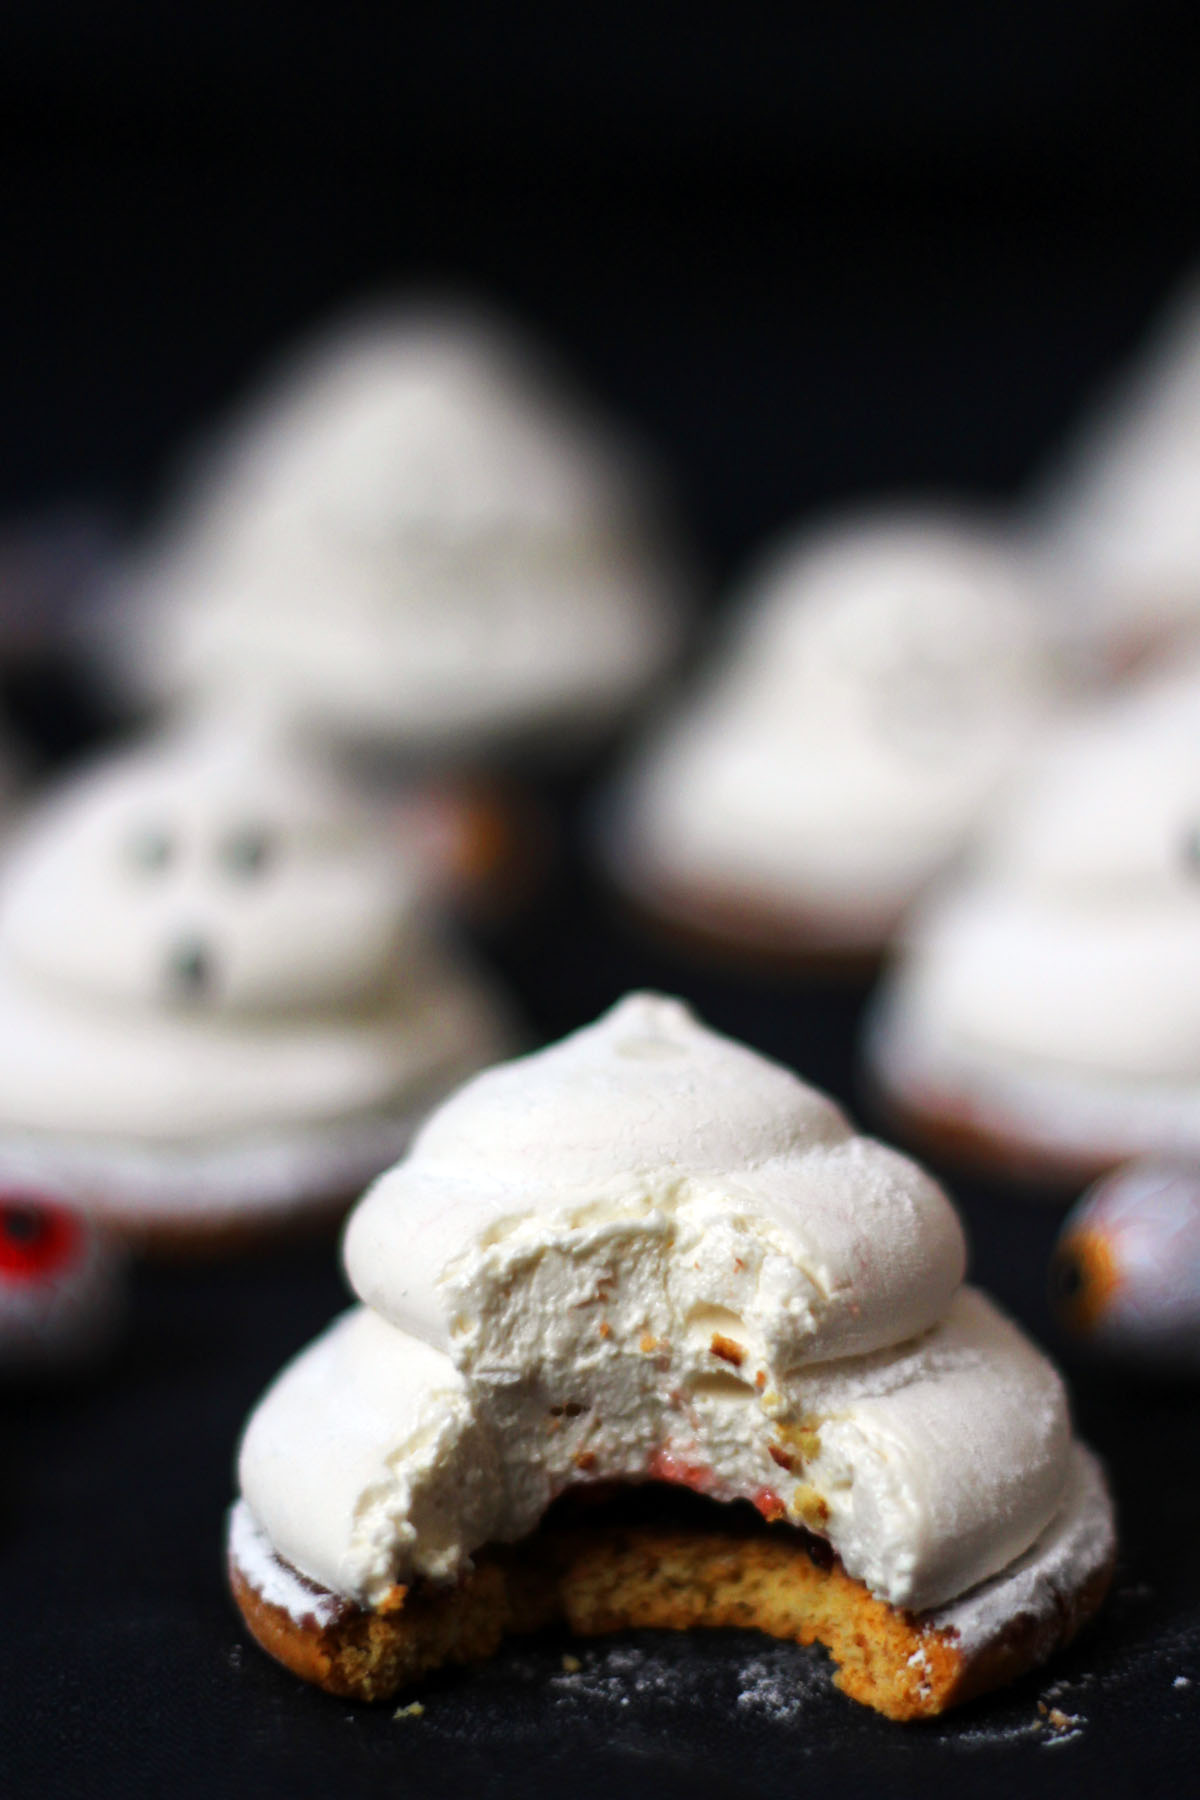
What I love about these Terrifying Teacakes is not just how easy they are to make, but how GOOD they taste. Vanilla, strawberry and chocolate is a classic combination – only the most devilish guests will turn their nose up at these because these are a real treat. This added to the satisfying squidgy of the marshmallow, the runny jam and the crunch of the biscuit it really is a winner!
The recipe for these Terrifying Teacakes is quite simple really, with a pack of digestive biscuits, a jar of jam and piping bags of marshmallow you are almost halfway there to having some simple yet effective treats to share at your next Halloween party.
The trick to making these really lies in the organisation, particularly if you want little ones to be able to help out. Assembling the biscuits and jam before making the marshmallow is essential. Once the marshmallow is made, you need to act quickly to get the marshmallow piped into ghoulish silhouettes before it sets too firm. An edible marker or black writing icing is ideal for adding the finishing touches. If you really wanted to push the boat out you could even use chocolate chips!
Beware!
Quick word of warning – making marshmallow is not an easy process, you need at least 3 hands or a stand mixer. Always be careful when working with hot sugar syrup. Children can help with the biscuits, jam and piping the marshmallow but it’s best to keep them out of the kitchen for the 15 minutes or so when making the marshmallow mix.
That being said, the process of making marshmallow really is magical! Enjoy.
The recipe

Terrifying Teacakes
Ingredients
- 16 chocolate digestive biscuits
- 225 g strawberry jam
- 8 leaves gelatin
- 225 g caster sugar
- 8 tbsp golden syrup
- 4 tbsp cold water
- 1 pinch salt
- 2 tbsp cornflour
- 2 tbsp icing sugar
- black edible marker pen or black writing icing
Instructions
- Layout the chocolate biscuits on to a tray.
- Using a teaspoon place a small blob of strawberry jam in the centre of each biscuit.
- Place the biscuits to one side while you make the marshmallow.
- Cut the gelatin into small pieces and cover with a little water. Leave for ten minutes until the gelatin leaves are soft.
- In the meantime, add the sugar, 4 tbsp of golden syrup and 4 tbsp of water to a heavy bottomed saucepan.
- Heat the pan on a medium flame until the sugar has completely dissolved.
- Turn the pan up to a higher heat and, using a sugar thermometer, boil the sugar syrup until it has reached 240F.
- Just before the syrup hits 240F, drain your gelatin leaves and heat in the microwave for 30 seconds or until they have melted completely.
- Pour the melted gelatin into a large bowl and begin to whisk with the last 4 tbsp of golden syrup.
- As soon as the sugar syrup hits 240F remove from the heat and begin to drizzle into the mixing bowl, keeping the mixer on a medium/low speed.
- Mix for 5 minutes until the marshmallow mix becomes pale and doubles in size.
- Turn the mixer on high for the final 5 minutes until the marshmallow becomes, thick, glossy and is treble the volume it originally was.
- Once it becomes difficult to mix spoon the mixture into three seperate icing bags.
- Let the mix cool for 5 minutes before cutting the end of the icing bag so that the opening is about an inch wide.
- Pipe a ring of marshmallow around the jam on each biscuit using the first piping bag. Leave this to set for 5-10 minutes until.
- Next, pipe a slightly smaller ring on top the first with the third piping bag. Again let this sit for 5 minutes until firm.
- Using the third and final icing bag, pipe a blob on top of the previous marshmallow ring to create the ghosts head.
- Mix the cornflour and icing sugar together and dust over the top of the marshmallows.
- Leave for 5 hours until the marshmallow is completely firm.
- To finish, draw on a ghoulish face.
Notes
Nutrition
More terrifying treats
The Halloween Collection
For the full range of Halloween recipes on the blog, check out the Halloween recipe collection.

These tracked are super ! Perfect for the ghoulish celebration that quickly coming our way! I have fond memories of Halloween as a kid…and it’s funny because I knew a neighborhood mom who was a Halloween fan and who would decorate her home in such a spooky yet fun way!
Looking forward to more Halloween yummies!!
Thanks Lia! I’m also making a graveyard themes rocky road, pumpkin spice blondies and a cheesey pumpkin dip in the run up to Halloween so do watch this space. I’m having people over for a horror movie night this year and thinking about how I might decorate our flat.
These are so fun! I bet kids would just love them. I have pinned these are I think they are going to be super popular.
Thanks Dannii! Piping them is definitely fun and anyone can do it so its great for little ones! I did get a few giggles from some younger people who said they looked a little like ghost poos 😛
These are so cute!!! I don’t know where to buy golden syrup from, I want to make these x
Hi Diana, I’m glad you like them. They are adorable aren’t they. You can substitute golden syrup for corn syrup, honey or any other liquid sugar really so don’t worry if you can’t find golden syrup 🙂
Oh great tip! I do have some corn syrup so will definitely try and let you know, thank you lovely xx
Perfect 😀 I’d love to see pictures too! Have fun xx
These are more cute than terrifying but my kids would be all over that action! Pinned + yummed (and I love teacakes)
Haha thanks Lucy. You are dead right 😉 but I couldn’t resist the alliteration! Teacakes are also one of my favourite treats I’m disappointed with myself that this is the first time I’ve tried making some from scratch. Next time I’ll have to practice dipping them in chocolate.
So adorable! I love the cute little ghosties! I’ve made homemade marshmallow too and found it really easy
Thanks Kerry 🙂 I think they are super cute too! The first time I made marshmallow I was pleasantly surprised with just how easy it was – and that’s without a stand mixer…if I can make these anyone can!