3D Beehive Cake with honey drips and buzzing bees
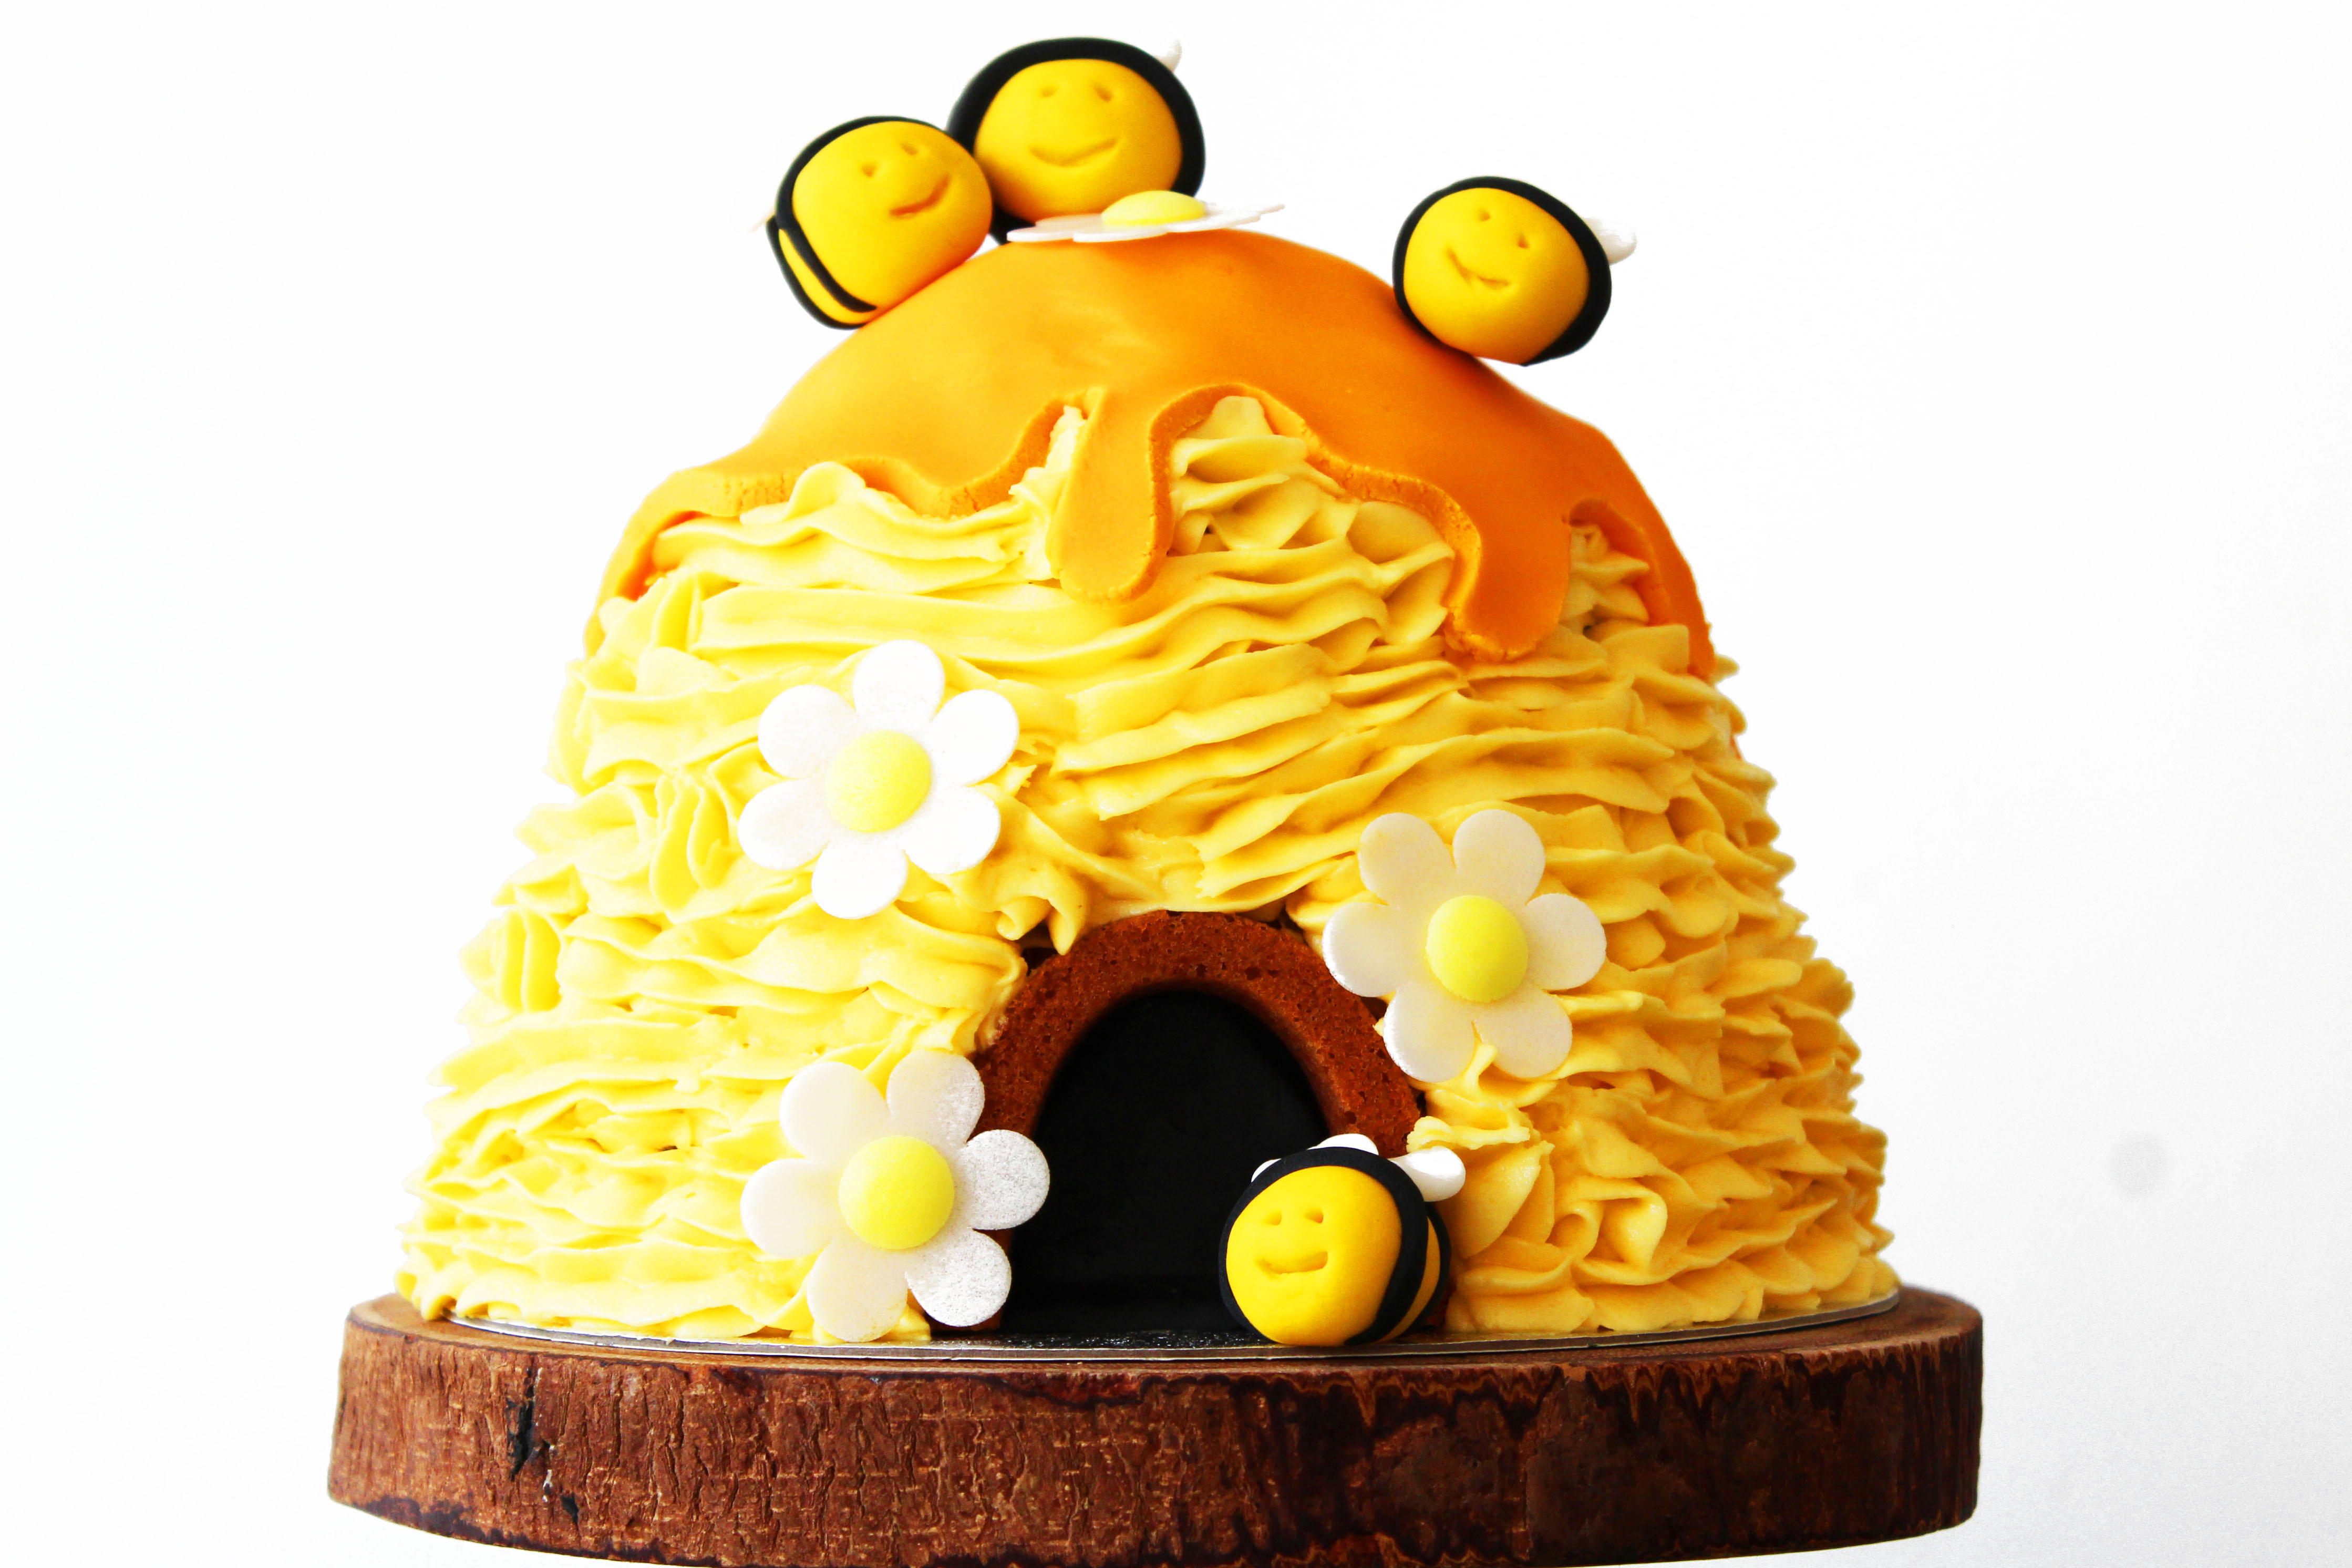
This adorable beehive cake is perfect for your little one’s birthday celebration or christening. Find out how to make it below.
Page Contents
Novelty birthday cakes
As a bee lover I was super excited when my friend asked me to make a bee themed cake for her son Robbie’s first birthday. Robbie also happens to be my godson so I was chuffed to be asked to make something super special for his big day!
There were lots of wonderful examples of beehive cakes on Pinterest and Google. They all seemed simple enough so I eagerly said YES! But as I thought more and more about how I’d actually go about making a 3D beehive cake I became more and more anxious. Had I bitten off more than I could chew?
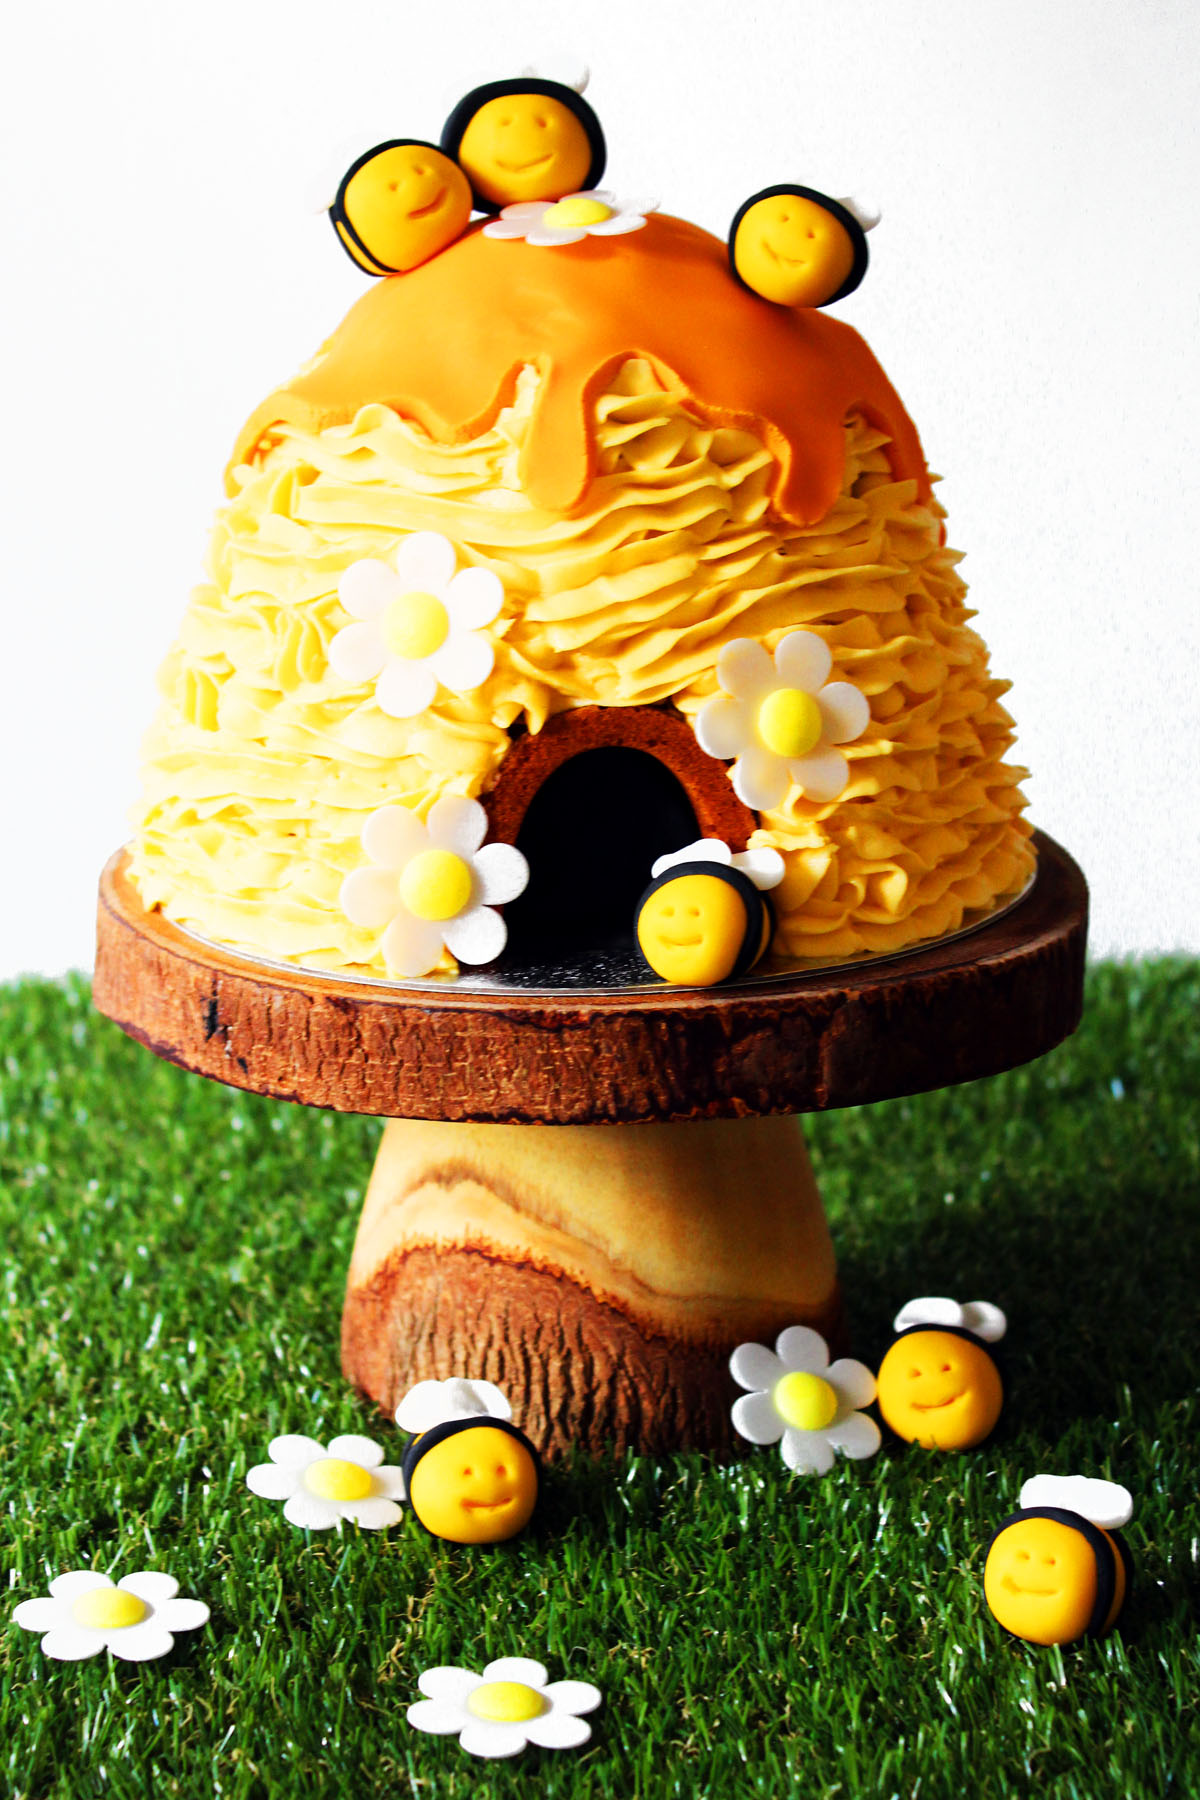
How to make a beehive cake
The shape
The first slightly alarming problem I had to face was that this was going to be a large 3D cake. Beehives are round-ish, which is a good start, and so I thought about simply stacking 3 or 4 cakes on top of each other, each one slightly smaller than the last. I could then carve them to give them rounded edges and make a small domed cake to go on top.
There seemed to be a lot of room for error with this method and so in the end I opted to simply buy a beehive shaped cake tin. That’s right, beehive cake tins are a THING.
The only carving I had to do was chopping off the bees. Although they came out of the tin really well I wanted to do something a bit more exciting with the buzzing bees and so I smoothed the edges of the cake so it was even all the way round.
The icing
The hive cake actually comes in two halves so I sandwiched it together with lashings of lemon buttercream. (A yellow cake has to be lemon flavoured right?) A lot of the examples of similar cakes on the internet then covered the cake with fondant. But I’m not all that confident with fondant on a normal round cake let alone a 3D beehive. I also make a banging buttercream and so I decided to play to my strengths.
I used the same buttercream I had used to sandwich the two halves to carefully pipe rings around each layer of the hive cake. This gave it a really cool texture! Much more interesting then the rolled fondant cakes.
The bees
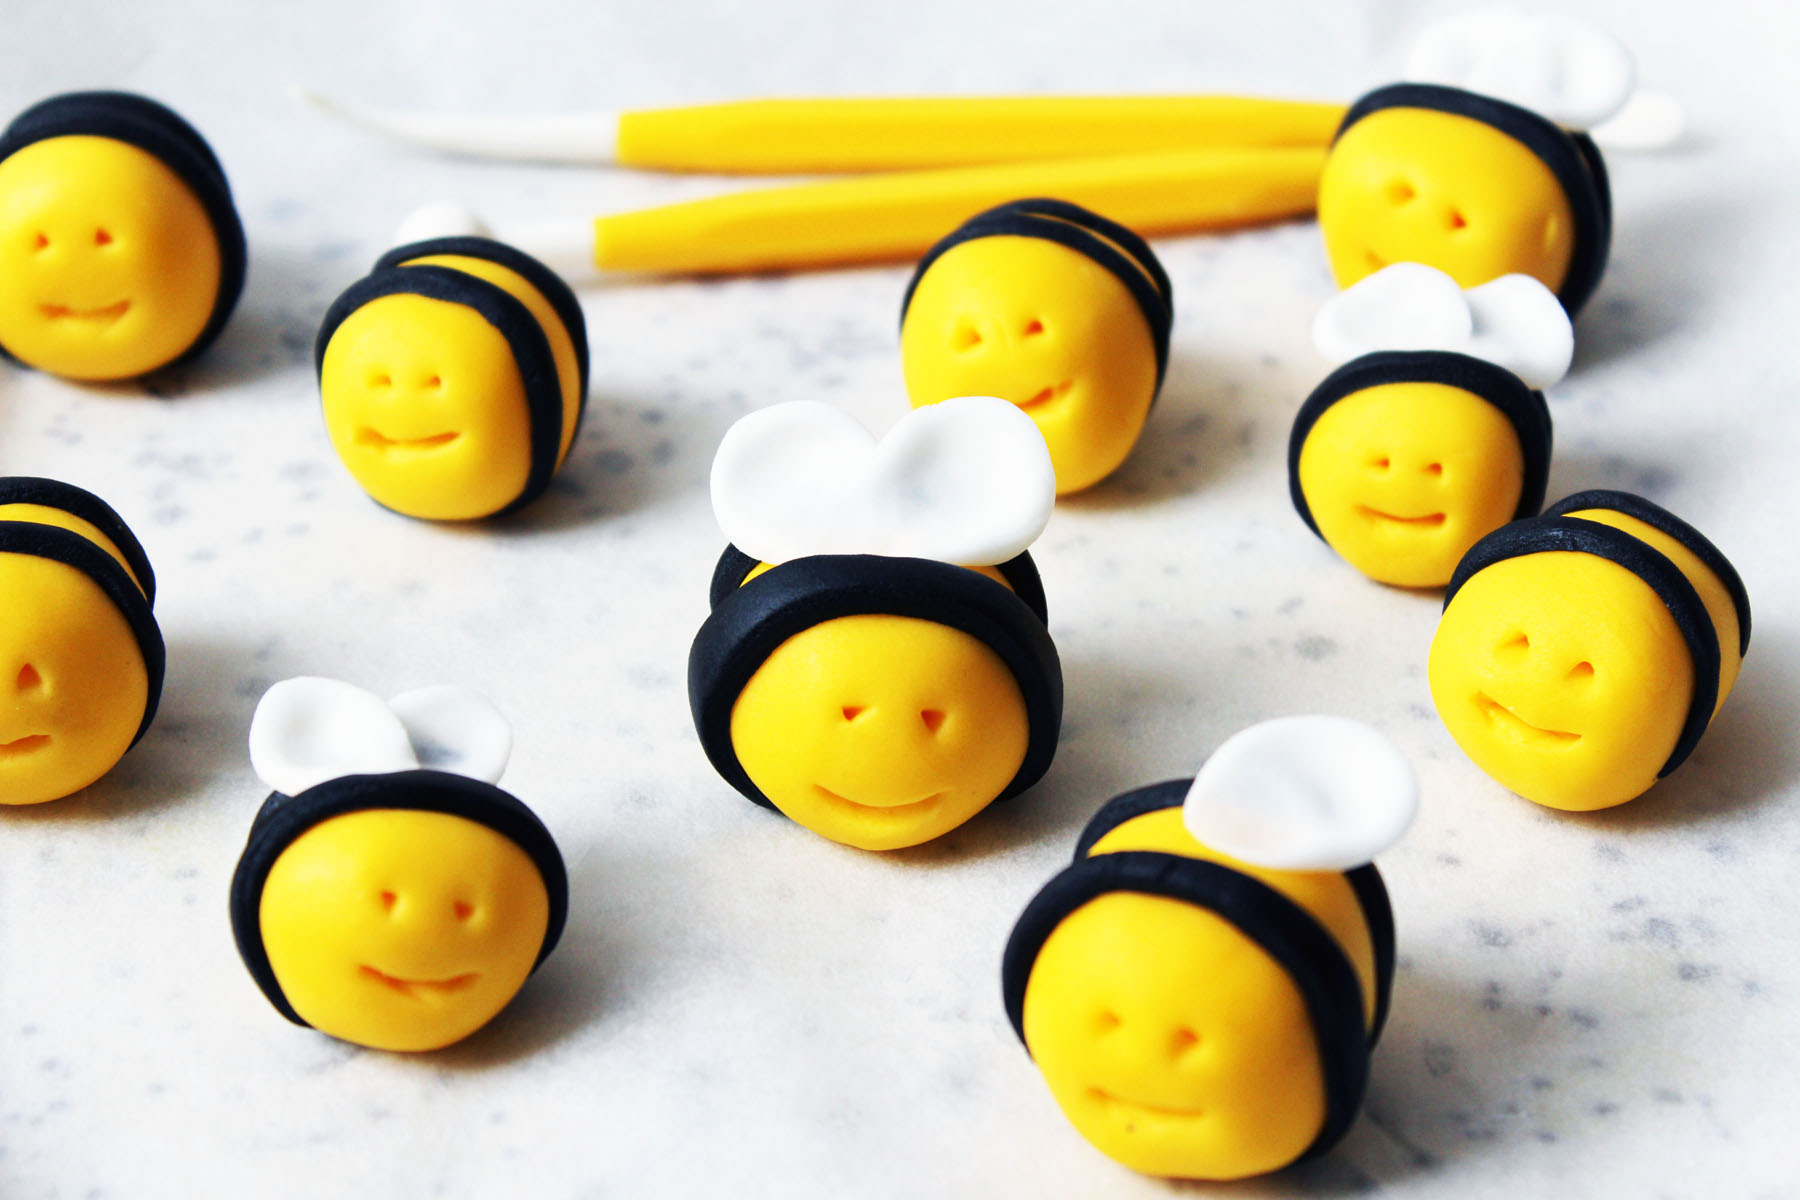
A beehive cake wouldn’t have been complete without a bee or two. The average beehive contains around 60,000 bees at its peak and so I knew I had to have a couple of buzzing bees on and around the hive.
I’m no sugar craft expert but even I could manage modelling a few bees. A round, yellow body, thin hand cut cut black stripes, and a white pair of wings did the trick. To make sure the bees perched on top of the cake I used cocktail sticks. This held really well.
The honey
To really finish off the cake I knew I wanted it to look as though it was dripping with honey. I’m a big fan of drip cakes (like this Lavender and Honey Cake and this Mocha Cake) so I thought I’d whip up a white chocolate ganache, colour it a glossy deep orange / brown and drizzle it over the top. Sounds like a good idea right? The only problem is white chocolate ganache is notoriously difficult to get the consistency right. With the ruffles of buttercream already on the cake I was worried the ganache wouldn’t quite have the effect I wanted.
As I’d already used fondant for the bumble bees I decided to use an orange fondant which I hand cut into a “splat” shape. Once draped over the top of the cake it then look like the drips were spilling over the edges of the hive. Not only did it look awesome but it was much quicker and easier than using a ganache!
For the full instructions for making this cake check out the recipe card below. You can even print it too!
The recipe

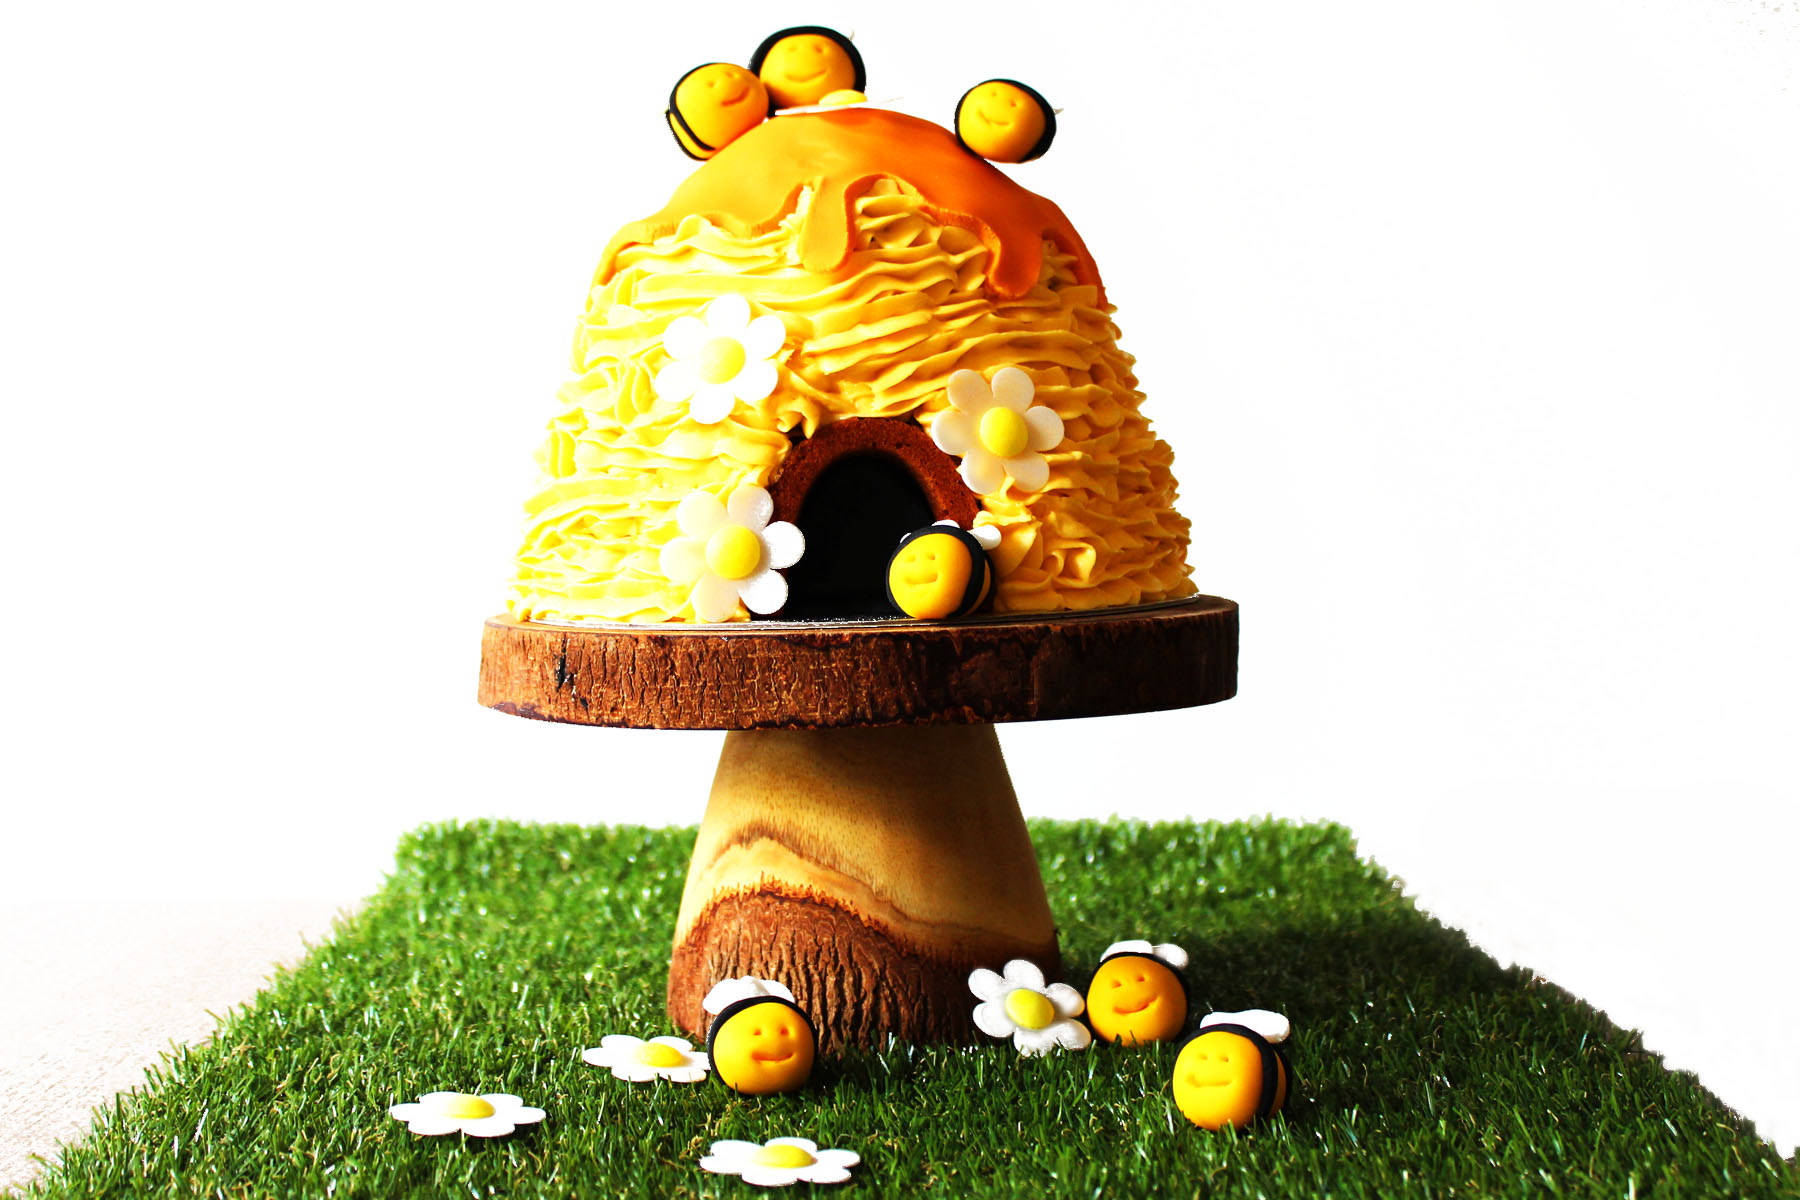
3D Beehive Cake complete with honey drips and buzzing bees
Equipment
- 1 Nordicware beehive cake tin
Ingredients
For the cake
- 300 grams butter
- 300 grams caster sugar
- 6 large eggs
- 1 pinch salt
- 300 grams self raising flour
- 1/2 tsp vanilla bean paste
- 1 lemon juice and zest
For the decoration
- 350 grams butter
- 450 grams icing sugar
- 1/2 lemon juice only
- Yellow fondant
- Black fondant
- White fondant
- Orange fondant
Instructions
- Grease the beehive tins and pre-heat the oven to 150C.
- In a large bowl, cream together the butter and sugar until pale and creamy.
- Add an egg to the butter and sugar mix and beat well.
- Repeat until all of the eggs have been fully incorporated.
- Fold in the salt and self raising flour.
- Add the vanilla, lemon juice and zest then stir until the mix has become thinner and the zest is throughout.
- Pour the mixture evenly between both halves of the tin and level out.
- Place into the centre of the oven and cook for 1 hr 15 mins – 1 hr 30 mins or until a skewer comes out of the centre of the cake clean.
- Leave to cool in the tins for 15 mins before turning out onto a wire cooling rack.
- In the meantime, create the bees by rolling out small balls of yellow fondant (I made mine all different sizes for variety).
- Roll out some black fondant thin and cut long strips. Wrap these round the yellow body and secure with a little water or edible glue.
- To make the wings pinch small pieces of white fondant, roll into a boll then squash gently with a finger to make a small dip.
- Secure to the top of the bee with a little water or some edible glue.
- Using a toothpick or small pointed decorating tool, poke eyes and draw on a mouth.
- Place them to one side to firm up slightly.
- Once the cake is completely cooled, mix together the icing sugar and lemon juice before adding the butter and beating well until creamy.
- Add a little yellow food colouring for a more intense flavour if desired.
- Sandwich the two sides of the cake together with some of the buttercream (trimming the edges for a smooth surface if needed) and place on to a cake board.
- Using a star tip nozzle, pipe rings around the hive for a fun texture.
- Roll out the orange fondant and cut out a “splat shape” with a sharp knife.
- Gently place this over the top of the cake.
- Secure the bees to the top of the cake by poking a cocktail stick into the cake with just a centimetre of so sticking out of the cake and gently push the bumble bee on to the spike.
Nutrition
The verdict
I’m pleased to say that the cake arrived at the party in one piece. The birthday boy and his parents really liked it and I got lots of lovely compliments from the other guests! I couldn’t stop smiling! Here’s a shot of Jon and I with the birthday boy and the cake.
More cake recipes
For the full range of cake recipes on the blog (including vegan cake recipes) check out the cake recipe collection.
Such a cute cake. Loved it.
Thanks Raksha 🙂
Absolutely love this cake Emma! Just amazing. The buttercream effect on your beehive is brilliant. Love your outfits too, what a lucky boy to have such a fab party.
Thanks Lucy 🙂 wasn’t brave enough to cover the hive in fondant but I thought the texture of the buttercream looked so cool!!!
Oh my goodness… you are a genius! And a creative one at that! My niece’s nickname is honeybee….. I kind of want to make ALL of this for her… I hope mine will look as fabulous as yours does!
Yes! You must make it! It sounds perfect for her 🙂 the tin really does all the hard work!!! (I’m sure if you weren’t brave enough to do the modelling you can probably buy fondant bee toppers somewhere!)
This cake and party are just too cute for words. Great job!
Birthday parties are just so much more exciting now compared to when I was little! The bee theme was so much fun! Thanks x
This is absolutely adorable! I love the creativity and all of the details! Great work!
Thanks so much Sarah. I had made so many bees but when it came to assembly I thought less is more! Glad you like it!
Oh, it’s adorable! Perfect for any spring or summer party. I’m always in awe of those that can bake and decorate creative cakes like this.
Thanks Jenn! The special tin did most of the hard work!!! It really is a fun, summery cake!
Wow – this cake looks so amazing!! I utterly suck at decorating cakes, so I’m completely in awe.
This is too cute Emma. Your cakes are always stunning and this is no exception. I’m coming to you for cake decorating lessons. I love the bee theme.
This is way beyond my skill and patience level but absolutely stunning! Such a fun idea.
I believe in you Matt!!! It’s way easier than it looks I promise!
This really is such a stunning cake. My cakes always turn out a complete mess, but this is my next cake inspiration.
Thanks so much Dannii! You should definitely give it a try. Its way easier than it looks! I believe in you 😀
Seriously so creative, amazing cake!
Thanks Kelly 🙂
What a super cute cake! I love the tiny little bees! Do you have to let them dry for a while before adding them to the cake? They would be adorable cupcake toppers too!
Hi Rebecca. I let mine dry briefly while I iced the rest of the cake. Though them being a little “sticky” on the bottom actually helps them secure to the cake!